side steps
Having painted the patio and front, we moved around the side. This path leads around that corner to our front door.

And also back out to the street. We plan to add a fence and secondary front door here (as per this house, up the road) closing this area off from the street, and adding outdoor living space.
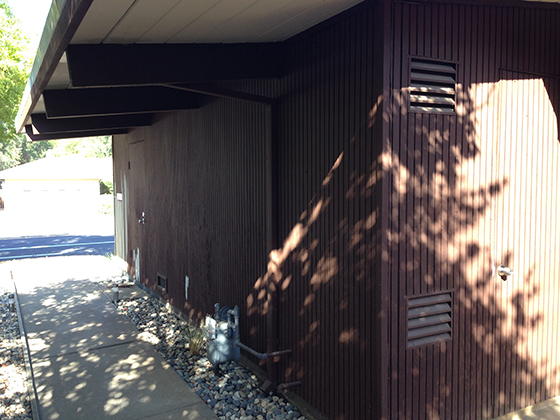
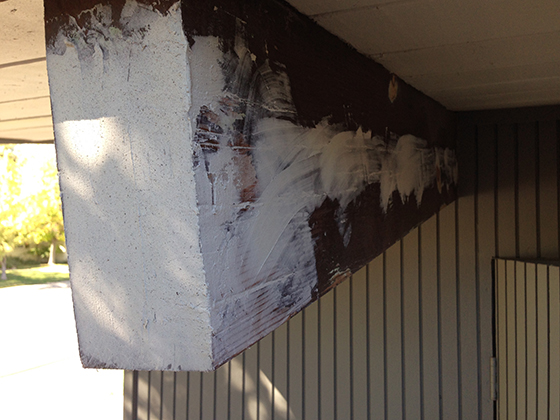
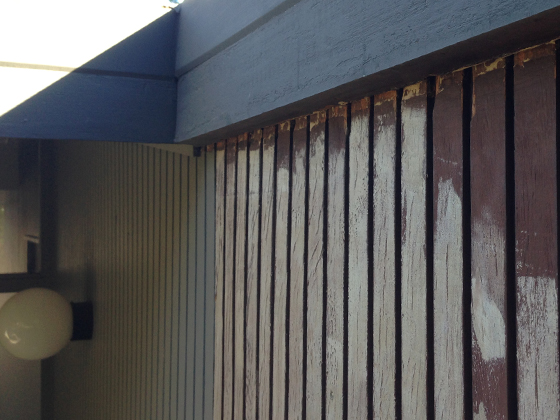
This wall faces south, but gets plenty of shade, thanks to fencing and trees. Still, some prep needed, so we followed our trusted routine –fill, bondo, sand, repeat.
Then we painted the siding. One pic does little to convey how long this took, but I’m sure you can imagine. You can see the beams and fascia are still brown, as is the wall in the distance.
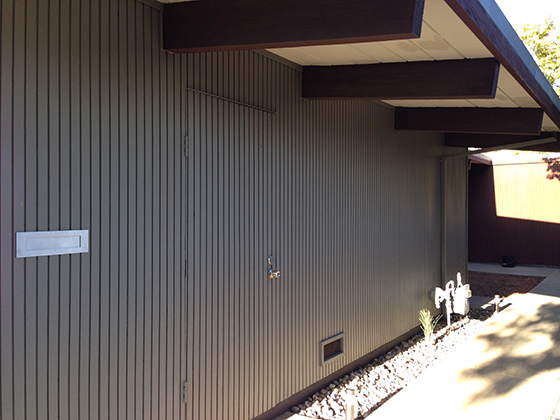
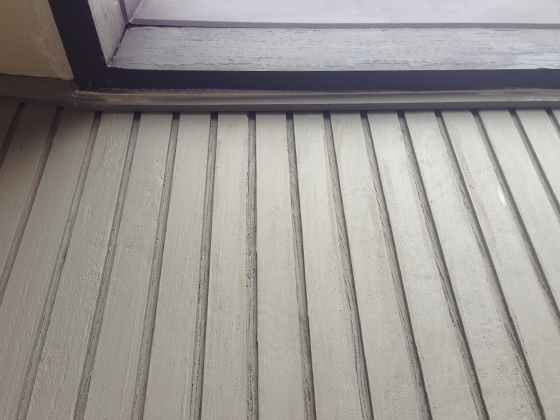
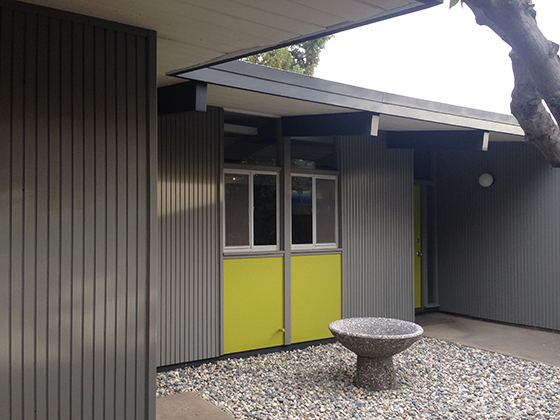
Around the corner, our entrance courtyard. Last time I shared this, we replaced those green panels. Before that, we removed a bush, re-homed some plants, and shifted lots of earth.
And that’s how it stayed, save for some paint-testing on the window trim and adjacent siding. We rejected the blueish gray shown here. Anyhow, Karen got on with painting this siding.
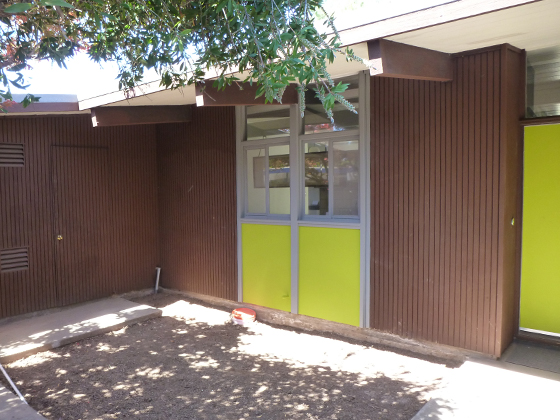
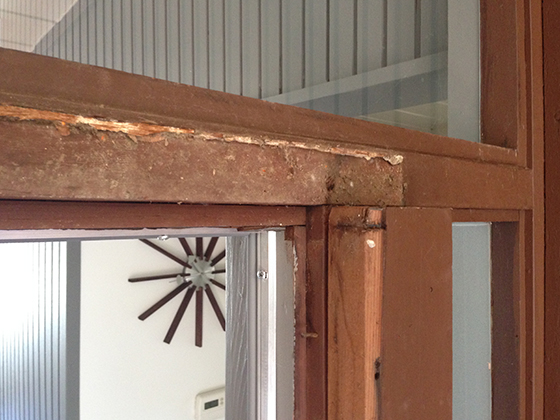
And I attacked this ugly front door trim –you probably can’t tell, but there’s a built up layer, on top of the original trim. We figure they must have installed an external screen at some point.
Here’s a closer look. You can see how far it protruded –compare the horizontal portion, where I’ve removed the extra trim, to the vertical. We got rid, then sanded the crap out of it.
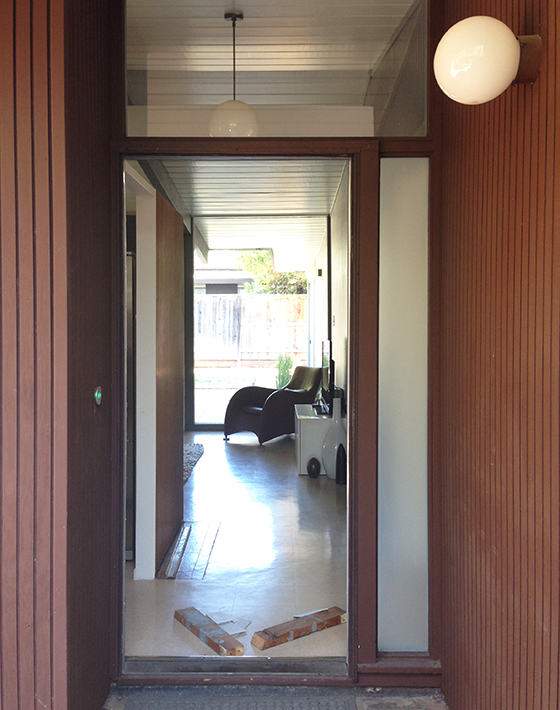
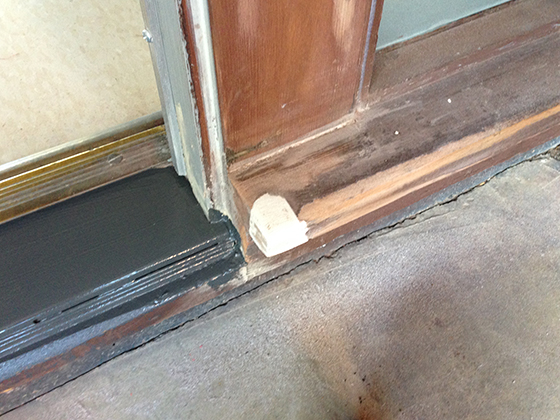
We also added some insulation and worked for hours to get the door fitting better, Down below, Karen (AKA Bondo Queen) reconstructed the corner of this sill/step…or whatever you call it. Then we painted all the trim.
We planned to repaint the front door too, but our remaining Sherwin Williams’ “High Strung” paint (pardon the blurred pic) just wouldn’t go on well. Truthfully, we haven’t had much luck with Sherwin Williams paint.
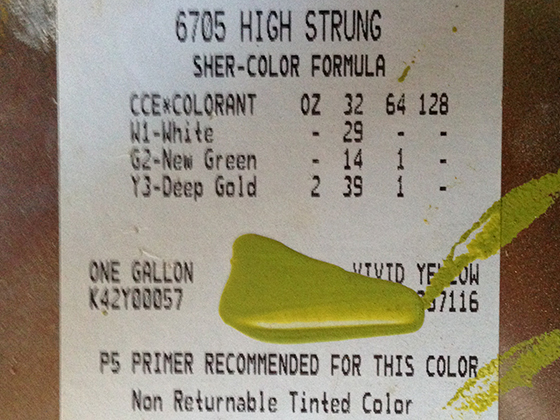
So, we took a trip to Home Depot (saving 10 minutes each way in the car) and color matched it, in Behr paint. It covered beautifully, with an unexpected bonus –the color was way better. Ironically, closer to the original Sherwin Williams swatch.
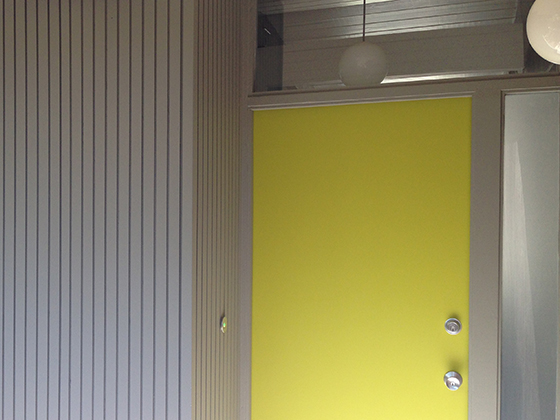
It had looked more ‘apple’ than we wanted (check the pics further up for a comparison). This was yellower…if that’s a word. Small downside –now we had to repaint the panels to match.

That done, we changed the door knob. As you’ve probably realized, we can’t help but ‘tweak’. We had installed a Schlage Orbit, but switched to this Bell shape. We’re matching all the internal doors, and prefer the keyless version of the Bell.
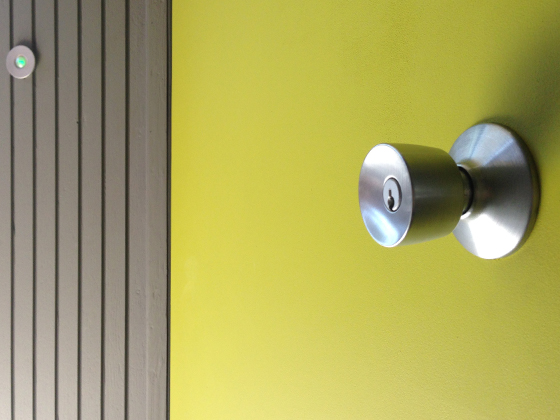
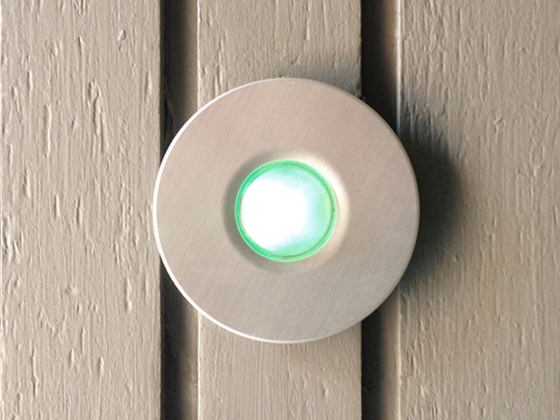
Neither shape is an exact match for the original Eichler hardware, but both are era-appropriate, so it comes down to preference. Another non-original addition, our doorbell. With the siding painted, it looks better than ever, don’t you think?
Now for some harder work –beam repair. Finishing this was on our ‘must do before winter’ list. The eleven beams on this side of the house (I counted) are all that stood in our way.

First, we sanded them back, to expose any problem areas –a few large cracks, but mostly minor stuff, on the beam ends. We applied plenty of bondo, re-sanded, then painted.
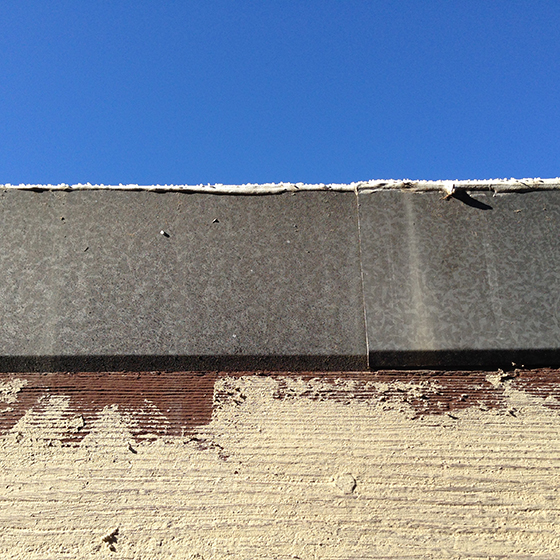
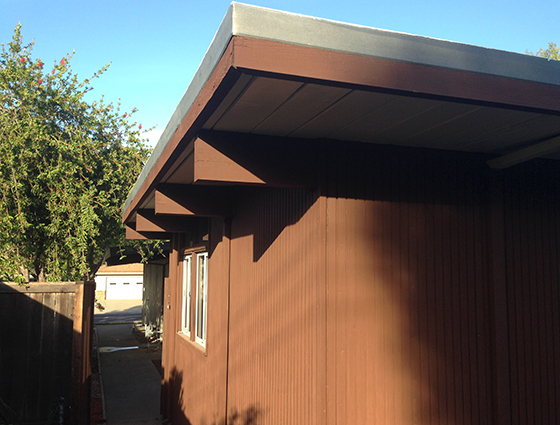
Next we sanded, filled, then painted this run of fascia board and flashing. That’s our white foam roof poking over the top –we didn’t inherit many prior improvements, but this is a big (and welcome) one.
Here’s this walkway with everything painted. Getting there, but still some brown in the picture.
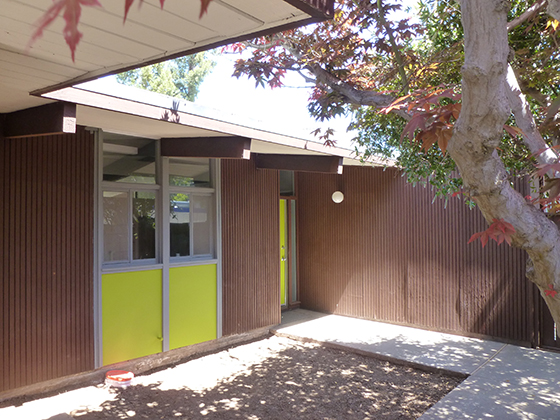
We repeated our beam/fascia routine round by our entrance. You can see the ceilings are distinctly cream-colored, and still need painting –a separate project (as I’ve mentioned) for next year.
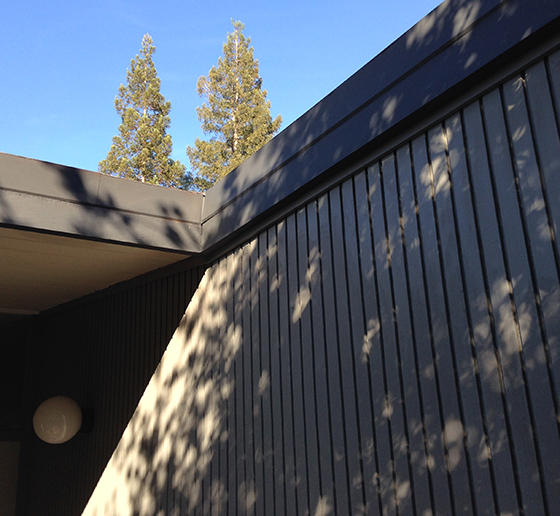
Back to the remaining brown on this side –just this wall, plus the one alongside the path to our back yard. Oh, after we add the front fence we’ll remove this gate, which will open this area to the rear. Hopefully you follow me.

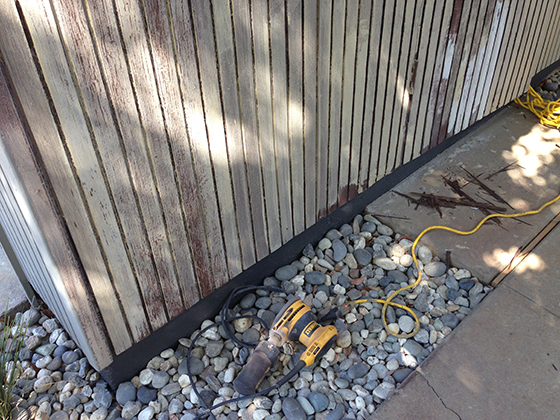
This siding faces west, and takes a real sun battering. We were convinced it needed replacing, but took a stab at repairing it. At the top, industrial strength caulk, which we chipped away –no small task, and it left a mess.
We figured adding some trim would conceal the damage. We bought something to fit, and cut the end at an angle, to meet the existing trim (to the left) on the pitched section.
With a little caulk and some paint, it looks like it’s always been there. We also re-sanded/painted the fascia here, and gave the siding a couple more coats. It all came out beautifully, and should be good for plenty more years.
For the final section, we just repaired/painted the beams and fascia, though I just realized I don’t have an ‘after’ pic to-hand. You’ll have to trust me. We will tackle the siding here next year, when we also plan to reinstate panels under that window.
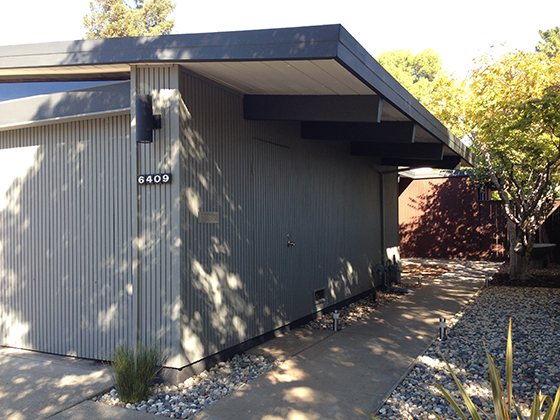
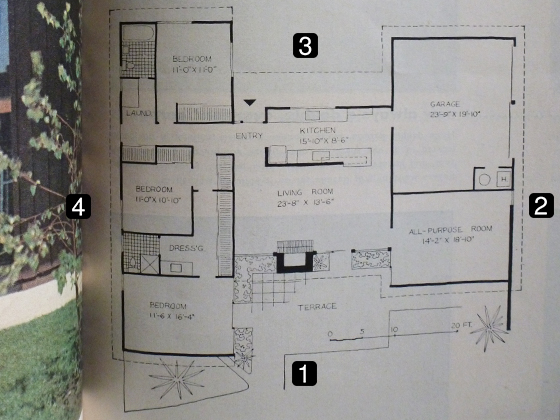
Revisiting our plan, that’s the patio (1), front (2) and entrance (3) done. Just the back (4) remaining, which extends to the right of the above pic.
But that will wait until the spring. A relief to me, and probably to you, as my posts should be a little more varied from now on.
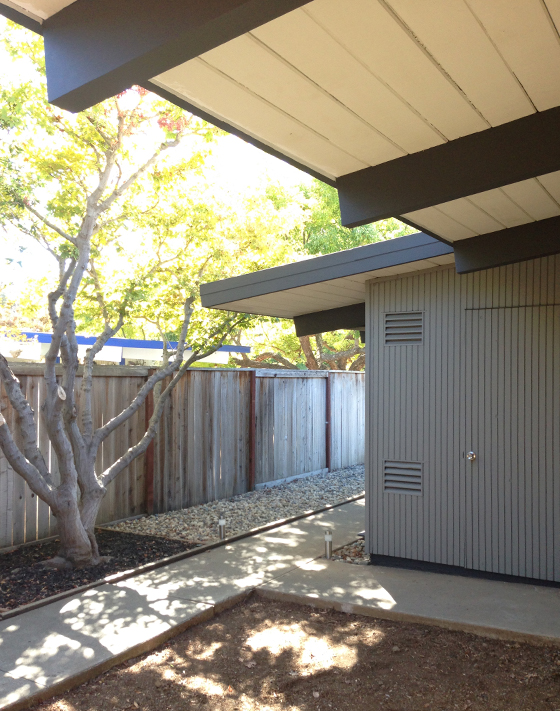
Soon I need to show you our ‘landscaping’ progress, with a clue in this recent pic. Yeah, there’s some rock involved. Oh, we need to run electric to that fountain. I’ll add it to the list…
John
Looks great! Like the fountain and looking forward to seeing your landscaping.
fogmodern
Hey John, thanks for checking in. Yeah, we really must get round to running electricity to that fountain –when it’s running, it will produce a globe-like shape, which will tie-in to the house nicely. Don’t get too excited about the landscaping. It’s a big improvement on how it looked, but very much ‘phase 1’…in a long list of phases!
Michelle Jenson
Your house looks great. I love everything about your website. Can you tell me the color of your gray exterior? I’ve been battling for the last few months what colors to go with for our exterior job. Right now I’m battling between Sherwin Williams Porpoise (a brown/gray) or Grizzle Gray (very gray), also by Sherwin WIlliams. I saw your comment about not having luck with Sherwin Williams. Would you recommend Behr over them? I know they’re all highly regarded. I’ve used Behr and Valspar in our house and liked both, but have no experience with exterior paints.
Also, how did you paint your door and house so you don’t have streaks? Seems like no matter what I do, my doors/cabinets look streaky. Any advice on your house exterior paint job is very welcome. Once the rain stops here in Austin and we dry out a bit, we plan on painting our exterior as well.
Thank you!
Michelle
fogmodern
Hi Michelle. Glad you like our house, and enjoy the site. The gray we used for the siding is Pier by Behr, in premium plus ultra exterior flat. We did consider Grizzle Gray, among many others. Can’t recall why we rejected it now. I would recommend Behr over Sherwin Williams, based on our experience. Worth noting, you can take a SW color reference to Home Depot, and they will punch it in to match it in Behr paint. That’s what we did with our front door, after first painting it in SW paint. We just used a roller, from SW, as it happens. They recommended one (their customer service is excellent) and it worked out well. It’s not 100% perfect though. For that, you’d need to spray it. Oh, whatever color you pick, be sure to check it in all lights/directions –the differences can be extreme. We could not be happier with our final gray, but it was some journey. Feel free to email or follow-up here. I’d love to see pics when you’re done. Good luck!
Edit: I just clicked through to your blog. Very cool. Will be following your story there…
Michelle Jenson
Thanks so much for the quick reply. I just scanned through some Behr paint colors and noticed Pier. It’s slightly lighter than I was originally going but definitely in that same gray gray line. Getting a good gray is hard. I keep seeing them with hints of blue, and sometimes even purple. I’ll be following y’all closely – I love the mid-century modern look but those houses are few and far between here in Austin TX. Just going to have to figure out how to make my 80s ranch into one 🙂
fogmodern
You are welcome, Michelle! It’s definitely ‘gray gray’, which is what we were going for. If anything, it has a slight green/brown hue, but nothing overt. It’s funny, we know of two other people who have painted their homes in our scheme, one here in Sac, one in NC. I plan on posting about it at some point.
I need to dig a bit further into your site, to see more of your home. At first look, I didn’t think it was 80s. Looks like it has great potential for an MCM look. You have to work with what you’ve got and it seems like you guys are doing a great job so far. Look forward to following along…
Lisa and Kyle
Great fountain! We have something with a similar shape in our place…love the modern lines. 🙂
fogmodern
Thanks! We love it too. Would love to see a pic of yours. Still need to get it hooked-up though. Funny, I posted a pic of this area today on Instagram: https://www.instagram.com/p/BCY_TA-C6uf/ –makes me realize not much has changed in this area since.