patio paint
We’ve been doing LOTS of painting recently, as you may have seen on Instagram. Time to share some progress here, starting with the walls around our side patio. I didn’t stop to take a ‘before’ pic, so this is way before –about six months back.
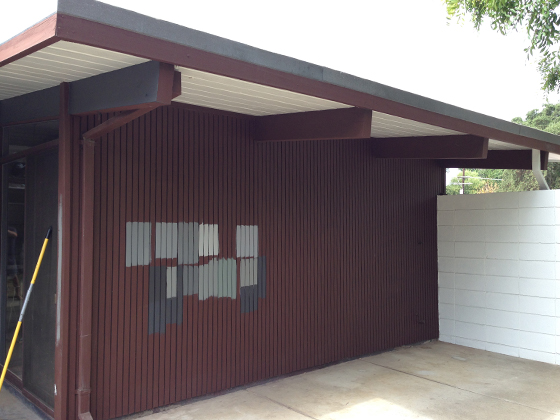
First, we needed to solve our paint-picking conundrum. Thought we’d done that? So did we –not once, not twice, but three times. We still weren’t happy. So, we painted yet more samples on some exterior walls, like this one.
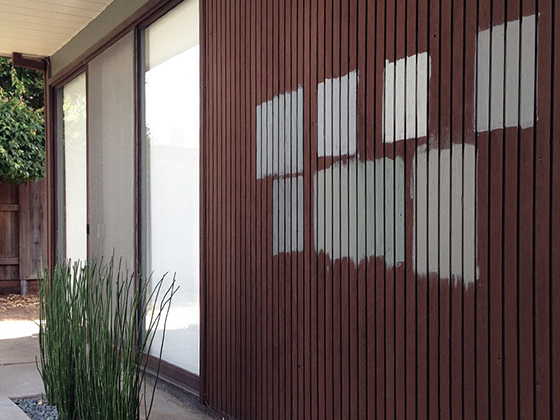
We observed these colors at various times of day, trying to find one that stayed ‘gray’ throughout. We settled on Pier, by Behr. We felt sure about this one…but we’d had that feeling before. We bought a gallon and painted this whole wall.
This was indeed ‘the one’ –a gray with subtle green/brown hints. Preferable (in our eyes) to the blue that had plagued our previous picks. We didn’t plan to paint much more. For a while, at least. But we just couldn’t resist.
For 60-year-old siding, it’s in great shape, but still needed some prep. We sanded, filled, sanded again, painted, filled again, sanded yet again, and painted–pretty much our regime for subsequent weekends. Tedious, but rewarding.
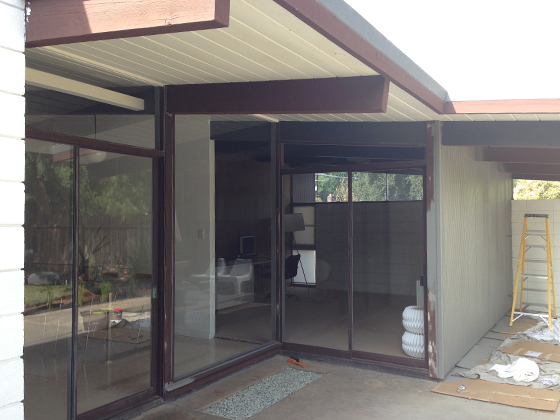
This had to be the first wall we painted, as the inside-gray-outside-brown thing had been bugging us. At least now it was gray right through. Unfortunately, the inside is still the previous gray we’d picked, so needs re-painting (again). But hey, it’s progress.
Next, we tackled a side-project –the screen door for our master sliders. The bug screen is likely original, and it shows. It needed replacing. We bought a roll of gray screen from Home Depot, along with a tool we apparently needed, and set to work.
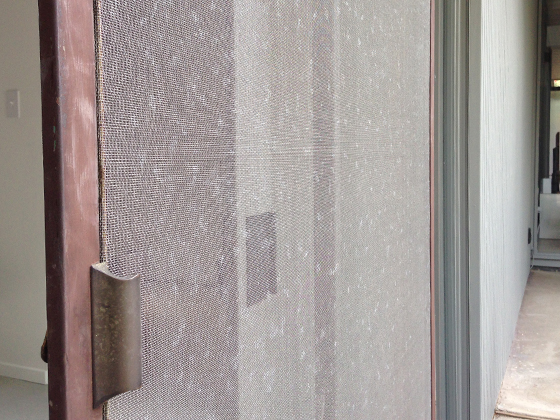
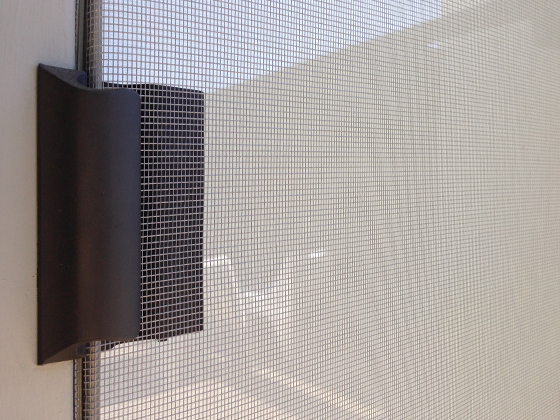
It was a bit fiddly to re-screen but I won’t bore you with the details. This was the end result. We also decided to re-spray all the Arcadia handles black. I’m sure purists would prefer we left everything original, but brass jars with our scheme. So there.
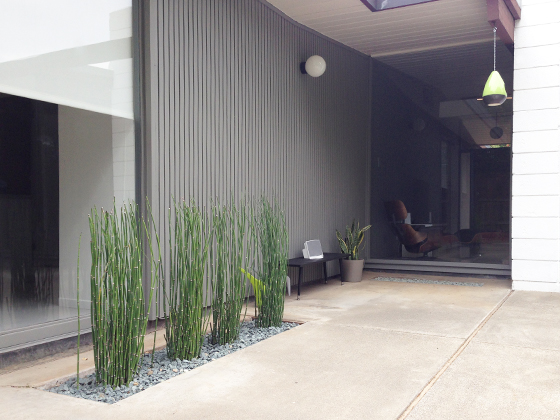
Next, we moved onto this wall; the exterior of our office/all-purpose room –another we’d covered in siding test patches, along with darker gray beam samples. I’ll get to that later. Anyhow, this wall faces north. And minimal sun punishment = minimal prep. Yay!
That said, I did have to remove a mass of stubborn old caulk. We’d re-caulk where the beams meet the siding, but not under the trim, where it isn’t needed. This job took a long time. Luckily, this over-caulking hasn’t been repeated on much of the exterior trim.
We also used wood filler here and there. A little sanding, and we were ready to roll…well, spray –but that didn’t go well. It covered the surface okay, but getting paint into the grooves was tough, without significant wastage.
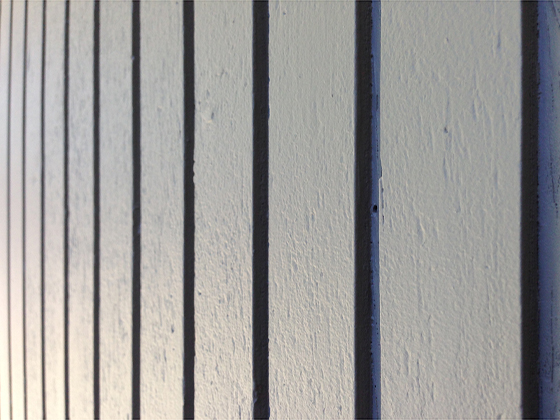
Ours is wideline siding, with very deep, visible grooves. Later Eichlers have thinline siding, with smaller grooves –I’m guessing this is a little easier to paint. We got there, eventually, but re-painted most of the grooves by hand.
This sprayer had disappointed us several times before, so we returned it. From now, we’d roller the surface, and brush the grooves. Next, we tackled the trim surrounding our living/office sliders and windows. Not much surface area, but bags of time-consuming detail.
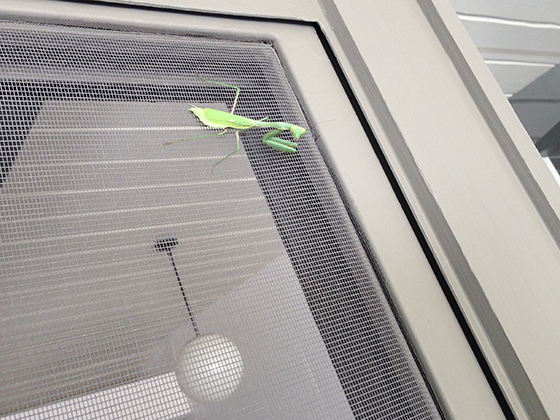
Once the trim was done, we replaced the bug screens for these two sliders. Our resident praying mantis then appeared, for a quality check. Check. I love these little guys, and have taken dozens of closeups since we’ve been here. So cool.
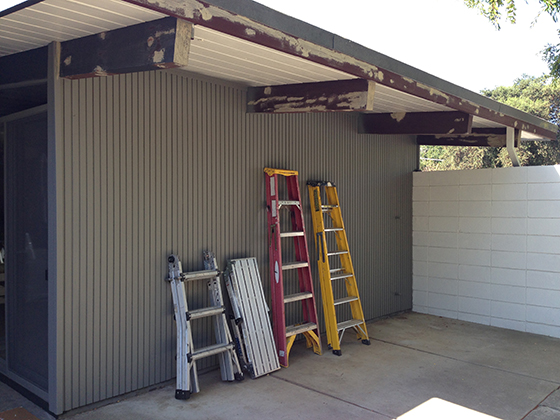
Next, the ladders came out (not sure why we need this many?) for our first stab at beam repair. We sanded back the beam ends, and they seemed to be in great shape. We applied bondo to a few problem areas, and wood filler to minor surface cracks.
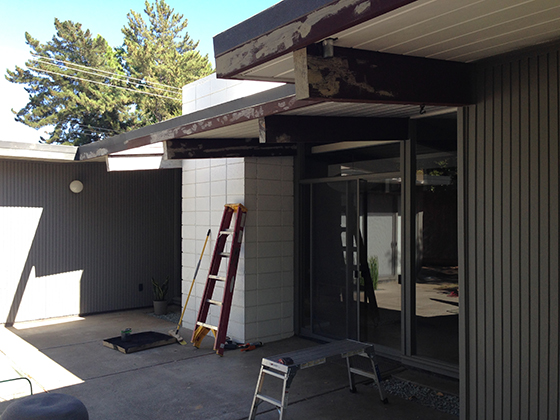
We did the same for the fascia. Now everything was smooth and paint-ready. Talking of paint, we had tested our original beam color on the fascia and it just didn’t look right. We needed something darker –a stronger contrast to the mid-gray siding.
We tried a few standard Behr colors but couldn’t find anything. By now, we had masses of gray samples, so mixed a few up, eventually creating one we liked. We painted a strip of wood, then color-matched it at Home Depot.
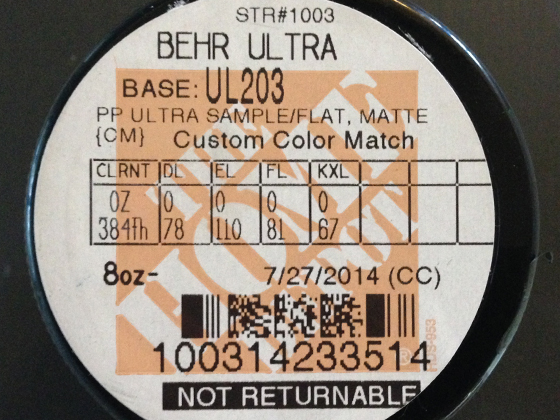
It looked almost black going on, but dried a little lighter –again, just what we wanted. As with the siding, we used Behr Premium Plus Ultra. After some disappointing results from other paint brands, we’re sticking with this. It goes on smoothly, and covers well.
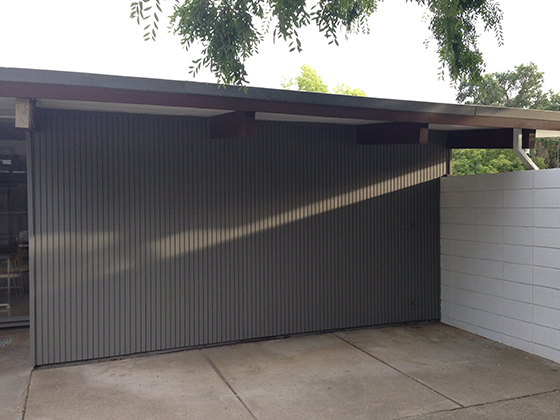
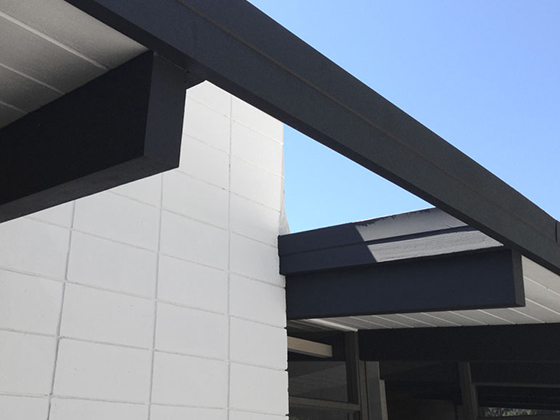
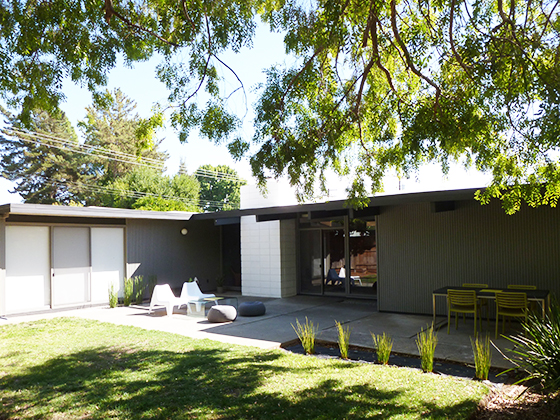
Once we’d painted all the beams and fascia here, it was really starting to come together. We love the strong contrast between these dark beams/fascia and the bright white cinder-block fireplace. The blue sky helps too.
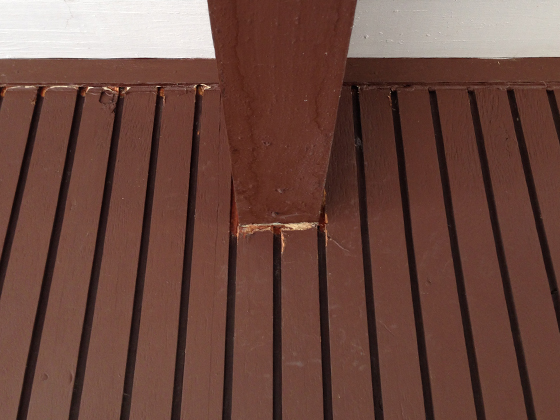
As with all these projects, each time you finish something, it highlights something unfinished. In this case, it was the thin portion of visible concrete foundation. Most people paint this to match the siding, but we’re using the darker beam color.
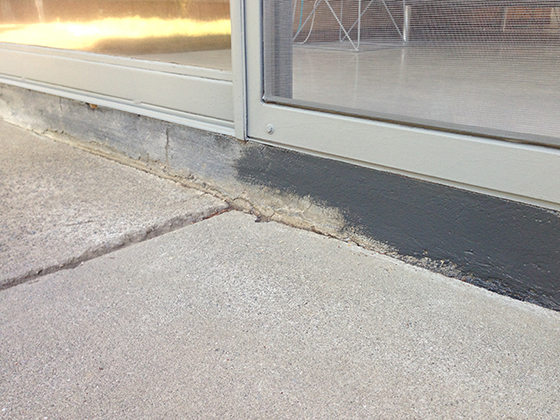
We’d seen other Eichlers painted this way, and loved the look. It mirrors the fascia, to punctuate the siding, top and bottom. We had to fill some concrete, in heavily trafficked areas. Someone (likely smarter than me) decided pink was a good color for this filler.
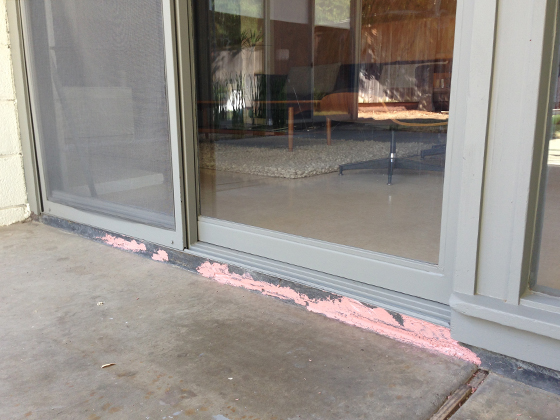
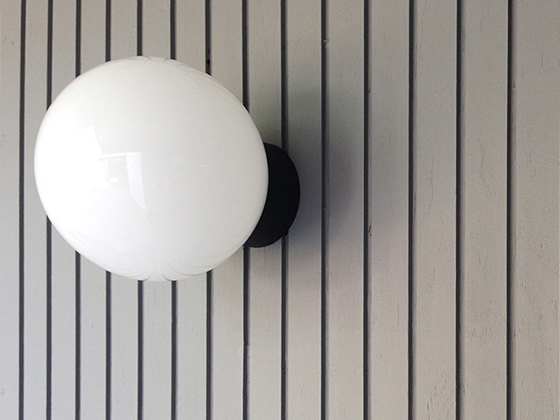
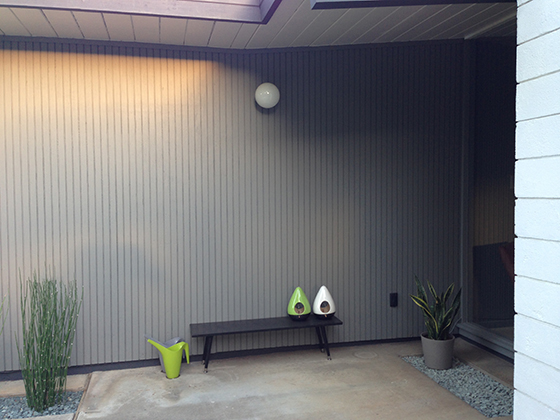
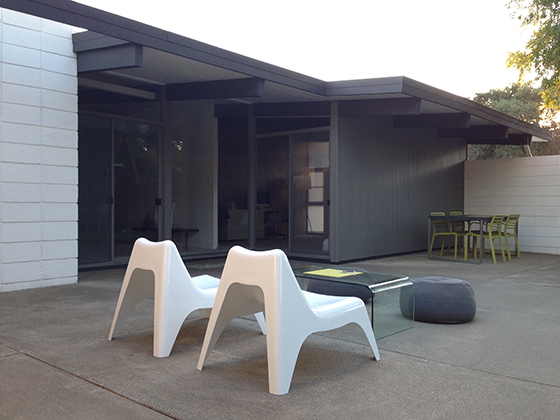
Anyhow, we finished painting the slab. You can see the definition it gives in the pic below. As it’s so dark, it works well with the black elements in our design –globe base, outlet cover, slider handles, and this DIY bench I adapted from an old desk.
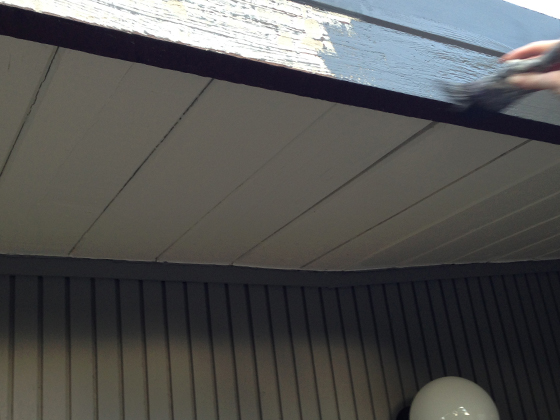
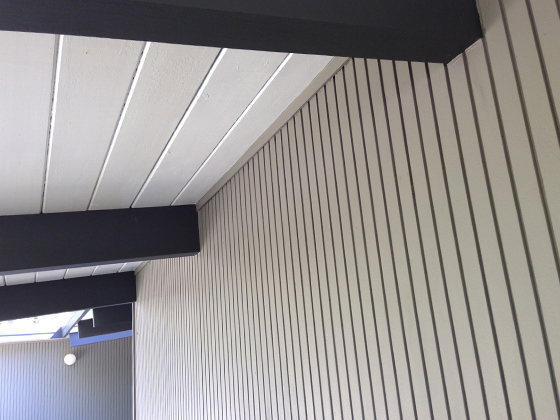
Here’s a good view of the siding/beam contrast, and also how the palette works with the white ceilings –these (mostly) look okay, and it’s a huge job, so we won’t be re-painting them for a while. We’ll do this as a separate project, sometime next year.
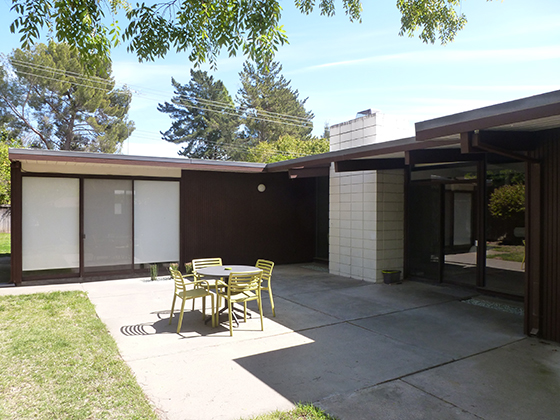
I love the light in this area, as the sun sets. The wall on the left faces west, and the sun casts some cool shadows…which I can’t stop taking photos of –if you follow us on Instagram, you’ve probably picked up on my obsession.
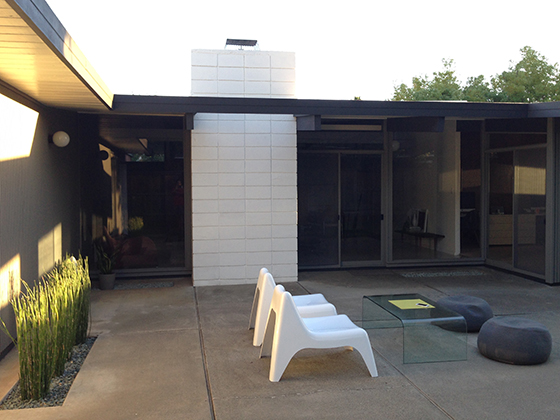
We plan on buying more patio furniture at some point. For now, this ensemble does just fine –we bought these cheap loungers from IKEA, the poufs were our temporary seating when we arrived, and the glass coffee table was relegated from our living room.
In the corner, our outdoor dining area. We’ve had this table for years (a gift from Karen’s parents) but it’s a little large for our indoor dining space. It was also pretty scratched and scuffed, so we painted it to match the beams, and gave it a new home.
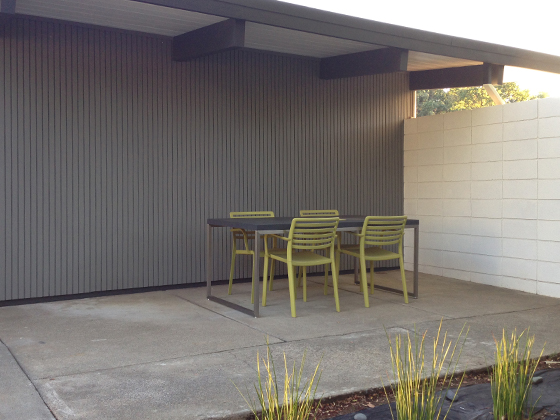
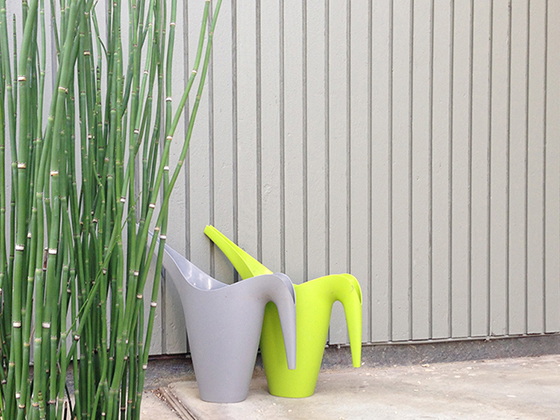
We got the chairs from Crate & Barrel, when we lived in Boston. We’ll add a grill at some point, so this area will get plenty of use. We’ve done minimal landscaping here (as you can see) but we did plant some variegated Baumea grasses, which we love.
We have big (though fluid) plans for this area, and we’ll get cracking soon. Just out of shot (left) is the next wall we tackled. That was rather involved, so gets its own post. Since this, we’ve painted lots more of the exterior. I’ll catch up soon, promise.
Olivia
This looks soooooo good! I think your backyard looks “done”! Haha. And replacing the screens — such a difference! We need to get on that ASAP — our original screens are atrocious. Nice work!
fogmodern
Hey Olivia! Glad you like. You should see the yard from some other angles. And this is the side-yard, don’t even get me started on the back…or the front. It’s a mess. We’ll get there, eventually. It’s a lot of work, as you know! The screens did turn out well, though we need to re-screen one, as it’s a little ‘baggy’. Getting them tight is the tricky bit.
Aletha | MidModMich
Looks great! Love the contrast – wish our beams were a tad darker. Painting is NOT fun, but it sure does make a huge difference. Great work!!
fogmodern
Thank you Aletha! We planned on dark beams from the start, and it feels like the right choice for us. It’s amazing the difference a bit of paint makes. And no, it isn’t fun. We’re just about ready for some landscaping!
Karolina
Oh, I love the darker fascia and concrete. And that last shot– looks like such a great outdoor space to hang out in. Simple and inviting. Great work!
fogmodern
Thanks Karolina! If we were sane, we’d have hired someone –your paint scheme looks AMAZING and done in a fraction of the time! Funny, it didn’t look close to finished until we’d painted the fascia and slab. We love hanging out here. In fact, it’s the only place we hang out, as our backyard is a mess. Baby steps!
Karen
Fantastic job! We will be consulting this post someday faraway when we repair and repaint our siding! 😉 Congratulations!
fogmodern
Thanks Karen! We’ve done a fair bit more since this (just catching-up here) and most of it has needed way more prep. I’ll share more detail in subsequent posts. Would still LOVE to see your place in-person at some point.
John
Looks great! Any plans for lighting over the dining area, wall sconces or hanging globe lights?
fogmodern
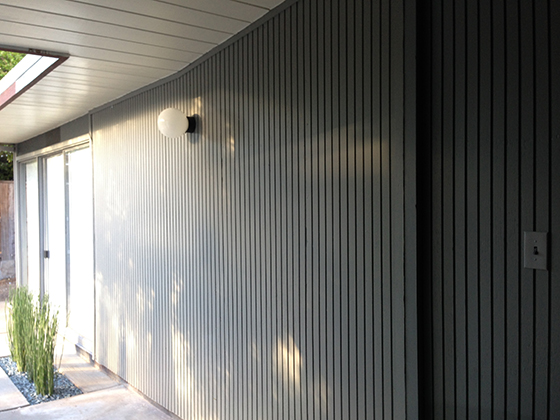
Thanks John! Yes, we have an original globe and base, which we’ll wall-mount, to match the one at the far left. We’ll run electric when we tackle our office/all-purpose room, which we’ve marked as a winter project. Hanging globes would be nice, but this will look more original (we think) for our model.
Cher
This is gorgeous- and the work you’ve done is so inspiring me to get back in the DIY saddle and finish my 100-yr old kitchen. You should put this place on airbnb when you’re done- It would be a favorite of travelers, I’m sure!
fogmodern
Hi Cher! Glad you like what we’ve done. Cool that we’re inspiring you too. We’ve renovated a couple of 100+ year-old kitchens in our home town, in England. Good luck with it! Airbnb is an interesting suggestion –not sure it would work for us though, as we rarely leave our home!
Patchi Cancado
It looks so, so good. Nicely done. It is just the style that I love!
fogmodern
Thanks Patchi! Glad you like what we’ve done 🙂
scott
Hey guys,
Just got done going thru your entire blog and I gotta say amazing job. Being that I’m finally ready for new paint on my house, you’re colors are perfect. Only difference in mine is I have a lot more brick as well as my “posts” are exposed on the exterior. But I do have all that brown/white that you had. The brick just blends terribly with the brown. Makes me want to paint it white or gray. So I have a couple more dilemas to get past.
I thought I followed exactly your colors thru your restoration, but by the final paint, I’ve gotten confused.
Is this right?:
-exterior panels=pier by behr(continues thru glass wall portion of house)
-exterior trim=pier by behr
-beam exterior=the color match behr from home depot(continues thru house?)or did you use grizzly gray
-fascia=the color match behr from home depot
fogmodern
Hey Scott! Thanks for sticking with it and following our progress. We’ve done a good deal more, but struggle to keep up with posting. You’ve got the colors right. Behr Pier for everything apart from beams and fascia, which are the custom color shown in the post. I get that it’s probably confusing, as we changed our scheme multiple times. Obviously we are happy with the colors, but they may look different in your light in Wilmington (NC?). And on your screen, I guess. I’d get a small sample to start with. We’d be flattered if you used our colors though! Trying to work out what your home looks like, but would love to see a pic or two. Feel free to email or send via Facebook (links in “contact”). Thanks for checking in!
Pingback: side steps « fogmodern
Pingback: paint it gray | fogmodern