paneling rescue
Since buying our Eichler, we’ve restored three walls of (previously painted) wood paneling –two in our living area (below) and one in our master. None are perfect, but we’re proud of rescuing them, while proving paint doesn’t equal death for this Eichler staple. We just completed another wall, in our (soon to be) music room. People often ask about our process, so we figured this was a good opportunity to share.
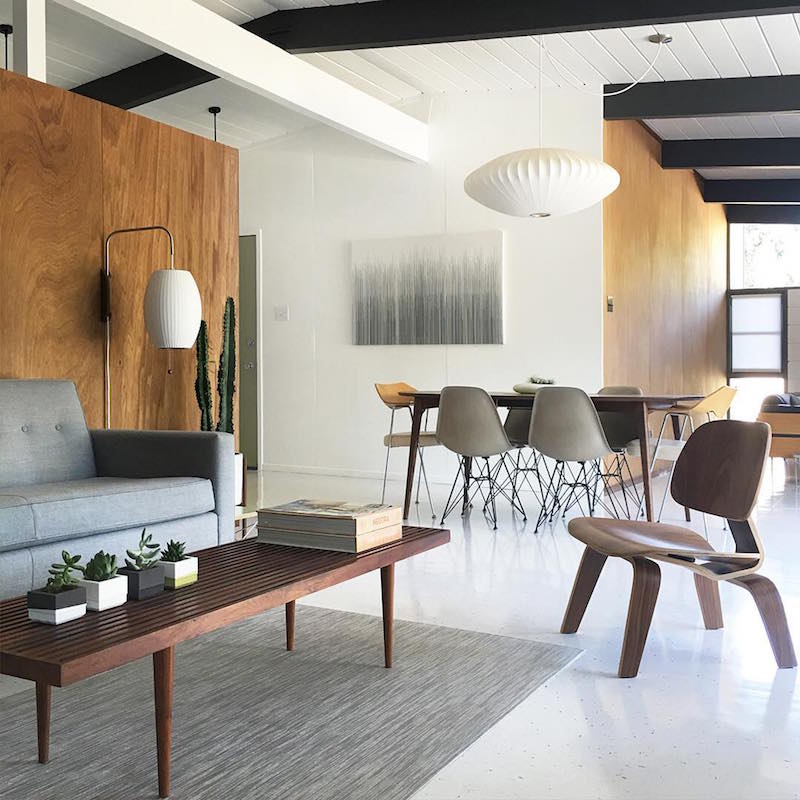
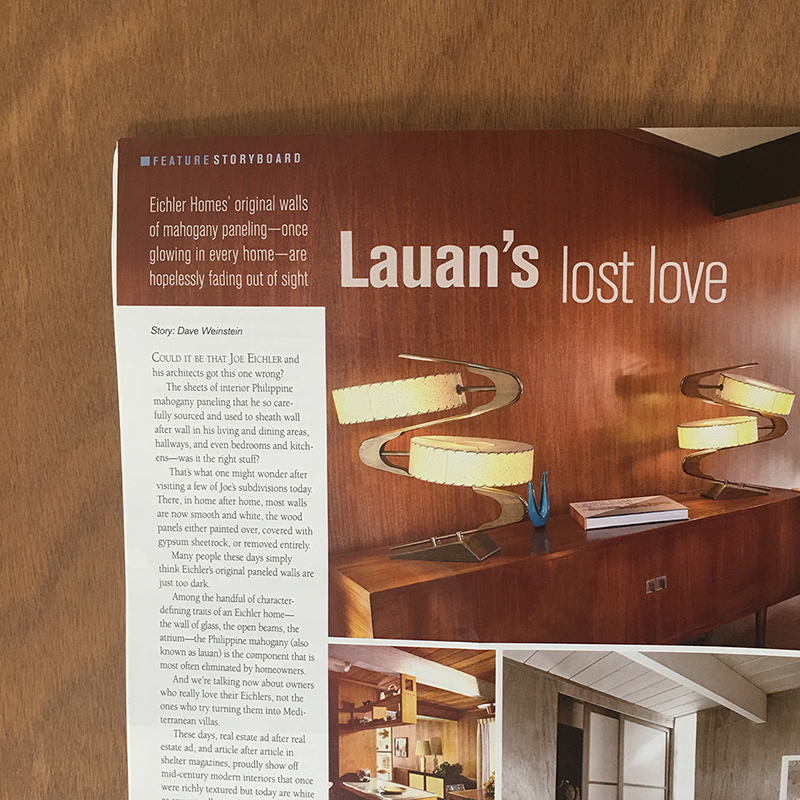
We were further motivated by a recent article in CA Modern, suggesting paneling is losing its appeal –we wouldn’t want wood on every wall, but believe it’s a defining Eichler characteristic. The article also quotes a local builder, as saying “You can’t sand it down. The veneer is extremely thin.” –we disagree. And while it can never be 100% perfect again, we think it can, and should, be saved.
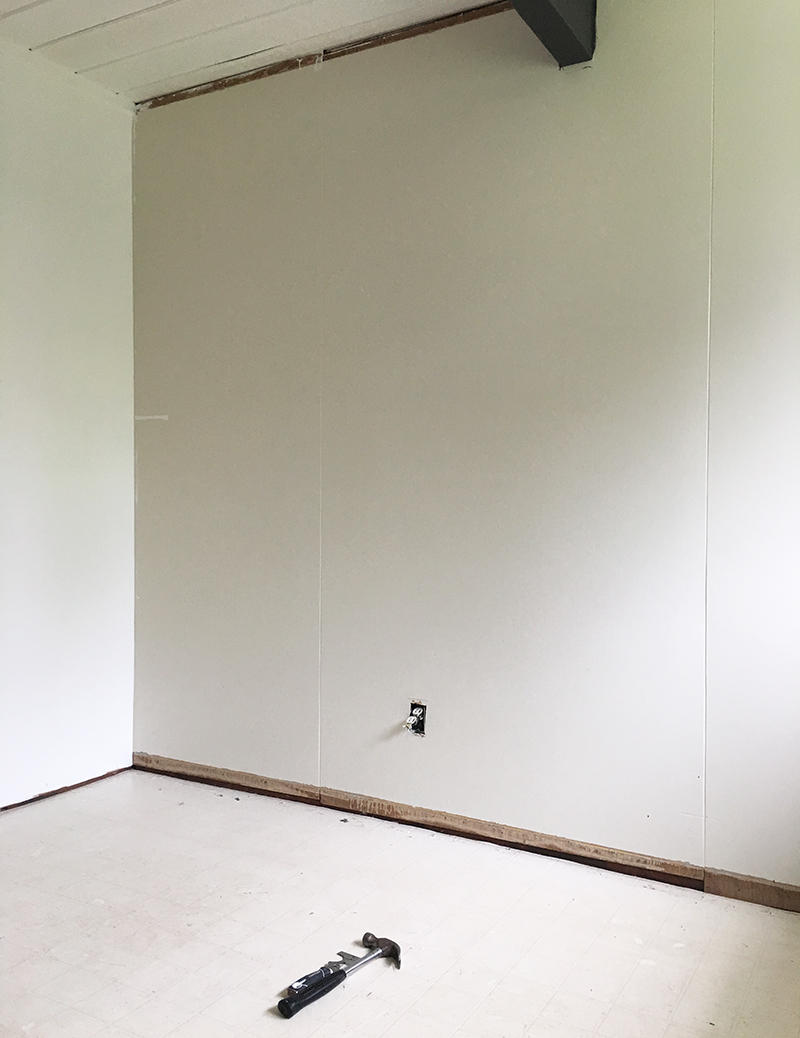
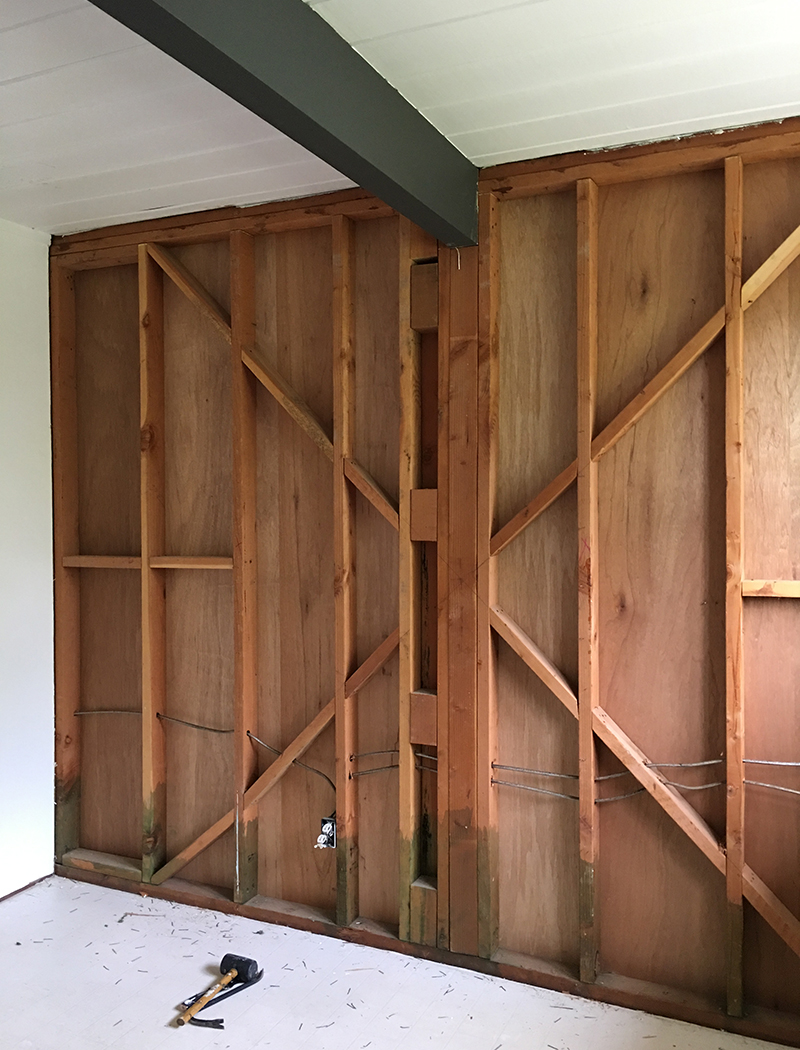
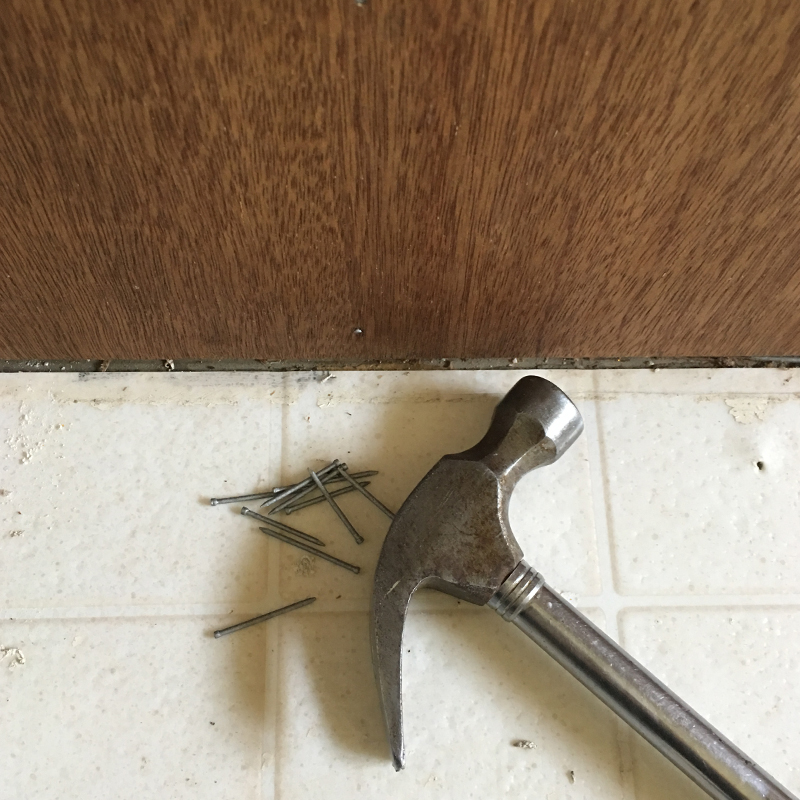
Here’s our latest rescue mission. Paneling can be stripped in situ, but it’s way more difficult to get good results. So, off it comes. First, we removed the top trim and baseboard, using a wallpaper scraper –tapping with a hammer, to get in behind, then levering it off.
Next, we removed the panels. Starting at the bottom, we poked in a flat-head screwdriver, to prise back the corner. Then we worked our way up, using the scraper to gradually lever-off the panel. With one side free, we reached progressively further behind, to release the panel from the studs.
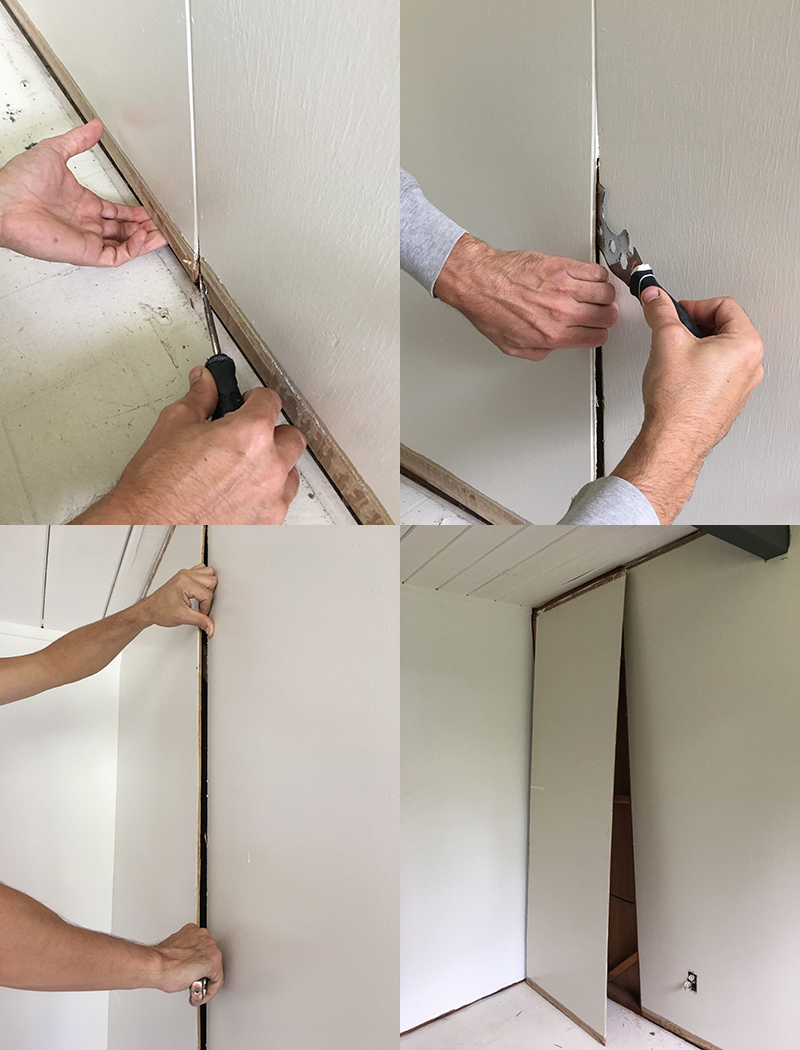
With better access, subsequent panels are easier to remove, and the wall was soon naked.
On that note, time for the stripper –our preference is Ready Strip Pro. On reflection, we should have made a trip to buy a bigger brush (this was all we had handy) as it takes a while. This stuff smells toxic, so I masked up and ensured good ventilation. Warmer weather is ideal, so the stripper dries out quicker. When it is dry, the stripper turns off-white. Then it’s ready for scraping.
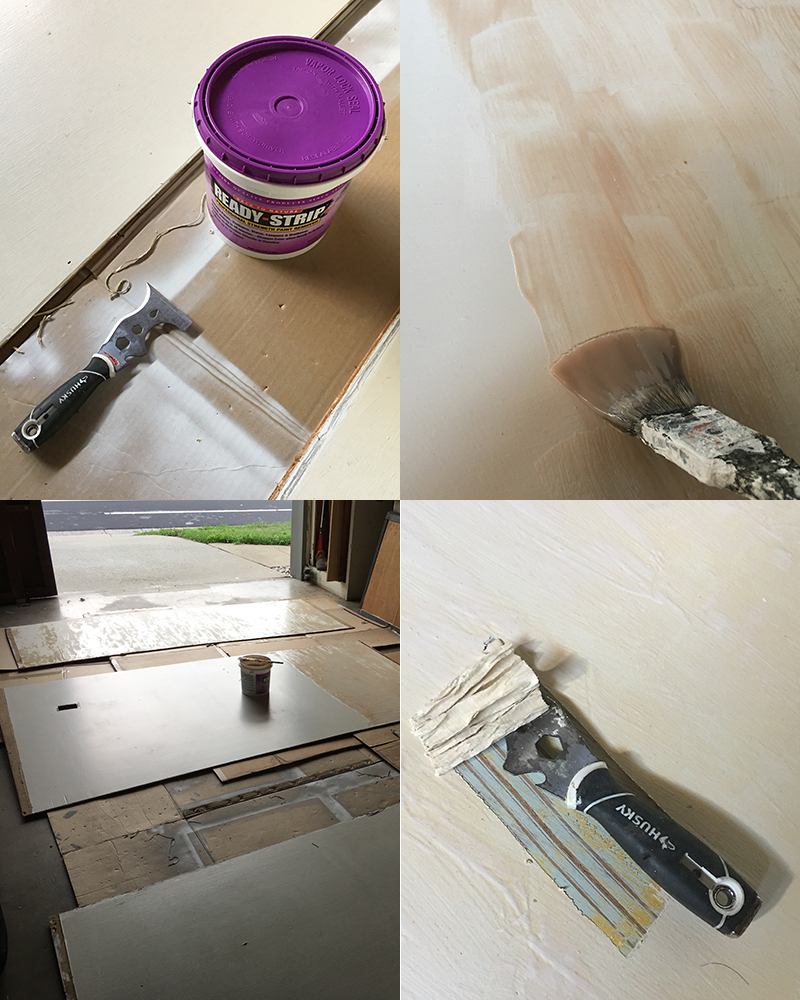
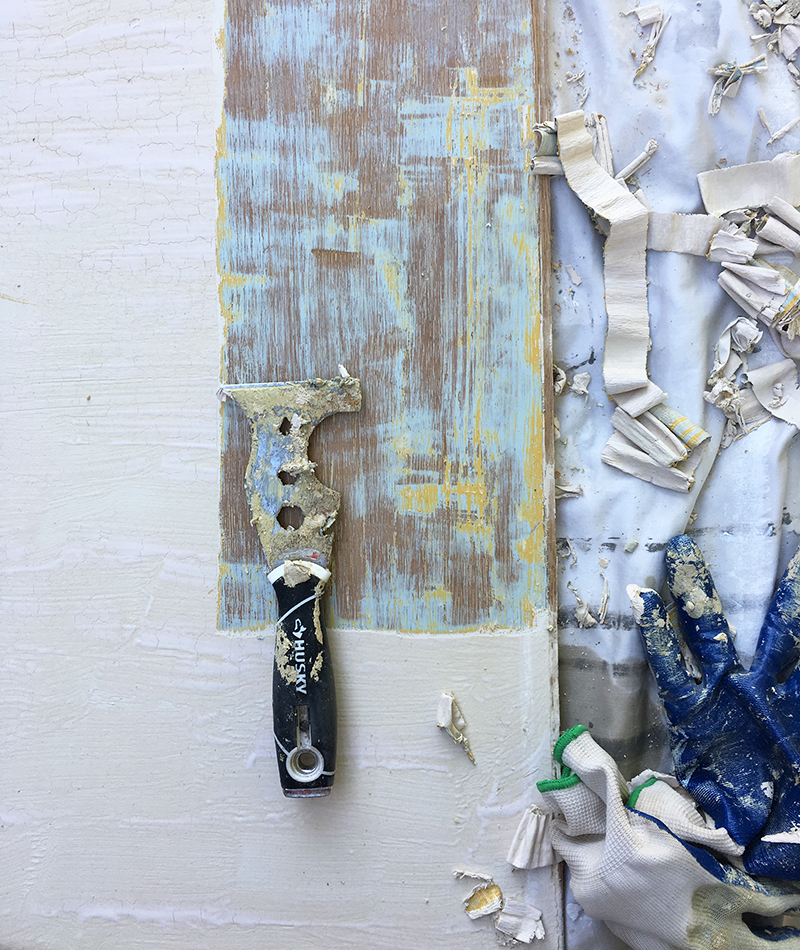
This is tedious, taking hours per panel, and akin to prison work. Sometimes a long strip will come off in one go, but mostly it’s painfully slow. Another job for the wallpaper scraper –we’ve used this for pretty much everything except removing wallpaper. Still some paint left, but sanding will take care of this.
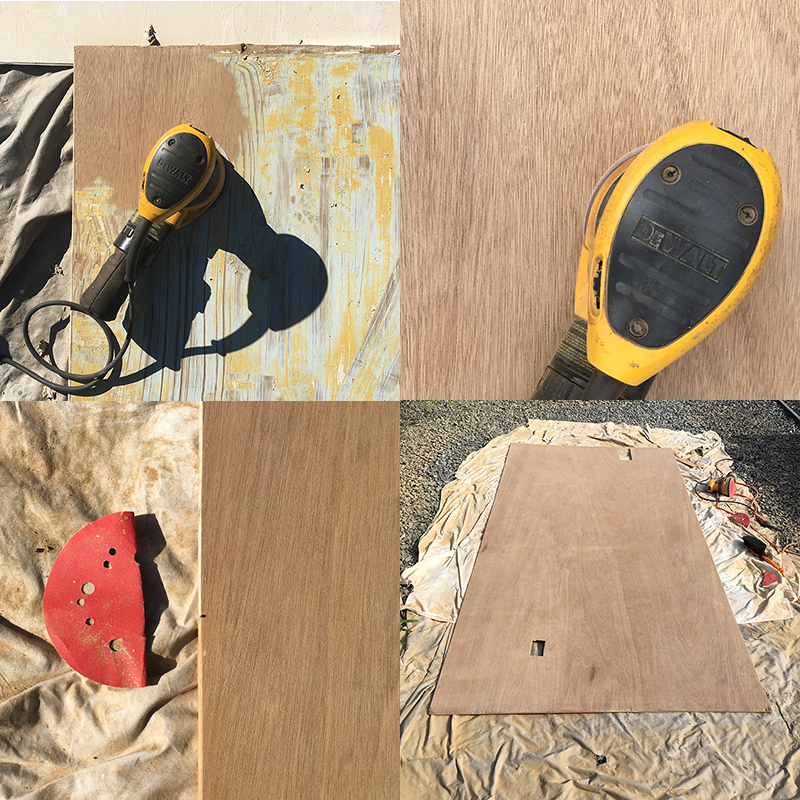
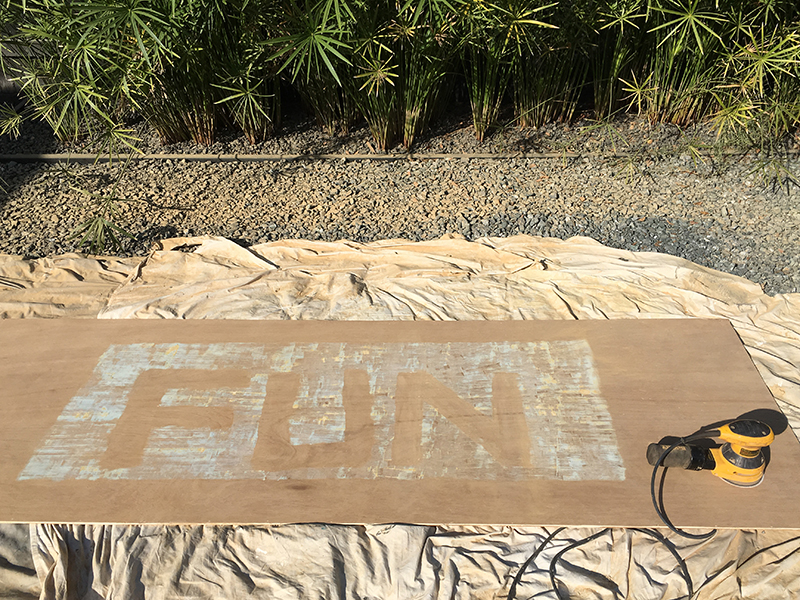
We started with fairly abrasive 120 grit, then switched to 220 for a smooth finish. The veneer is surprisingly thick, and forgiving, but it’s almost impossible to remove every last bit of paint. Close enough though. We hand-sanded the edges, to prevent mis-shaping.
“Fun” is a stretch, but it’s definitely bearable with some distractions.
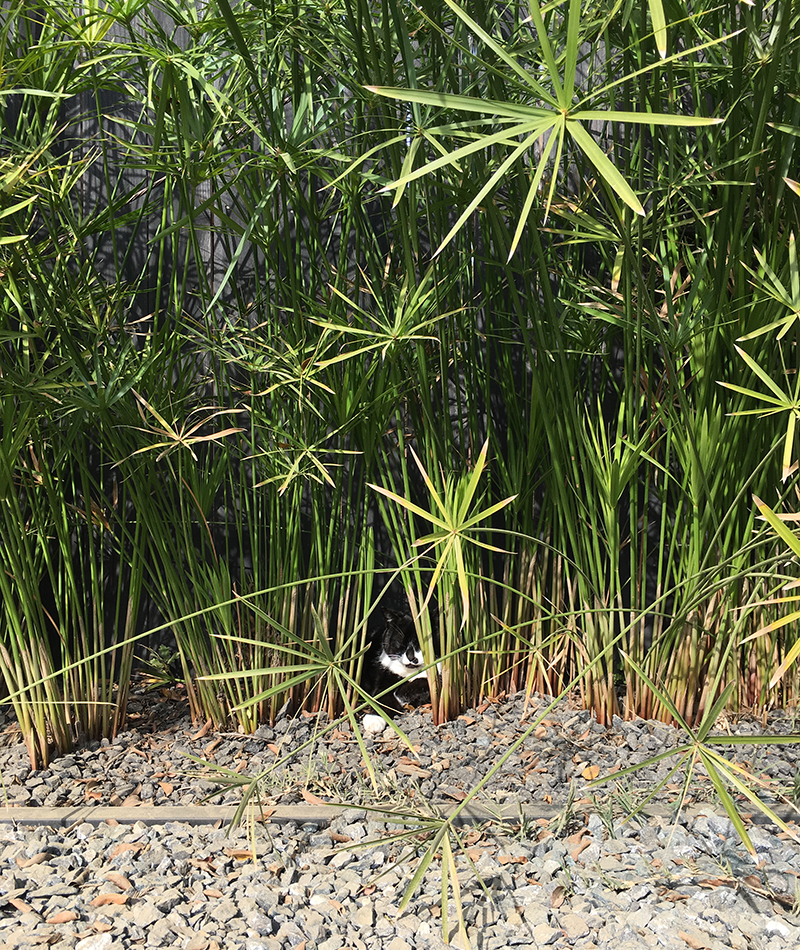
Fog supervised from a safe (though dusty) spot.
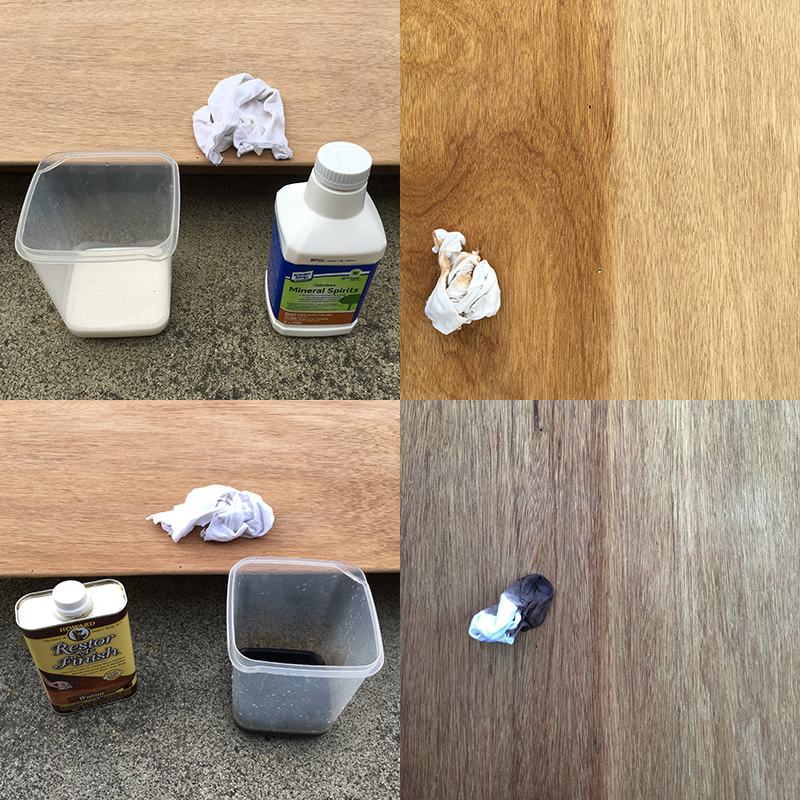
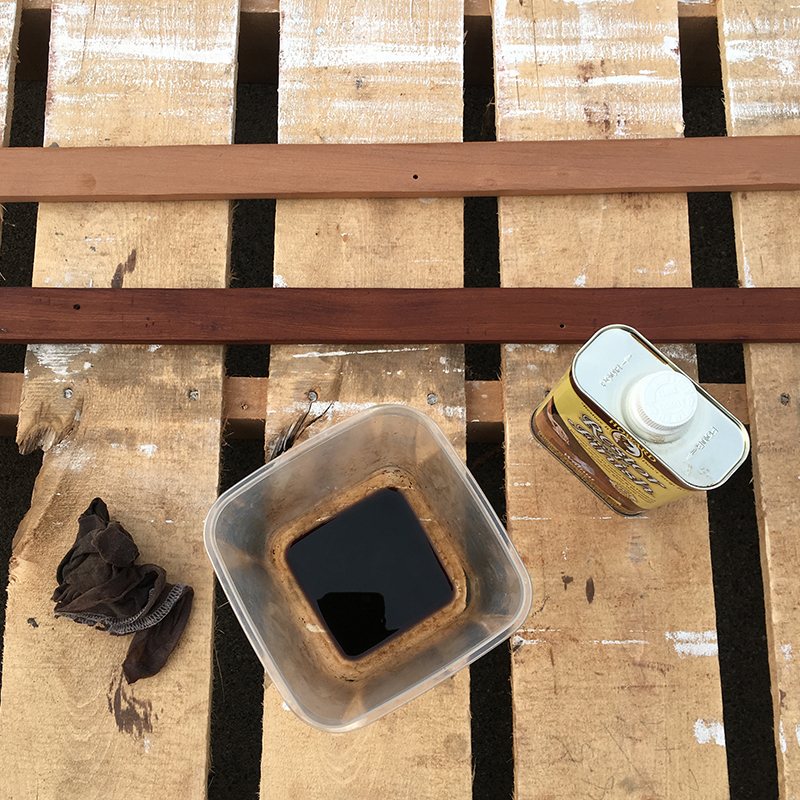
With the sanding done, we brushed and vacuumed the panels, then applied mineral spirits to remove dust. This also gives a stain preview, and highlights remaining paint –we spot-sanded a few areas. Once dry, the panels are ready for staining –we used Howard Restor-A-Finish, in walnut. Light was fading, so the final pic is a poor representation of color.
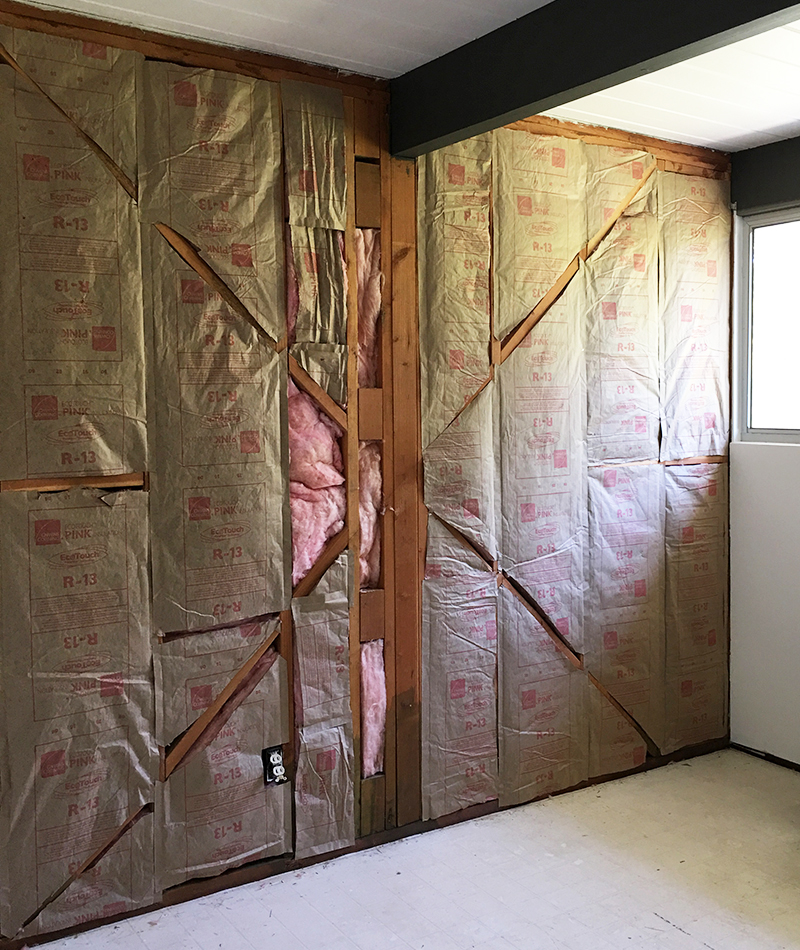
Back in the room, Karen had been busy insulating –always good practice to fill those cavities, and an added noise barrier, as we’ll be playing music in here. We did consider more robust sound-proofing, but this room sits between our master bath and (rarely occupied) guest room, so no real need.
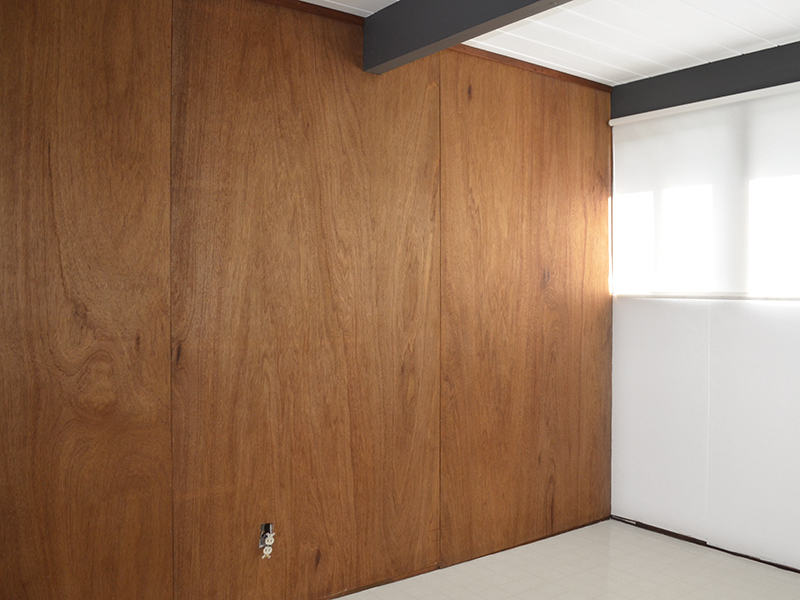
Hanging paneling is a two-person job, so no free hands to document it. We began with the central section, as it needs to fit snug to the beam, and over this wall’s only electrical outlet. We hammered nails in a few places, using existing holes. Then we did the same with the two side panels, butting them together.
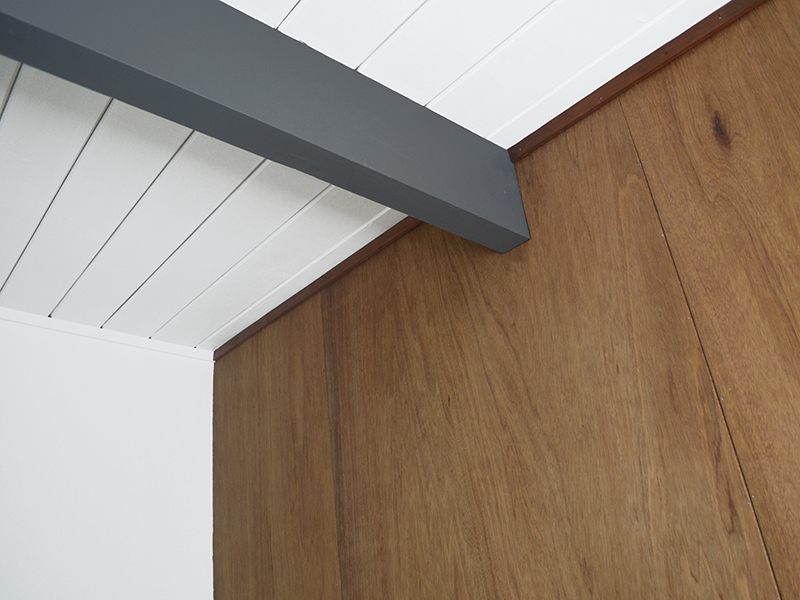
We sanded white paint off the top trim we’d removed, then stained with the same Restor-A-Finish –before and after below. This is different wood (we’re guessing redwood) and comes out much darker than the paneling –more of a contrast than a match, but we still like the look.
With the trim nailed in place, it finishes the wall nicely. Just don’t look down…
We’ll add new baseboards, stained to match –we planned to retain all our originals, but 60 years-worth of punishment takes its toll. We also need to add a bakelite outlet cover, and some quarter-round at each end of the wall. Once the stain has fully dried, we’ll apply Howard Feed-N-Wax.
Plenty more to do in here –we’re about to install (our now familiar) Polar White VCT flooring, we’re adapting/re-finishing our original ‘flying coffin’ cabinet (removed from the kitchen), and there’s furniture, musical instruments, and AV tech to add. This will be a fun space, where we can escape from real life for a while –kind of apt right now.
Save
Keisha
Thank you so much for doing this post! I have an Eichler and always wondered about how to restore the painted paneling as the contractors say it’s impossible. What kind of sound proofing did you use? Were you worried about lead paint?
Andy
Hey Keisha! Our pleasure –glad you liked it. I’m not sure many contractors would go to these lengths, and most homeowners wouldn’t be prepared to pay for all the hours of labor! But it IS possible. We just used standard R-13 insulation, as we don’t really need sound-proofing. Lead paint is a concern, but I figure masking-up and sanding outdoors is enough to negate that.
tony
Andy – I must say you certainly have a lot of confidence to have tackled this job. It is scary to think about doing what you did, which was really dismantling a major feature of your Eichler. What a great job you have done and what a brilliant result. You have proved the “experts” wrong. Very well done yet again.
Andy
Thanks Tony! Well, we’ve had plenty of practice, after three previous walls. And it’s not really confidence you need, more patience! But we feel it’s very much worth it. Glad you like the results too.
John
Beautiful work – as usual!
Andy
Thanks, John! Glad you like.
John
An A+ for all the work. Are the electrical lines covered with metal tubing to prevent hitting them with a nail? Today any electric wires require a metal plate over the stud where a line might get punctured.
Andy
Thanks so much, John, glad you like the work. I didn’t think we had to add nail plates, as we weren’t re-wiring or changing anything. We did check the clearance though, and these wires exceed the minimum, so I think we’re good.
Pingback: cabinet reshuffle | fogmodern
Karolina
Great work as usual! I’ve been meaning to ask: are your panels secured (originally) with tiny staples? This was the case for our kitchen partition wall and we found them really hard to remove without damaging the paneling. Any tips?
Andy
Thank you, Karolina! Our panels were just secured with small finishing nails. I guess Eichler changed the process sometime between 1955 and 1960. Sorry I can’t offer any advice on removal.
Pingback: music room | fogmodern
Pingback: looking back: 2016 | fogmodern
Pingback: eichler fireplace restoration | fogmodern
Leslie
Wow- this came out really nicely. Well done.
Andy
Thanks Leslie! We were very happy with the results.
Rikke Truelsen
Do you think Ready Strip Pro would work to remove leftover mortar or glue (?) after removing floorboard tiles in a bathroom?
Andy
Sorry for the delay, Rikke. I Would need to check the manufacturer’s recommendations (and I don’t have access here in teh UK) but I really don’t think it’s designed for that purpose. I suspect prolonged scrubbing is your best bet, sorry!
Tony Ronneback
Hi Andy
I have to plead complete ignorance about this.
Good to see the message.
Tony.
AA
Absolutely gorgeous! We still have an original (never updated) Streng/Eichler, and I have to agree: that wood paneling is such a lovely grounding for the rest of the glass/white.
Aaron Humble
Looks amazing! I’m installing some Luan for a cozy office in our midcentury home and have been debating how to finish it. Did you put anything on after the Restor a Finish? Any wax or anything? Do you have to recoat over time or does that product work OK on bare wood?
Andy
Hi Aaron. Glad you like it! This would work fine for your project, though there are other options for sure. I’ve seen others not recommend Restor A Finish for this purpose but it worked well for us. And once we’d done our first paneling project, we stuck with our original choice for consistency. We’ve since moved back to the UK but didn’t recoat any of the paneling while there. I’m sure it needs it now though, as we have needed to recoat our surfboard coffee table since. I think sun exposure is a factor so worth thinking about. We didn’t was wax or any finishing product but could also be an option. Whatever you choose – if feasible – always worth testing on a small piece/patch first. Thanks for stopping by!