master paneling
We’ve been tackling some master bedroom projects, which I’ll need to spread over a few posts. With no need to insulate, we skipped ahead to restoring (yet more) wood paneling. We actually started this a while back, before we’d painted the ceiling beams gray.
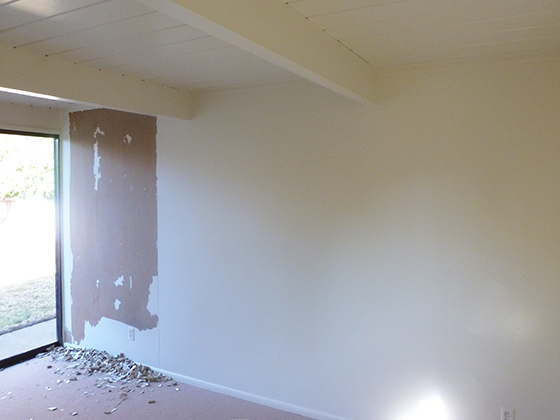
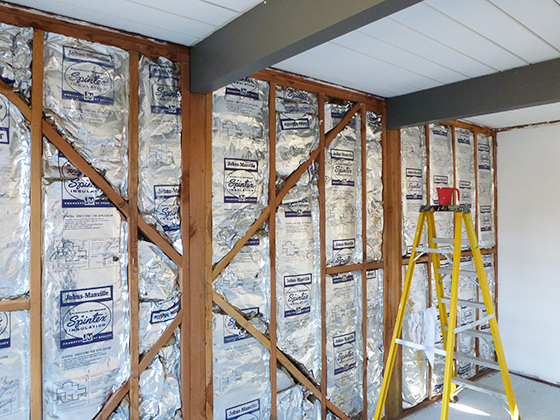
We planned to restore this wall from the start. It faces our long bedroom corridor, and is visible on approach, so it literally sets the tone for the room. This time, the paint stripped okay (albeit slowly) with just a razor. I spent parts of the next several days carefully chipping away.
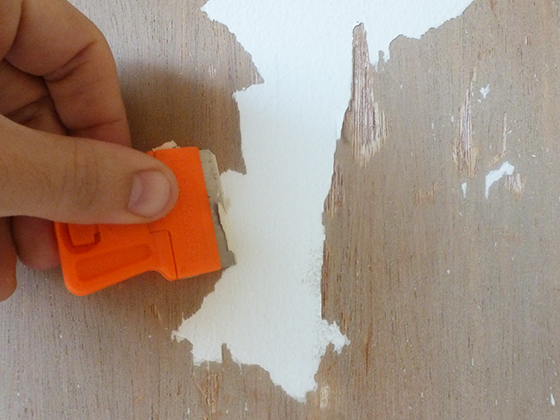
Though this felt like prison work, I secretly enjoyed it. But, despite taking care, I created many divots, adding to existing holes, rough patches, and metal brackets we couldn’t remove. We remained optimistic, and used Citristrip and steel wool to remove final paint remnants.
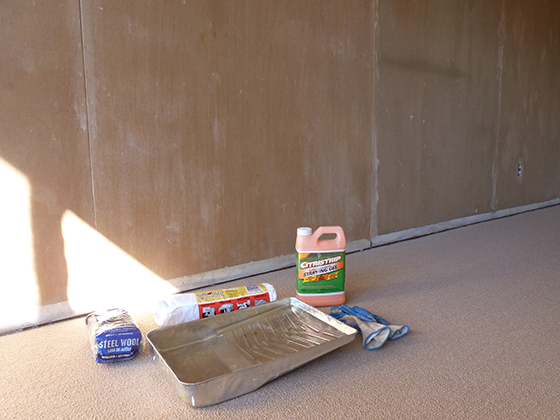
Then we applied pre-stain conditioner, and Restor-A-Finish, in the hope this would blend any bad areas. I guess we shouldn’t have expected too much from this 60-year-old, previously painted, partially damaged wall. It was never going to be perfect.
But it was too far from perfect. So, we started from scratch. We removed all the wood panels, except the tiny one on the far left, next to our sliders –we didn’t want to risk shifting that. This took a while, as we had to extract (what seemed like) hundreds of nails.

As a bonus, removing these panels allowed us to confirm this wall was insulated too. Check. While we were at it, we decided to rip up the carpet. It would be going anyway, and this would give us better access. We added it to our growing dumpster pile.
Then we set to work sanding the panels. Ideally, we’d prefer to hand-sand, with the grain, but these looked pretty far gone, calling for drastic measures. I grabbed our orbital sander, and gave them a thorough going-over. This is thin veneer, but there’s actually some wiggle-room.
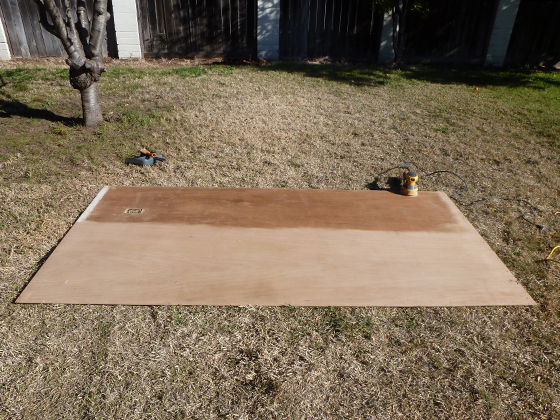
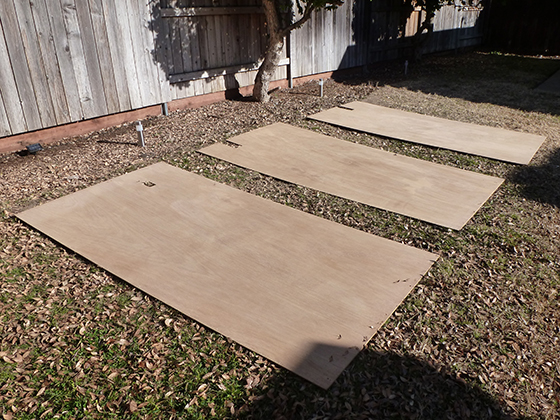
It took two full afternoons to sand all four boards (I can count –one isn’t pictured here) but this allowed us to reach all the edges, impossible when attached to the wall, and remove the divots that were previously causing problems. It’s amazing how much dust this generates.
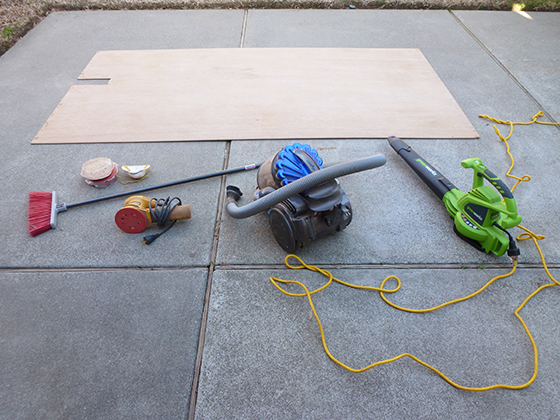
Thankfully, our unseasonably warm California weather meant I could do this outside, in the sunshine. Once happy with the sanded boards, we used an eclectic mix of (sweeping, sucking and blowing) tools to remove excess dust from the surface.
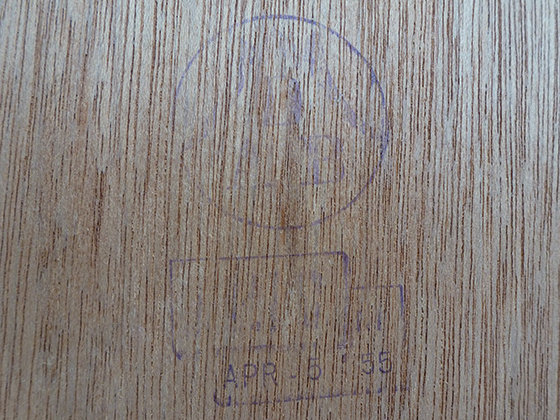
While laying out the boards, I noticed a stamp on the reverse, with a supplier name (that now I can’t make out) and date –April 5, 1955. I thought this was pretty cool. Incidentally, we couldn’t just flip the boards, as the reverse is a rough patched-together surface.
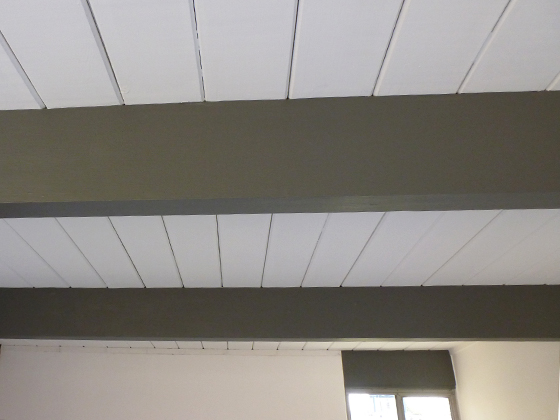
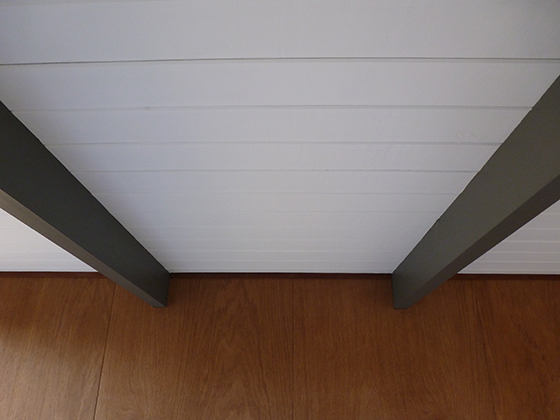
Meanwhile, Karen was busy painting the ceiling. This looked like incredibly hard work (I certainly need to do my share, elsewhere in the house) but well worth it. You can really see the difference in color, in this transition between master bedroom and corridor.
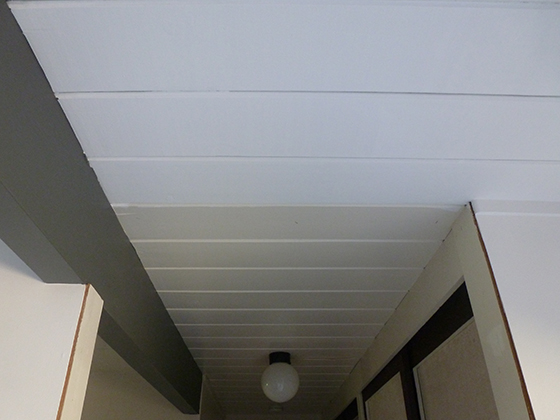
I didn’t take many pics of the painting in progress (I was busy sanding) but you can see more of the finished ceiling below. It contrasts well with our gray beams. Some people caulk the gaps between each board, for a slicker finish. Perhaps for another day.
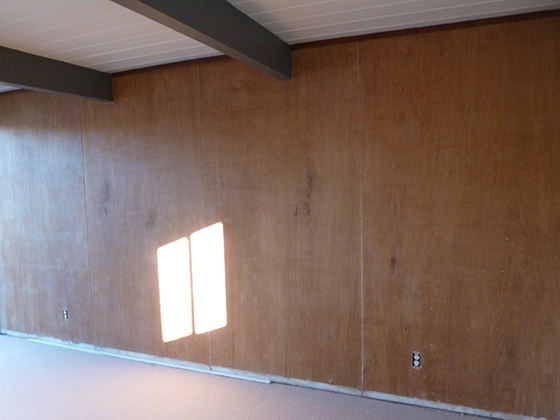
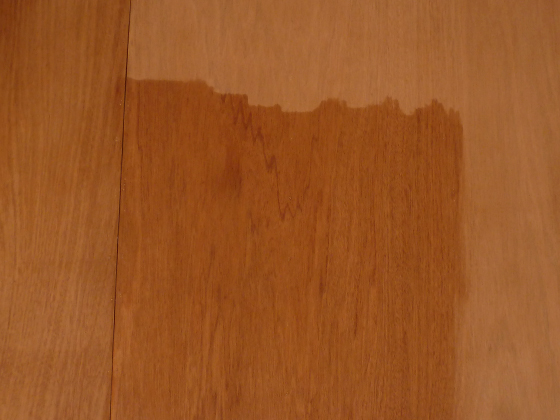
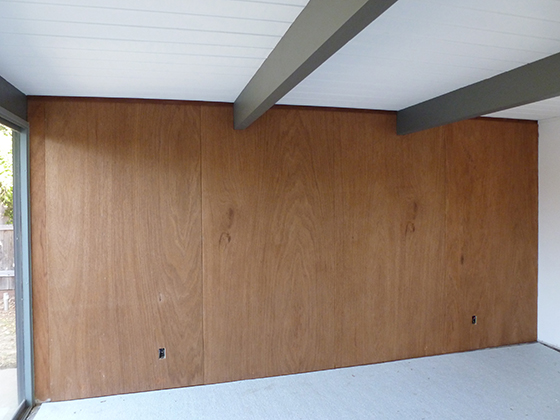
Next, we re-mounted the paneling, carefully nailing to the studs, using existing nail holes…but new nails, of course. Then we applied pre-stain and Restor-A-Finish, as before. You could instantly tell the finish was far more even, and the results would be way better.
We also sanded the top mahogany trim (I have no idea what that’s called?), applied Restor-A-Finish, and nailed in place. This really defines the line between ceiling and wall, and finishes things off nicely. It’s starting to look a lot more ‘done’, at least when you look up.
We still need to buy/fit replacement baseboards, replicating the originals, removed long ago. With just carpet underlay down, the floor looks a little like poured concrete in this shot –that’s something we considered for the whole house…but quickly dismissed as too risky.
We’re so pleased we made the extra effort, and didn’t settle for our first attempt. Plenty more to do in here, but this wall represents a big step forward. Next up, something a little outside our comfort zone –our first go at laying VCT flooring. Wish us luck.
Jon
FABULOUS!!!
fogmodern
Thanks Jon! We are thrilled with the result. Definitely worth the effort…though I wish we’d just removed the panels to begin with.
Jean
Hi fogmodern! I found your inspiring blog while searching (and searching, and searching) for advice about stripping and refinishing our c.1956 Philippine mahogany paneling. Your walls look great! But I admit your comment above (“I wish we’d just removed the panels to begin with”) depresses me no end. Our lounge has a nook with a built-in bookcase, and the thought of pulling the panels off the wall and dismantling the bookcase fills me with dread. I’m at the Citristrip stage now- some of the paint peels off in large, satisfying sheets but there are many small sections where the paint refuses to budge (unless I dab on another coat of Citristrip). The end result is wonderfully paint-free, but extremely patchy in terms of the finish. Restor-a-Finish doesn’t soak in evenly, so I guess I’ll be sanding. Sigh. At any rate, I just wanted to thank you for documenting your paneling adventures so completely, and I look forward to reading more inspirational posts!
fogmodern
Hi Jean! Sounds like you’ve made some great progress with your paneling already, and I really wouldn’t feel disheartened. This was the only wall (of three) where we removed the panels. The others were sanded in situ. If you’ve removed all the paint, I’d recommend sanding by hand, with the grain. We did that in our living area: http://fogmodern.com/ready-set-strip/ –the results were good, without generating too much mess (compared with power-sanding). Do let me know how you get on. Thanks for stopping by, and for your kind words about our blog! So pleased you’ve found our post(s) useful.
Pingback: master recap « fogmodern
Jean
Thanks so much for your reply! I really enjoy reading your blog- it’s very informative and inspiring. (And Sacramento seems to be a hive of MCM activity!) I had to take a work-related break from the stripping, but am gearing up to attack again… at this point, removing panels doesn’t sound bad to me at all! The element that’s driving me crazy is the number of panels that have a very large grain. Gesso has settled in the grain, and it’s visible from several feet away. (Even my husband, who barely notices that we *have* walls, can see it. He’s an ex-pat, too, but doesn’t have your eye for design. ;-)) Stripper and a brush is not enough. I find myself bent over a magnifying glass with an upholstery pin, flicking gesso out of the grain. (Often at 3AM. I know I have a problem.) At any rate, thanks for the encouragement and the very useful information!
fogmodern
You are welcome Jean! I’m pleased you are enjoying our blog. Yep, plenty of MCM fodder in Sacto. Lots of mid-century architecture, plus people passionate about preserving it. Glad you are tackling your walls again, but sorry to hear about your gesso issue. We certainly had some stubborn primer that settled in the grain. Truthfully, if you look closely at our paneling, there are still some traces. I found that focused hand-sanding removed most of this, but had to accept it would never be 100% perfect. If you have any pics, feel free to email me direct for feedback. Catch you soon…
Pingback: feature rich « fogmodern
Carlos Salinas
What prestain did you use?
I’m stripping some trim but I haven’t been able to come close to the finish on trim that was not painted. On the unpainted trim, I sanded, then used the restore a finish.result is great, has texture and shine.
On the painted trim, I sanded much more and used the restore a finish (without prestain). This doesn’t have texture or shine. Just dull (or too dark).
Any recommendations?
Andy
Hi Carlos. The pre-stain is Minwax, I believe. Not sure that will help much, however, in terms of adding shine. We also found that previously painted (then sanded) trim came out darker but within tolerances. Sorry I can’t be of more help.
Andy
Hi Carlos. The pre-stain is for evening-up patchiness, rather than adding sheen. All of ours was painted so we don’t have the consistency issue. Some kind of wipe-on polyurethane might be your best bet but just a suggestion. Definitely test on a small patch first.