white room
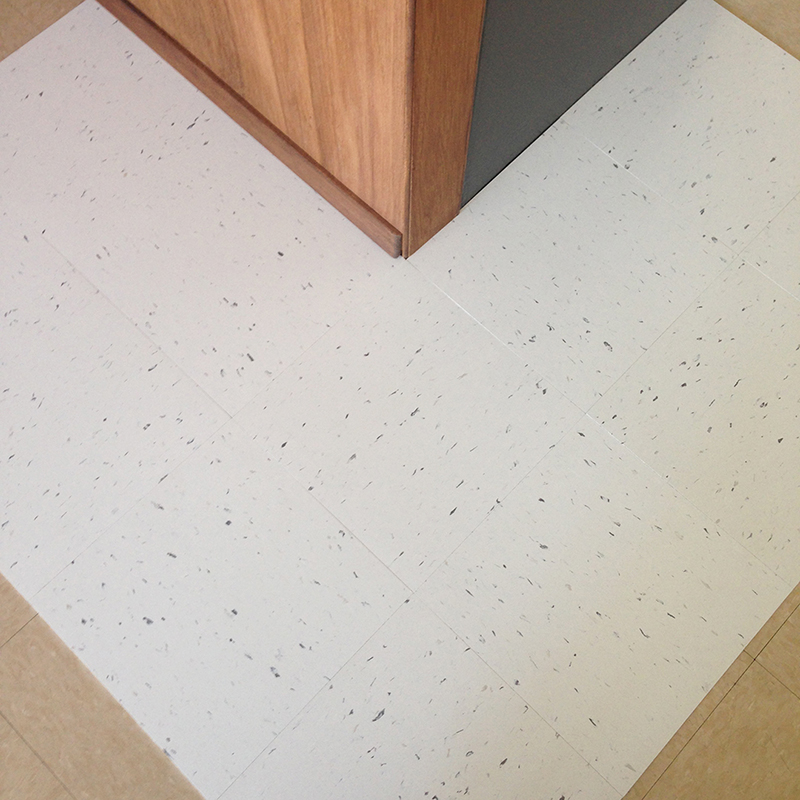
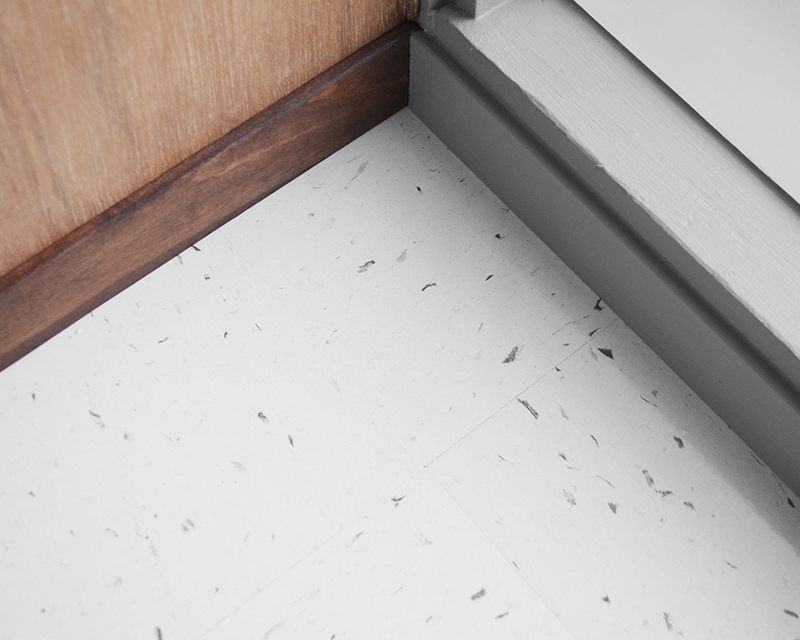
We’ve always wanted VCT throughout, but kept flip-flopping on color. We finally picked Armstrong’s Polar White –a pure white, with flecks of charcoal gray. We already dry-laid samples in our guest room, and noticed variations between batches –one had a bluish hue, which we hoped to avoid. We nervously opened one of our (40) boxes. It was white alright. Phew!

We specified all the tile from the same batch, so we should be good. Our schedule didn’t allow us to begin install for a couple weeks. In the meantime, we couldn’t resist laying-out tiles in several places, to get a feel for how it would look. We’re phasing install room-by-room, starting with our ‘all-purpose room’. We blocked-out a weekend and got to work.
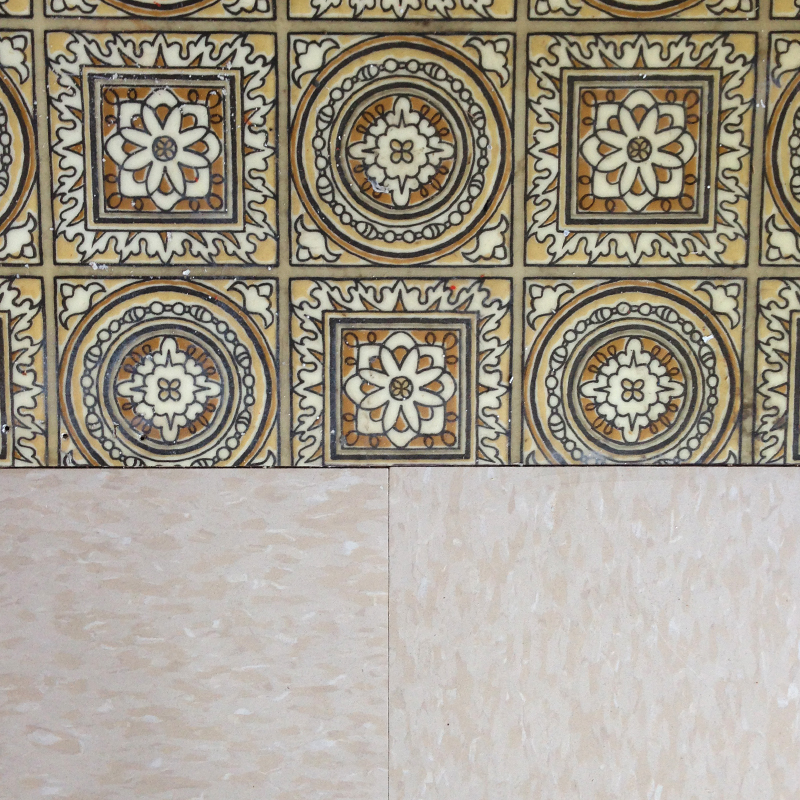
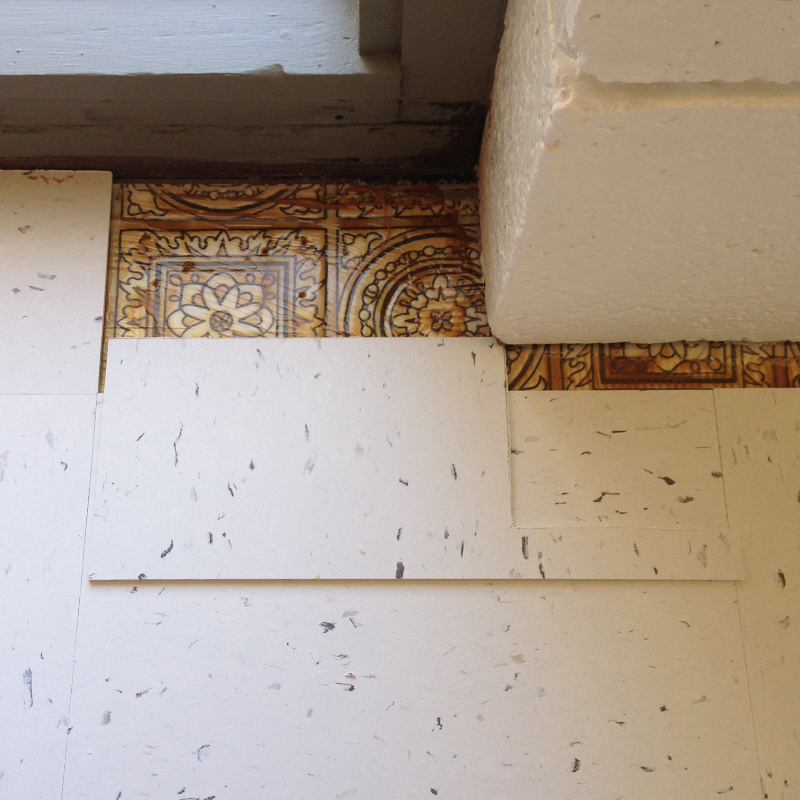
We’d be laying directly over (hideous 70s) linoleum in our AP room and existing (very beige) VCT elsewhere. Luckily, there’s zero height transition between the two surfaces, and they’re flat and smooth, so an ideal base for VCT. Leaving everything in-place also means less work, and encapsulates any asbestos that might be in/under the lino.
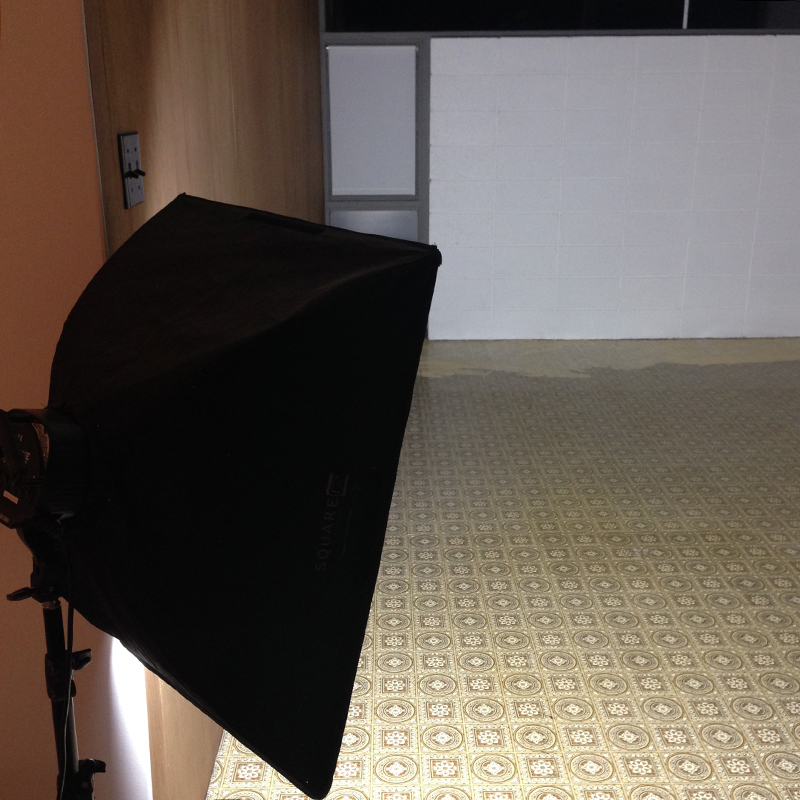
First step is marking lines, to ensure tiles run perpendicular to walls. With a concrete floor, we’d lay out a cross of tiles, then mark a vertical and horizontal line. As we’re laying over an existing VCT install, we just lined-up the tiles with this and marked some starter lines. Next, we applied the adhesive, working back from the cinder-block. We did this late, aided by our photography/DIY lighting.
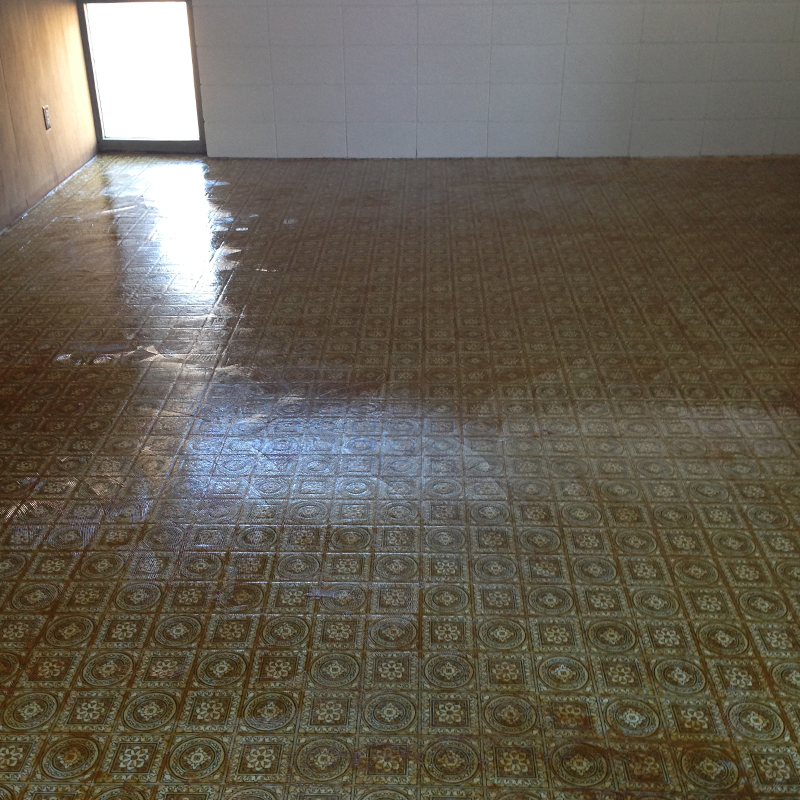
Spreading the adhesive is straightforward but tiring. We took turns. Once the floor was covered, we left overnight to dry. The adhesive goes clear (as below) when ready. The time had come, and this was my department –I tend to moan if things aren’t 100% perfect, and they rarely are, so Karen figured if I do the install, I can’t complain. She’s smart.
I worked forward, then sideways, butting tiles together. The adhesive allows for minor re-positioning, once tiles are down. You can even remove and re-apply, if necessary. There’s a subtle direction to most VCT patterns, including ours. We’d be laying tiles alternate, ‘basket weave’ style, but some people choose a straight-line install –guess this could help to visually widen/elongate a room.

With tiles laid over the entire room, that just left the edges –the tricky bit. For straight edge cuts, you can place the tile you’ll be cutting directly over the adjoining full tile (ensuring correct orientation). Then you lay another tile over the top, and push it against the wall. Next, you score a couple times, with a sharp carpet knife, before snapping the tile. It’s very simple.
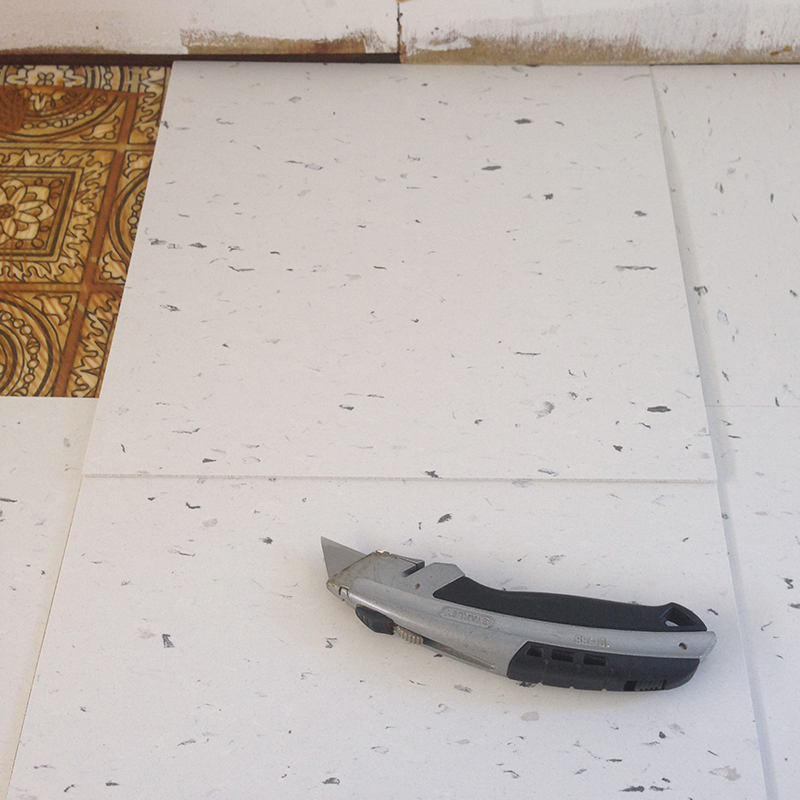
Where baseboard covers edges, you don’t need 100% accuracy, though it’s good practice to try. We took more care where the tile meets cinder-block and sliders, as these edges would just be caulked. Corners just need more measuring and scoring. For more complex cuts, you can apply heat, to make the tile more pliable and easier to break –a heat gun is ideal, but a hairdryer will do.
With the VCT installed, we vacuumed and wiped away any stray adhesive. Next, we applied two coats of Zep Stain Resistant Floor Sealer, with a microfiber mop, allowing 30 minutes between coats. Then we applied four coats of Zep High Traffic Floor Polish, with the same intervals. Apologies, not the greatest ‘action shot’ in the world. Suffice to say, it made the floor shiny.
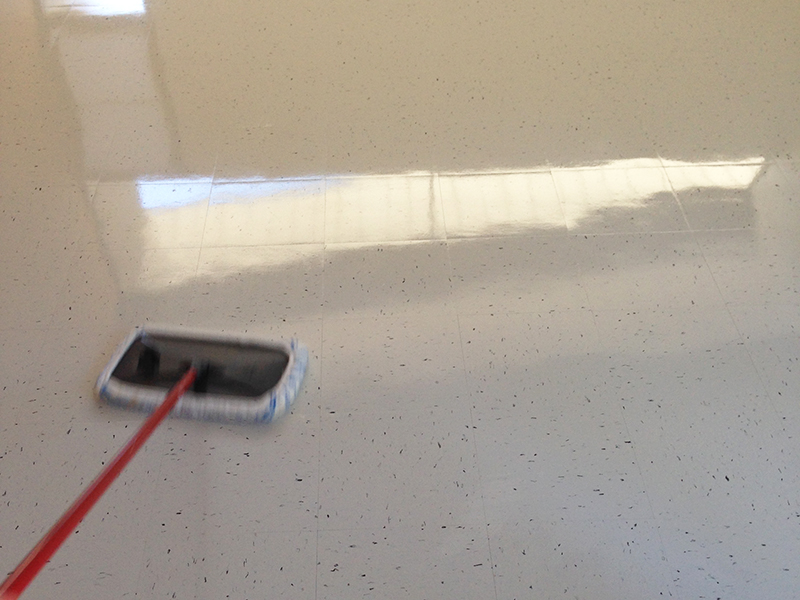
And it stays that way. You can make it even more so by using Zep’s Wet Look Floor Polish instead, but we chose not to. It needs re-coating with polish periodically, depending on traffic. But sealing it ensures the tile is protected. I don’t think our beige VCT, installed just before we bought, was ever sealed, so hasn’t fared well. Finally, we reinstalled the baseboard and caulked where there wasn’t any. Then we were done.

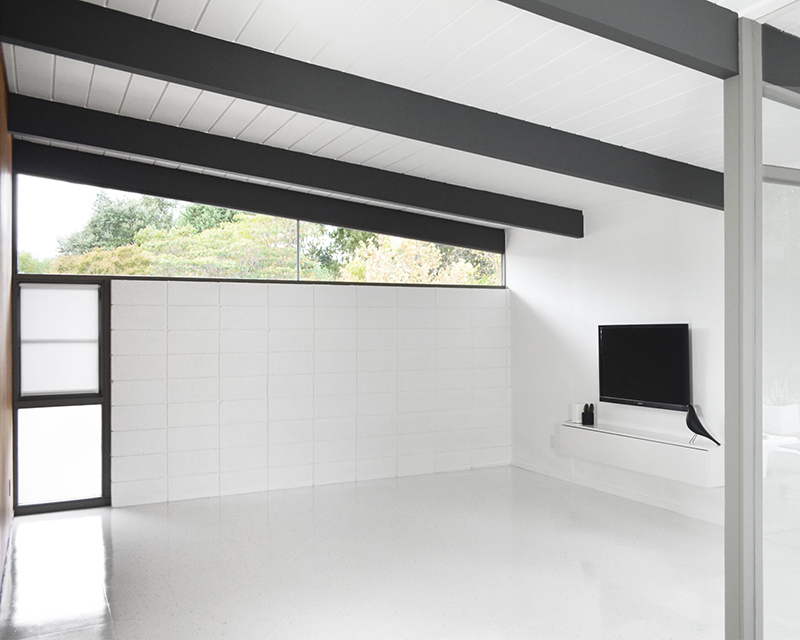
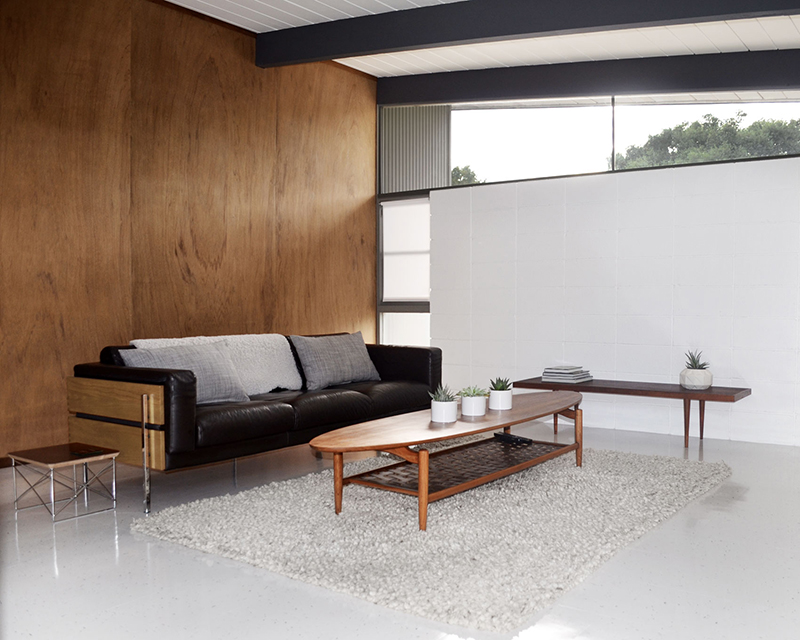
It’s recommended to wait a few days before placing heavy furniture on new VCT –we waited a week, to be safe. This is by no means our final furniture setup –we need a chair for the near right corner (ideally something with a pop of color) plus we’ll eventually switch out the lamp, and the beige rug (for gray). We’re also not sure whether this sofa will stay here or shift into our main living room. But this is how it will stay for a while.
It’s a good start, and we’re happy. We plan to install the adjacent living room flooring next, then the kitchen and corridor. Then we’ll pause for a bit. Speaking of living room and kitchen, we’ve made some significant progress in both areas –update coming soon…
Karolina
Just stunning. Great work, Andy and Karen! Love the bright look– the wood panels and beams look super sharp in combination.
fogmodern
Thanks Karolina! So pleased you like it. Still a few furniture tweaks needed but we’re loving the new look. We’d love to press on and do the whole house, but we have a few other things to do first.
Michelle
This looks fabulous! I wish I had eyes for this kind of stuff. I would never have thought…but you get it done and it looks perfect. Nice work!
fogmodern
Thanks Michelle, so glad you like it. It really was a process to get to this point, with some false starts along the way. But we love the result.
Karen
Well done friends! It looks fantastic. We plan to re-polish ours again at some point. It looks so pretty when glossy and new. 🙂
fogmodern
Thanks Karen –we’re white floor buddies now! I wish it would stay that way forever –but yes, at least you can re-polish, when needed. For the time being, we’re (self) imposing a no-shoes policy in that room!
tony
Hi Andy. It is wonderful. You seem to know instinctively what will work within your space, and how it will complement the Eichler style. the whole house will look great when you have finished and will respect the original design ethos. Brilliant – well done.
fogmodern
Thanks Tony! Well, we certainly have our own style –likely too ‘modern’ (in the literal sense) for Eichler purists, but I hope people can respect our vision. It does feel like it’s finally coming together. Flooring makes such a difference.
Ariella
Gorgeous! I particularly like how the neutral palette draws the eye upward to those marvelous beams. The choices you’ve made really highlight your fabulous architecture.
fogmodern
Thanks Ariella! Yes, we like how the beams stand out too. And that’s very much our approach –not to suffocate the architecture with too much stuff. That said, we’ll definitely be adding more furniture and artwork to our home, over time.
Brooke
The floor looks fantastic! I’m not sure why people are afraid of having white floors. It really makes the room feel larger than it probably is. The wood really stands out nicely with all the white. Really nice 🙂
fogmodern
Thanks Brooke! I guess people fear keeping them clean. But that’s what the gray flecks are for –I’m sure you won’t notice the odd speck of dirt! Time will tell, I guess. Yes, it does feel bigger. And we like the wood contrast too.
Jay-Are Garcia
Just curious if you had to remove any glue or carpet adhesive at all? I am planning on putting down some vct that I have lying around in my office. If I can do it right I plan on doing it to my kitchen and dinning room. Having one heck of a time getting it off without chemicals. Have tried this chisel type attachment for a reciprocating saw. Have been at it all day today and only have a patchy 3 foot by 6 foot section done. I am trying to get it done before winter snow hits and my cement gets to cold in the office. Thanks. Also if you know> does the adhesive have to be completely taken off( the cement have to be super smooth like glass) ? The reno you have done looks outrageous. Magazine quality. Maybe seeing your home in atomic ranch one day.
Jay-Are
fogmodern
Hi Jay-Are! Luckily, the linoleum surface was smooth/stable enough to install VCT on top, so no adhesive to deal with. We had to repair the edges where carpet gripper had been used, but that was it. The tile attachment is what I’ve seen people use, but I know it’s not a fun task. The concrete has to be pretty smooth, not like glass but as close as you can get. Applying plenty of adhesive should level out very minor imperfections, but any significant lumps and bumps could show through the VCT. This may show immediately or over time, particularly after pressure is applied (by walking on it). Thanks for the kind words –appearing in AR would be a dream!
Lisa and Kyle
Perfection! So beautiful!
fogmodern
Thank you! We love how this turned out.
Pingback: music room | fogmodern
Pingback: green room | fogmodern
Tara
Hi, this is awesome.
I have one question. Three years out, how does it look? How has it held up? Will you need to seal it again in the future? We’re considering this exact colour in our 60’s basement and curious. Thank you for your help. Great reno.
Andy
So sorry, Tara, I missed your comment until now. Tricky for me to say how it’s held up – we moved back to England almost two years ago. But it did stay in pretty good shape while we were there. On reflection (no pun intended) I would recommend a pro installer. If I did it again it would be much better, but it takes a while to learn the methods and spot the pitfalls, to ensure a great finish. Hope that helps! Glad you like our reno!