light work
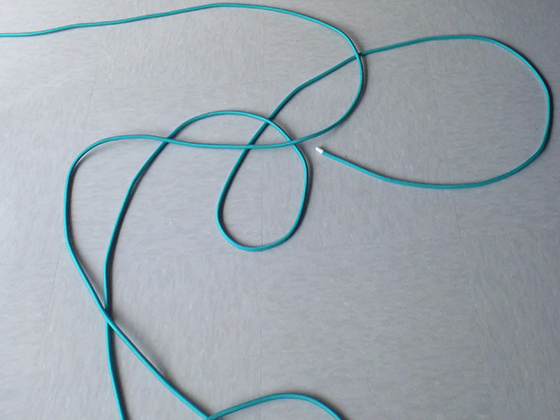
A while back, we ordered some colored cord samples from the (logically-named) Color Cord Company. After limited deliberation, we picked turquoise cord for our first lighting project, which will grace our (almost finished) master bedroom.
Our plan was to build two matching lighting fixtures, mounted either side of our bed. We’d love Nelson sconces but not do-able right now. Karen had the vision for this project –I just sawed, sanded, drilled and stained. And made tea; a crucial role in our home.
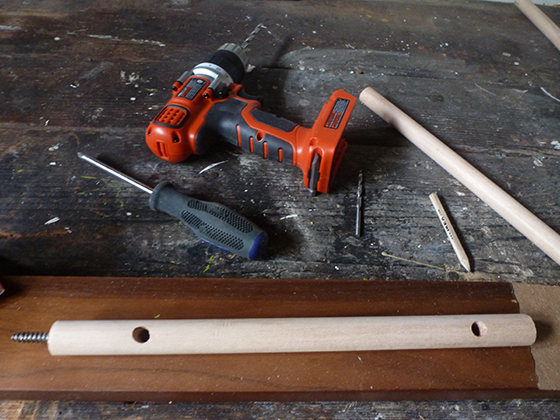
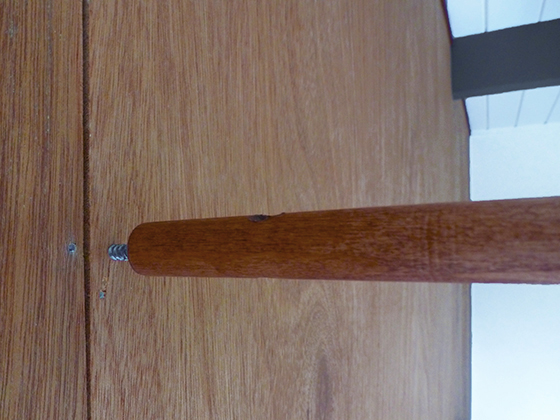
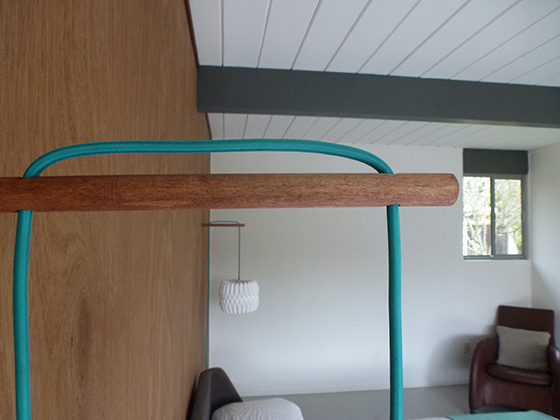
We ordered the required cord, plug, switch and light fittings. Then we bought 3/4 inch hardwood dowel and cut it to size. We drilled a hole in one end, attached a dowel screw, and drilled two further cord-sized holes. Then we stained the dowel.
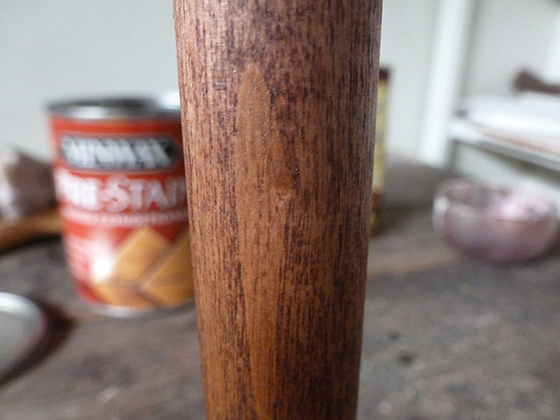
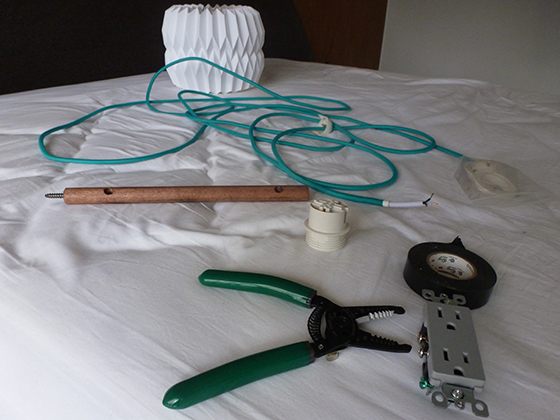
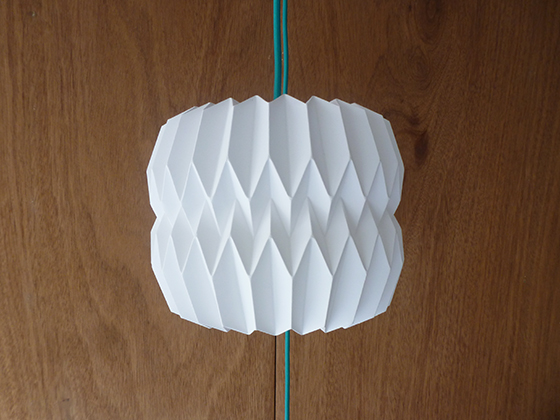
We used MinWax pre-stain, followed by mahogany stain, left over from the master baseboards. Then Karen wired the light fixture and our new outlet –electrical is her department. You can see the shade we’d be using, at the back of the pic below (more on that in a sec).
Meanwhile, I attached the first dowel to the wall. We were nervous to drill into the (painstakingly restored) paneling, but we plan on this being a long-term solution. Plus, we can always fill it later. And we’d filled way bigger holes than this already.
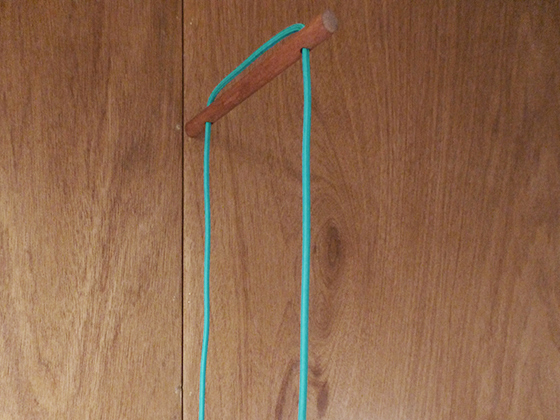
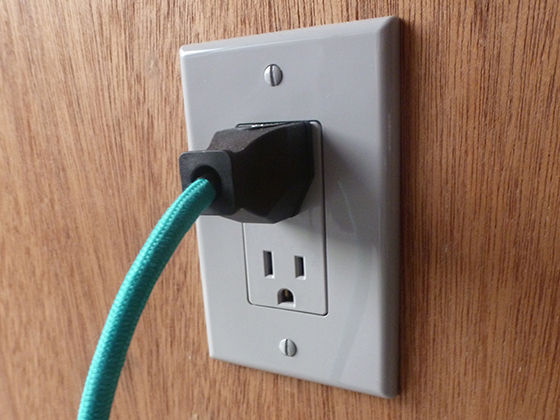
The dowel screw did it’s job beautifully, and the wooden dowel was rock solid. At this point, we figured our plan might just work. Next, we threaded the turquoise cord through the two holes, with the back portion headed down to the electrical outlet.
I didn’t want to put the bed on this wall to begin with, but Karen talked me into it. And it makes real sense. There are electrical outlets positioned on both sides of where the bed will be, as if they were intended to be used for lighting fixtures.
On the other end of the cord, our light shade, imported from England –sounds more glamorous than it is. We spotted it for sale at an old haunt of ours, Habitat (in fact, we already have a larger version) and Karen’s parents kindly shipped a pair over.
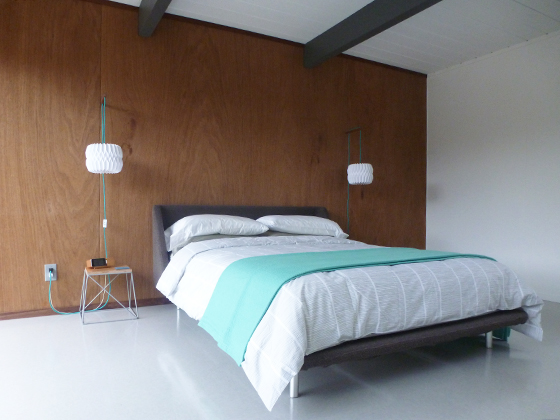
We were very happy with how it looked, so pressed ahead, repeating the process on the other side. I took great care to mount this dowel at exactly the same height as the first –it took a while, ’cause I’m really anal about that sort of thing.
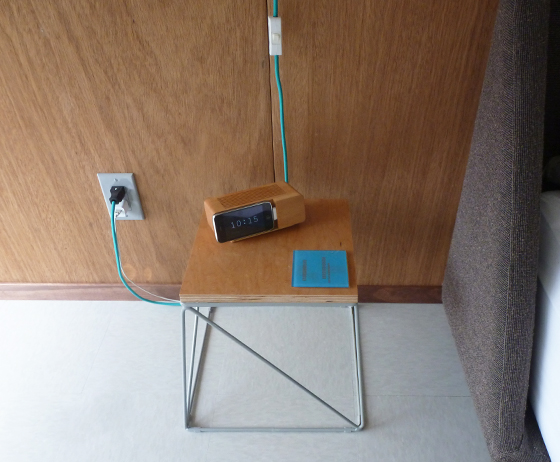
We added matching nightstands, which we bought from our friend Hunter –he’d topped these powder-coated gray wire bases with maple ply. We love the way they look. Oh, that’s my first-gen iPhone, enjoying leisurely semi-retirement, as an alarm clock.
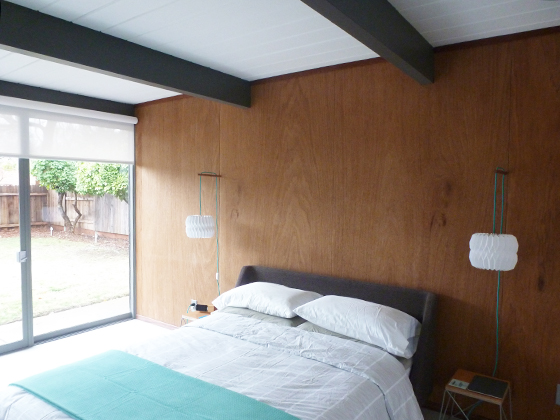
Now the wall sconces are in place, they look like they belong…well, to us they do. They’re practical too, providing some decent, and easily accessible, light for bedtime reading. And the turquoise is a nice accent color, which we’ll pick up elsewhere in the room.
We’re super-happy with how they turned out. So much so, we’ve already plotted our next lighting project –replacing an ugly plastic gold-colored sconce (can you tell I don’t like it?) on the on the wall facing this one.
We also need to replace a light switch in here, and some more electrical outlets. And we could do with a rug, a bench at the end of the bed, and a low unit by the wall. Oh, and some artwork. Then we’ll be done. For now.

redneckmodern
brave souls drilling into that panelling… nice work nonetheless.
fogmodern
Tell me about it! Glad it worked out. Plus, it’s in line with the nails, holding the paneling to the studs. If we ever remove the fixtures, it won’t stand out much, with some filling.
redneckmodern
oh… nice tables, too. 😉
fogmodern
Yep! 🙂
SacEichler
GORGE! as usual…
fogmodern
Thank you! We are very happy with it.
Karen
Hi Andy!
Love this! I am a fan of the colored cord, as you can see from our SoCo Pendant install.
Nicely done!
fogmodern
Hi Karen! Glad you like how this turned out –we do too! Love your SoCo pendants, and also your vintage sconces. Thanks for stopping by!
Pingback: master hallway « fogmodern
Pingback: master recap « fogmodern
Pingback: boiling bakelite « fogmodern