first floor
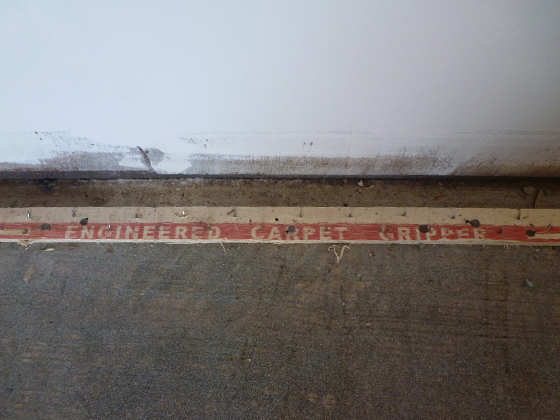
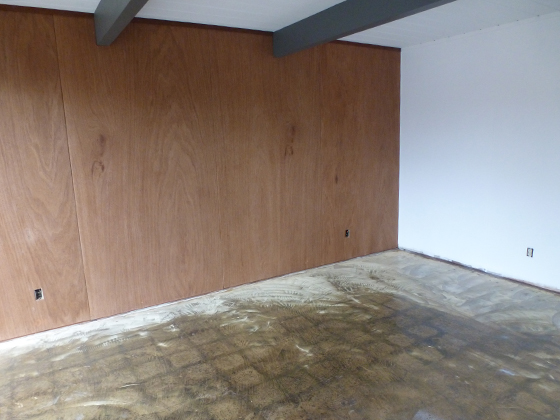
Back in our master bedroom, time to tackle the floor. Neither of us had installed VCT before, but it seemed straightforward…at least on YouTube. First we removed underlay, revealing our concrete slab, in good shape. You can see where 10×10 inch cork tiles were originally placed.

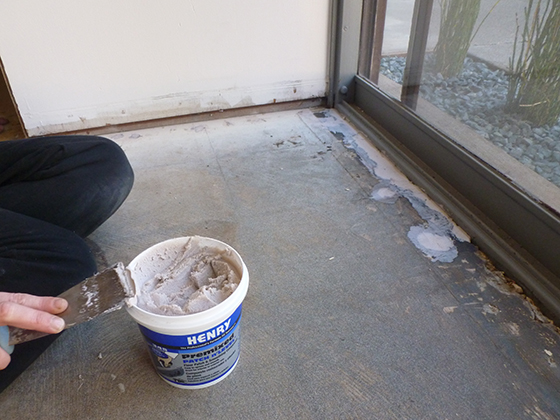
Cork was the Eichler-specified flooring, running throughout the house. Any adhesive is long gone, making this a great tile-laying surface, after some light cleaning. We removed all the carpet gripper, leaving some damage where it was nailed into place.
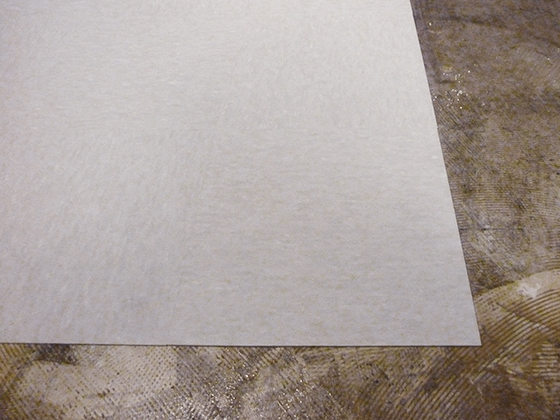
No problem though, we just filled with Patch ‘n’ Level, a smoothing compound, apparently designed for this very purpose. It doesn’t look too pretty, but creates a smooth, level surface. By the way, here’s the VCT we picked.
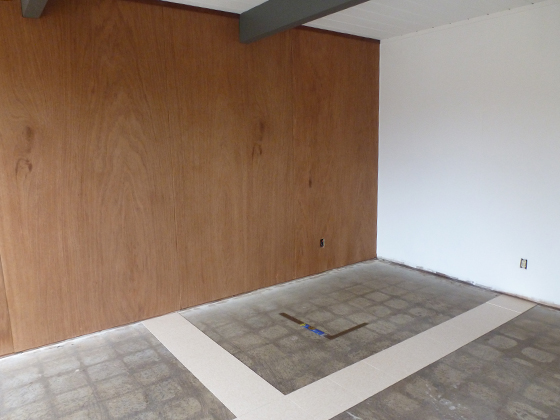
To ensure we laid in straight lines, we placed some tiles and checked the angles with a set square (can’t recall the US term, but it’s not “set square”, judging by the puzzled looks we got in Home Depot). Then we marked guidelines on the floor.
Next, we applied VCT adhesive, working back from the corner to the door. Plenty of time to spread this around, as it takes ages to dry. We took turns in doing this, so we both got the hang of it –lots of house to cover, over the coming months.
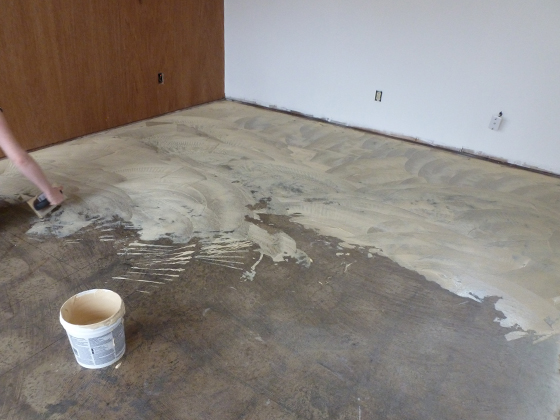
We covered the entire floor, then waited (several hours) for it to dry. When it’s ready for laying, the adhesive turns clear. You can see below that all but the corner area (ironically the bit we did first) and some of the edge, had turned clear. We waited.
And we waited some more. The corner still wasn’t completely dry, but we decided to make a start –we’d be tackling that area last anyway. Plus, it was getting dark, and we didn’t want to be still laying tile at dawn. So we pressed on. Pun intended.
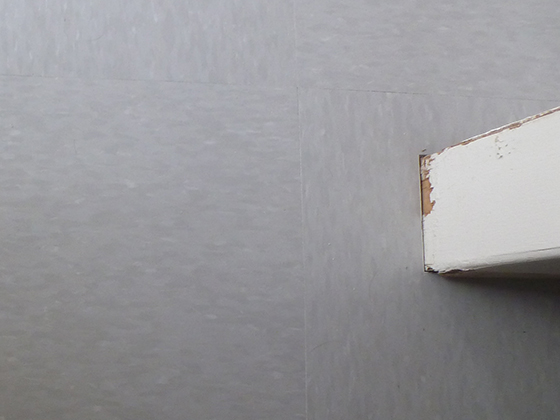
The adhesive stays tacky, allowing you to place each tile, then butt-up against the next. If you make a mistake, you can pull the tile off, if you’re quick. We worked in lines, across the room. Then we tackled the edges and tricky cut-outs, like this one.
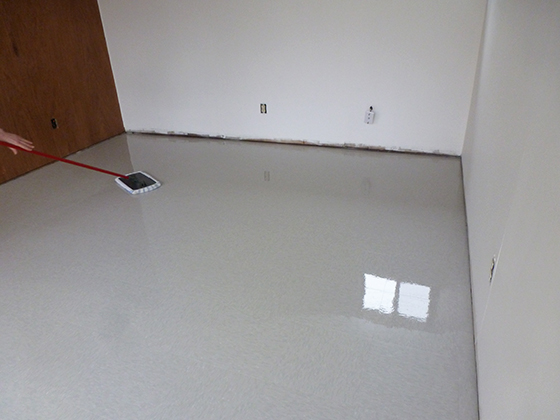
You can see (above) that we placed tile pattern in alternate directions, as is common practice. We left this for a day, then applied high-gloss sealer wax, with a standard mop. Karen took charge of this task, applying five wax coats in all.
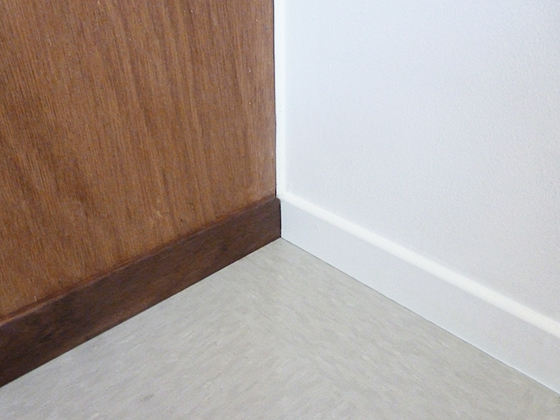
Meanwhile, in the garage, I tackled baseboards. We’d measured originals elsewhere in the house and found a great (and cheap) match at Home Depot. Worth mentioning, the baseboards in our model are slightly taller than those in later Eichlers.
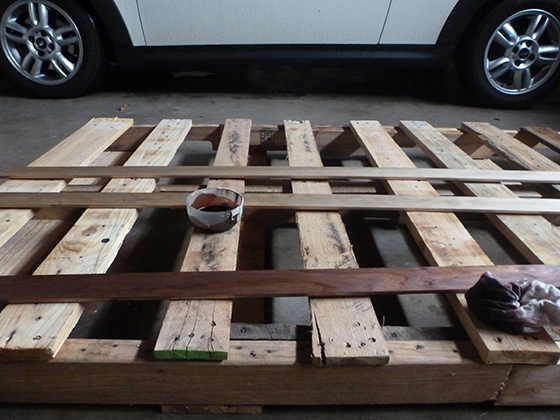
The originals were mahogany, but we made do with pine –the profile is almost identical, which is the main thing. We applied pre-stain conditioner, then MinWax Red Mahogany stain. We also mitered the edges for a cleaner join.

Then we nailed them into place. The rest of the room’s baseboards got a coat of white paint, to match the other walls. You can see how our muted color palette comes together in this corner. It may look bland to some, but that’s the way we like it.
In any case, we have some ‘pops’ of color planned, which I’ll share here soon. As a bonus, the first sight of (much-needed) rain on this blog, on our patio, below. Back inside, with a shiny new floor, and baseboards in place, the room took another big step forward.
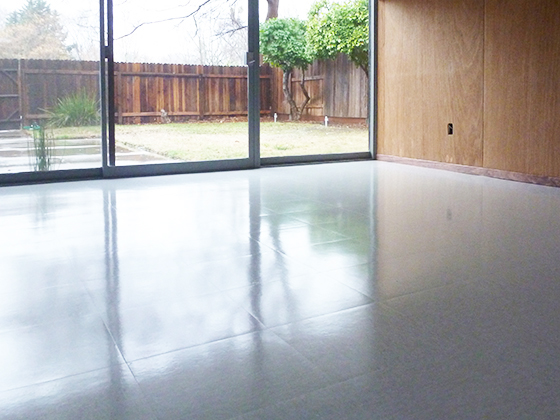
Though not 100% perfect, we’re pretty happy with our first effort at VCT flooring. And I’m sure we’ll get better with practice, as we work our way through the rest of our home. Our next job in here –installing a solar blind for those sliders.
Jon
I think it looks perfect! So freaking jealous!
fogmodern
Thank you Jon! It looks perfect, providing you don’t get too close! If it helps, we are super-jealous of your pool, and south-facing yard 🙂
fogmodern
…and your clocks, your lighting, your furniture…the list goes on…
Pingback: tile dilemma « fogmodern
Pingback: master recap « fogmodern
Pingback: photo finish « fogmodern