the wall
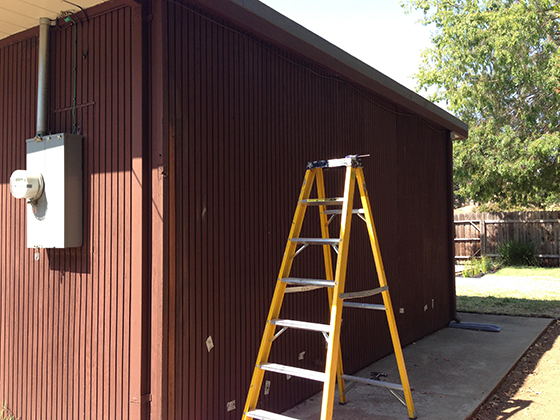
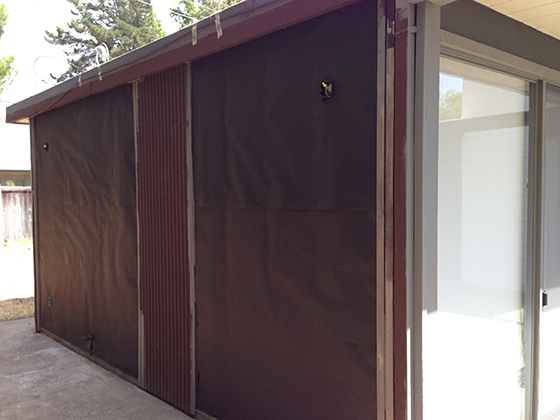
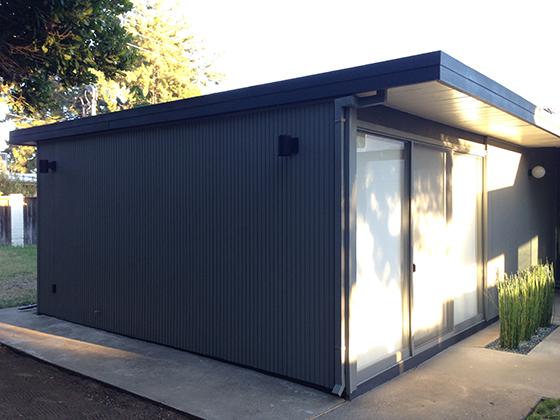
This is the exterior of our master bedroom wall, around the corner from our side patio. It faces north, and gets plenty of shade, so should have been easy to prep. Not so. This became a big project, hence the dedicated post.
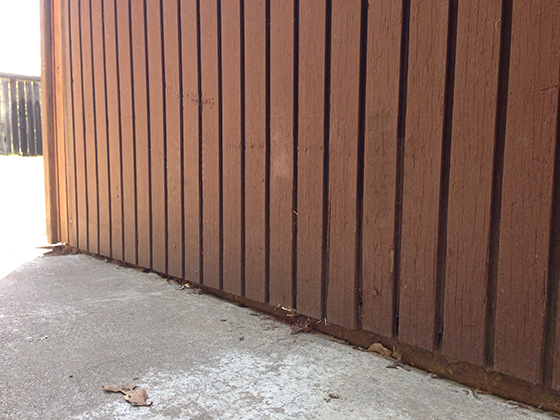
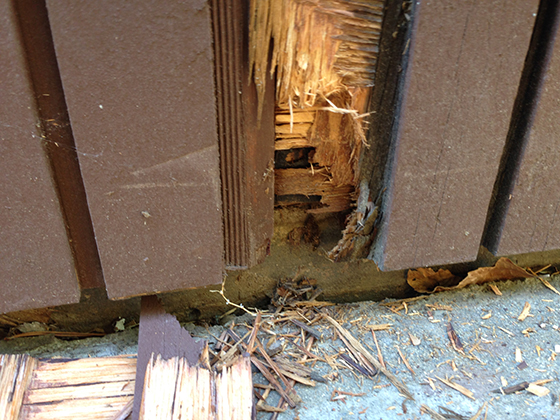
This wall is protected from the sun but not the rain, thanks to a lack of overhang. Also, the siding has low path clearance –when water is allowed to build-up here, it gets soaked. Over time, this has caused significant wood rot.
At first look, the siding didn’t appear that damaged. But we started poking around, and quickly realized we had problems. As we worked our way across the bottom edge, several sections crumbled away. Not good.
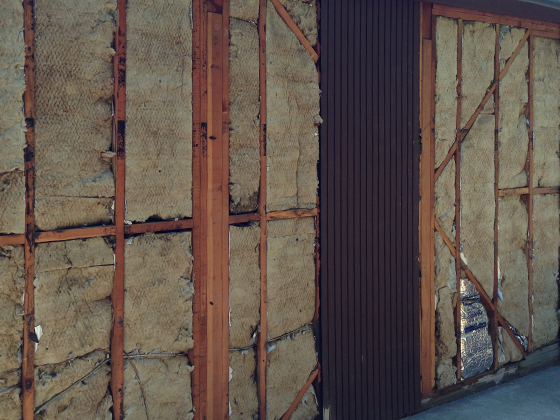
We pulled off most of it. On reflection, we should have punched out the siding from the inside. Instead, we pried, levered and cajoled…and it took ages. One board remained, having been replaced following our (pre-purchase) pest report.
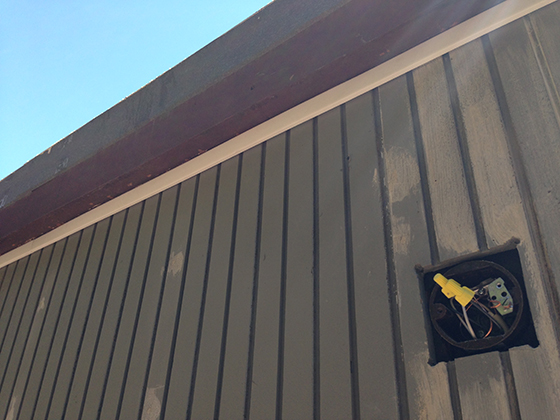
Two small sections at either end were good too. The wall is insulated, so we left that alone, but we did re-cover with builder’s paper. While we had access, we also ran electric for two light fixtures, at either end, and an exterior outlet, bottom-left –very handy
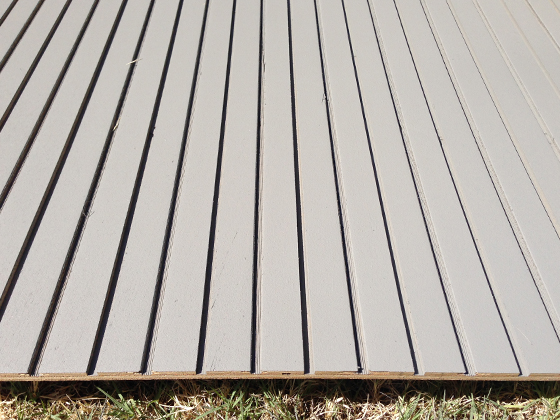
Our super-generous (now ex) neighbors, Clyde and Michael, donated some spare sheets of siding. We added this to a few offcuts we had, giving us enough to piece the wall back together. We had the luxury of painting it before install.
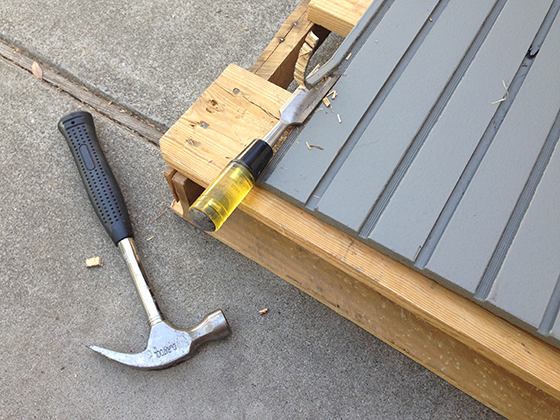
We had to get creative with some of our offcuts. The siding overlaps, but we were short of an underneath piece –we manufactured this one, by cutting to size, then chiseling a strip off the entire length. Fiddly, but it worked. This was one of many improvised fixes.
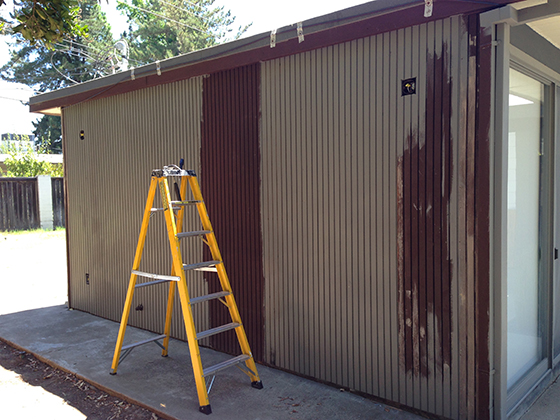
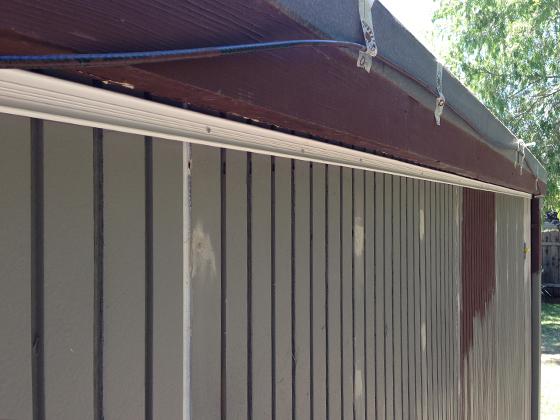
Fast-forward (a lot) and the siding was all in place. But we still had work to do. If you look closely, you’ll notice some taped-up cord, running across the fascia. This had been visible (loosely fixed and untidy) since we arrived. And we had a plan to sort it.
We bought a few flat cord covers (from Home Depot) to install just beneath the fascia. We nailed these in place, across the width of the wall, ensuring they lined-up precisely. We then concealed the cord inside, and snapped-on the covers.
The dimensions are close to our exterior trim, which runs atop most of the siding. Once painted, we figured it would resemble this trim, and blend in nicely. We painted that, then the fascia itself, and gave the siding a final coat.
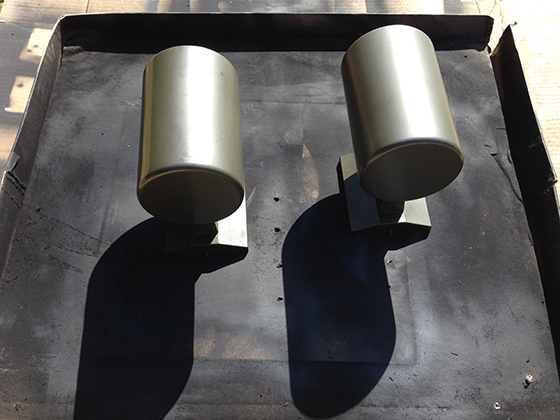
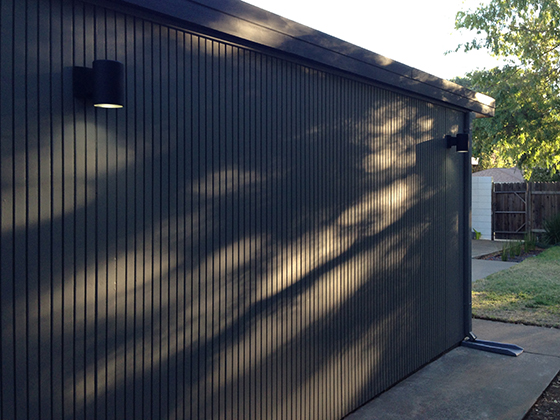
Next, we prepared our lighting fixtures. These two down-lights were kindly donated by another ex-neighbor, Jon. We figured they’d be perfect to light the path at either end. We loved the form, but weren’t keen on the greenish gray color.
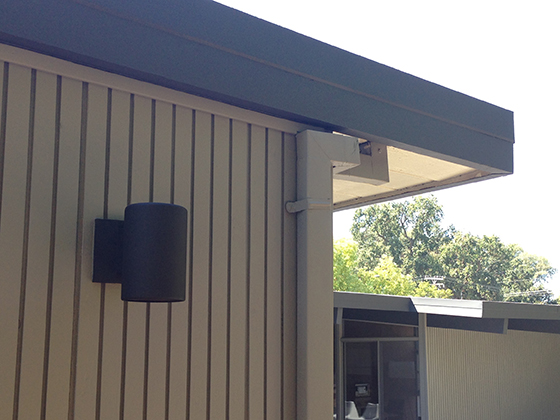
So, we sprayed them black (what else?) and now they fit our scheme perfectly. We added some Testors Dullcote (which is great stuff, by the way) to protect them. You can see how the cord tidy/trim came out here too.
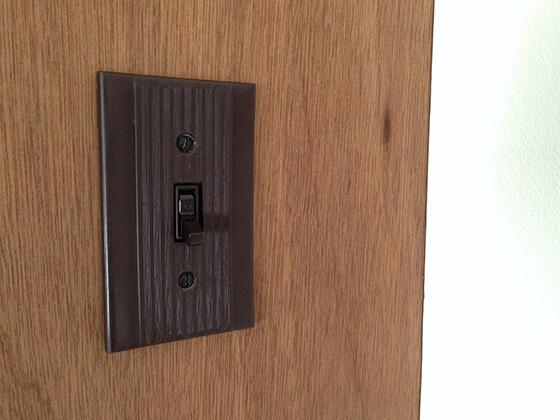
Inside our master, we fitted light switches at either side of the bed. We only inherited one original Bakelite switch plate (as I showed you here) but I found three more on eBay, for a few dollars. They aren’t in perfect condition, but look like they belong.
These fixtures don’t give off masses of light, but they do their job –lighting the path (this one running from patio to back yard) and taking care of this previous dark spot. We think they look pretty slick too.
Oh, we’re re-using the damaged siding we removed. We’re building a siding-clad fence in the next few months, to the side of the garage. As it’s only seven feet tall, we can re-use everything we removed, minus the rotten bits.
This wall was a major pain in the hassle, but worth it. Not only did we gain valuable siding replacement experience, we also gained an outlet and two down-lights. We love how it turned out. And that’s this side of the house done. Check.

Karolina
The siding and lights look great! And I really like the cord cover idea for the outside of the house– thanks for sharing that.
fogmodern
Thanks Karolina! We’re pleased how it turned out. And the cord cover looks better than expected…which isn’t usually how it goes!
John
Hmmmm could try that cord cover idea on my telephone line. Looks great!
fogmodern
Thanks John! Yeah, it’s a good solution, practically and visually, and creates a nice clean line.
Amy
It all looks wonderful! I am so glad to hear that you re-used/recycled everything you could of your old siding. Can you tell us what color you used? Gathering exterior color palette ideas for my Eichler.
fogmodern
Hi Amy, and thanks! Yes, we hate throwing anything away…which explains the vast (and growing) wood pile in our garage! The color is Pier, by Behr. We found it was just the right gray for us. We custom-matched the darker gray for our beams/fascia. The previous post shows the color scheme a little more clearly. Feel free to shoot me an email/pics as things progress –would love to see how you get on 🙂