side-yard snowball
You’re familiar with the snowball effect, right? Well, a giant one just rolled over our side-yard. We’d already removed much of the lawn (where you now see rock) so figured it wouldn’t be difficult to do the rest. We were wrong. Digging was tough and the lawn started looking a lot bigger. We didn’t want to play any more. At this point, sensible people would call-in some hired help.
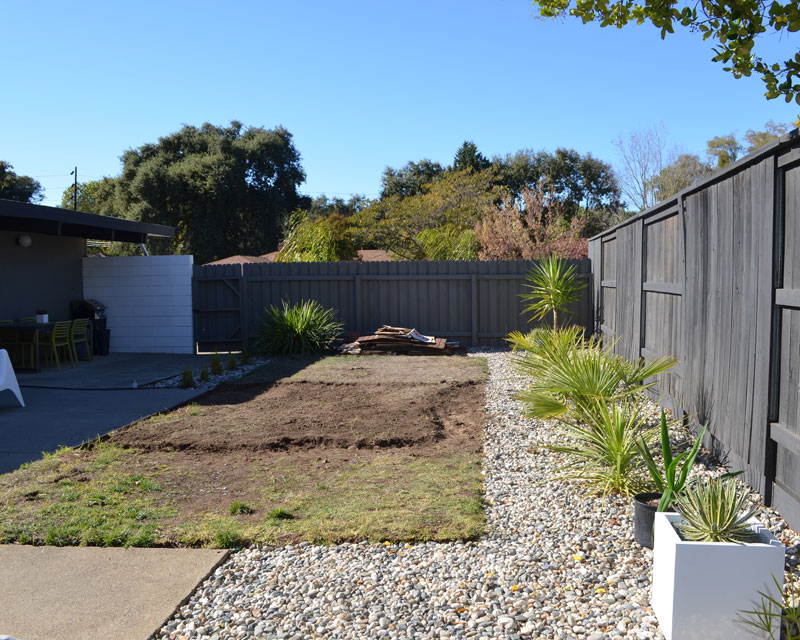
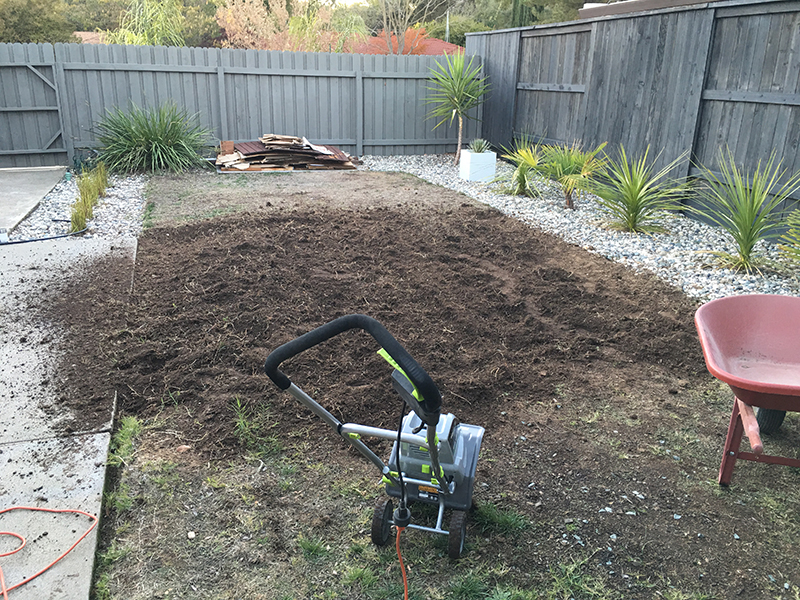
But we’re not sensible people. So, we bought a tiller. Despite being electric, this thing (now named Tommy) generates plenty of power, and easily cuts through roots and clay soil. Only downside is dragging the cord around. But tilling is only half the task –shoveling/removing the earth is a BIG job, and we needed to put it somewhere. That’s when the snowball started rolling…
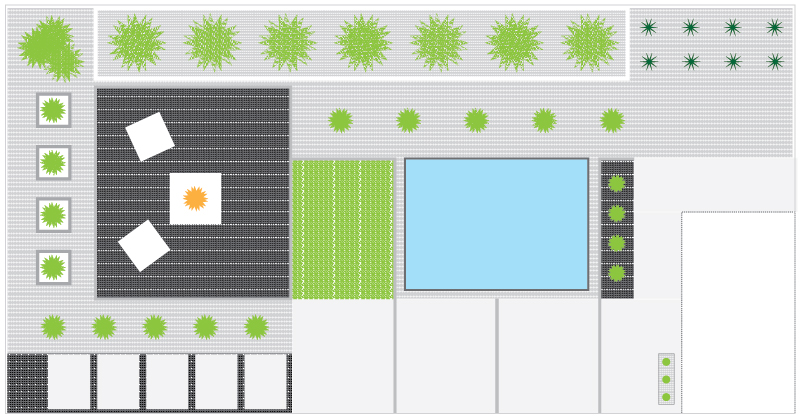
…”let’s remove the lawn”…became “let’s find somewhere for this dirt”…leading to “let’s build a planter”…and, finally, “let’s re-do the whole thing”. Now we really needed a plan. And here it is. The long back row is a 30 x 4 ft planter, where all the earth will go. The big black square is rock with fire-pit, the green rectangle is grass, and the blue one a reflecting pool. Plants (TBD) here and there. Sounds like a plan…
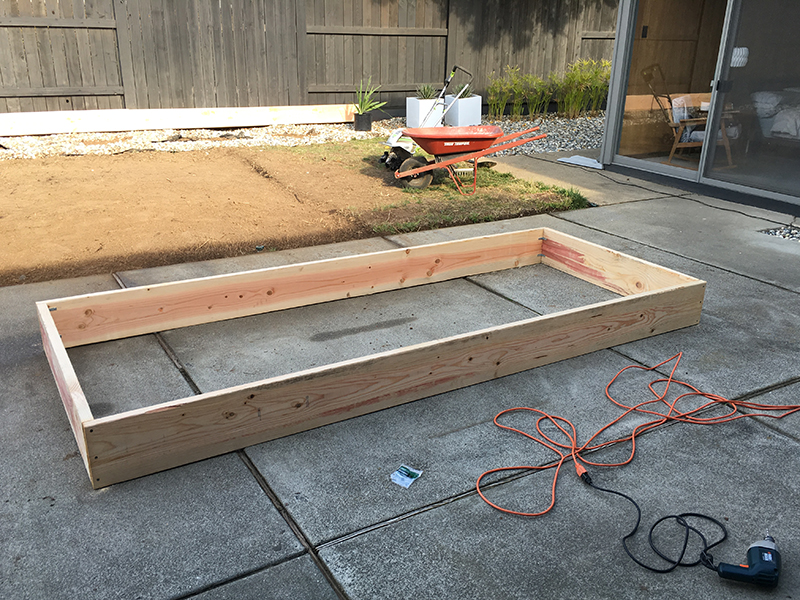
…but not our final plan –eventually, we want a real pool here. But that’s likely 5+ years out, so this is our low-budget, medium-term fix. We started by building the planter, which meant borrowing a truck (thanks Frank!) and buying wood. We made three 10 x 4 ft frames, to be bolted together in-situ. This bit was easy.
Next, we put the frames in place –we left the salt ‘n pepper rock underneath, to make leveling them easier, and to help with drainage. When we were happy, we bolted everything together and were surprised how solid it felt. Good job, as it would be full of earth. As we continued to dig down, the planter filled up…
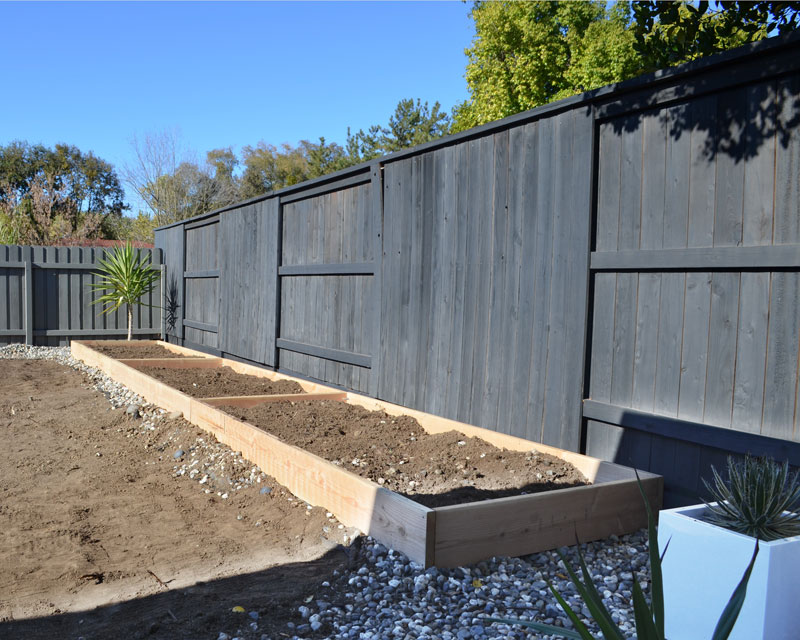
…if only it were that automatic –this was hard work…but oddly satisfying. Once the surface was relatively flat, we defined sections with string, to get a sense of scale and how the elements would inter-relate.
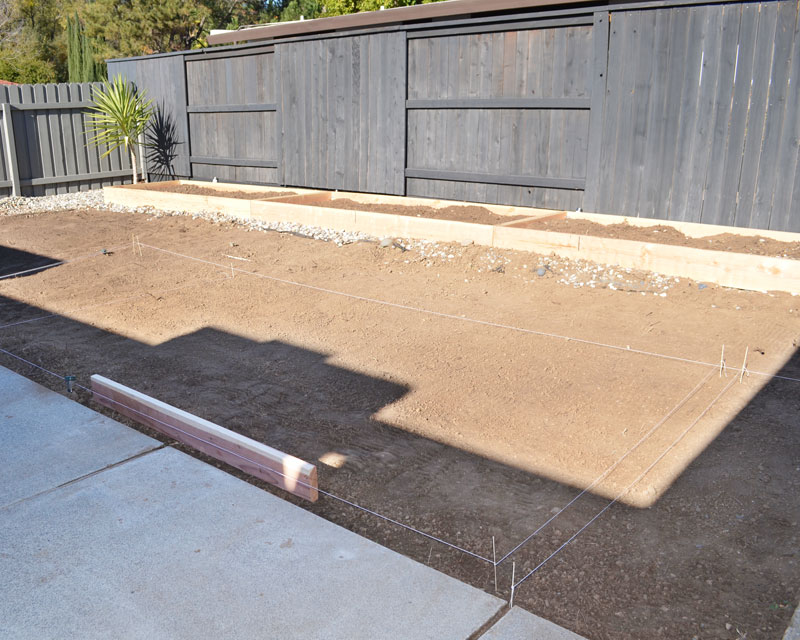
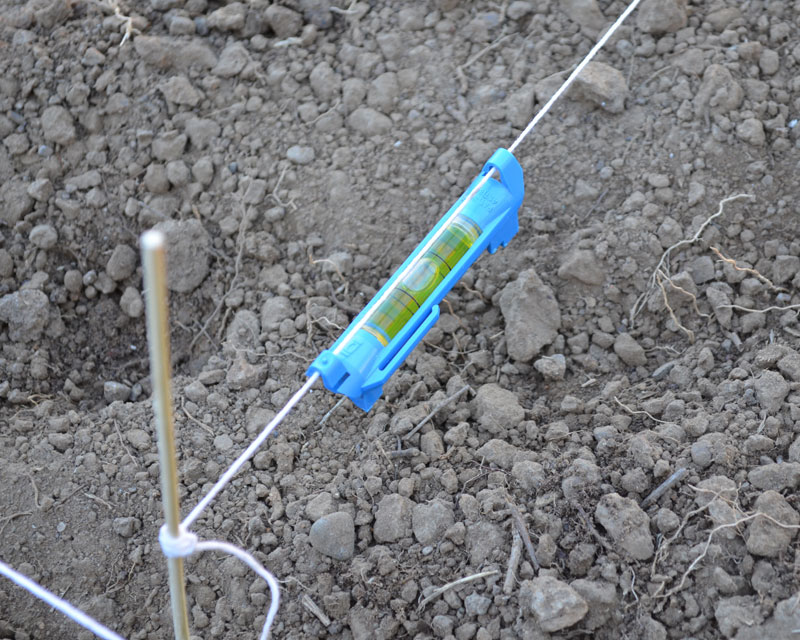
This area slopes significantly downwards, from fence to concrete patio. We won’t be removing that incline completely, but we will reduce it to a more gradual slope. We used a line level to guide our digging efforts.
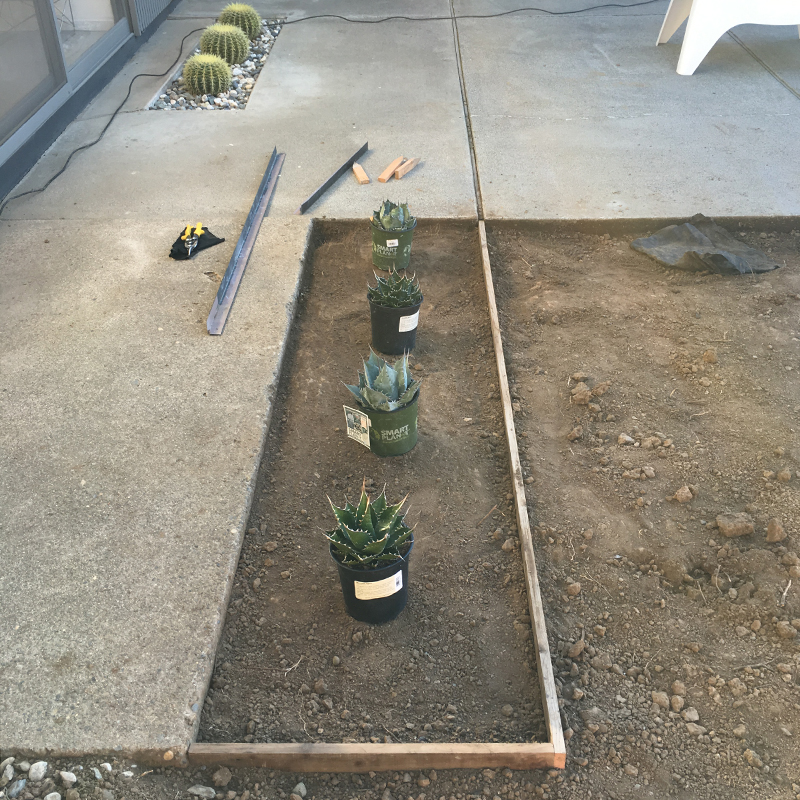
Next, we started framing the structure. Our plan was to echo the lines of the concrete patio, by extending the wood strips in between slabs. This L-shape forms a cutout planter (for these four mountain agaves), while completing the slab rectangle, and mirroring existing patio cutouts (see Golden Barrels, above).
We framed-out the rest of the area, extending more patio slab lines. The small left-hand rectangle will house no-mow meadow grass. The larger adjacent rectangle will be our rock patio, with fire-pit. Doesn’t look too glamorous here, but we were starting to realize our vision.
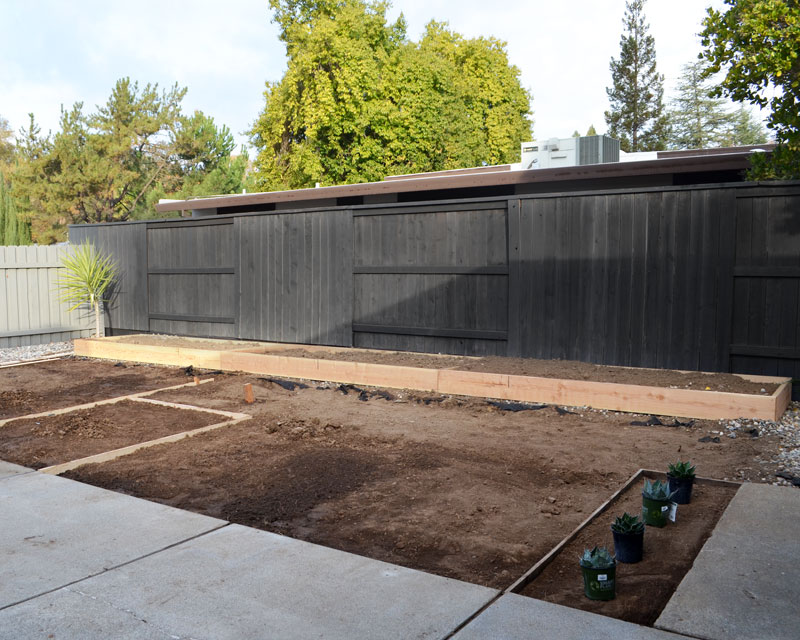
Here’s a look from the other side, with the framing almost complete. The distant salt ‘n’ pepper rock will merge with the rock in this area, to form a pathway to our back yard. Eventually, we’ll probably pour concrete pavers to create a more structured path.
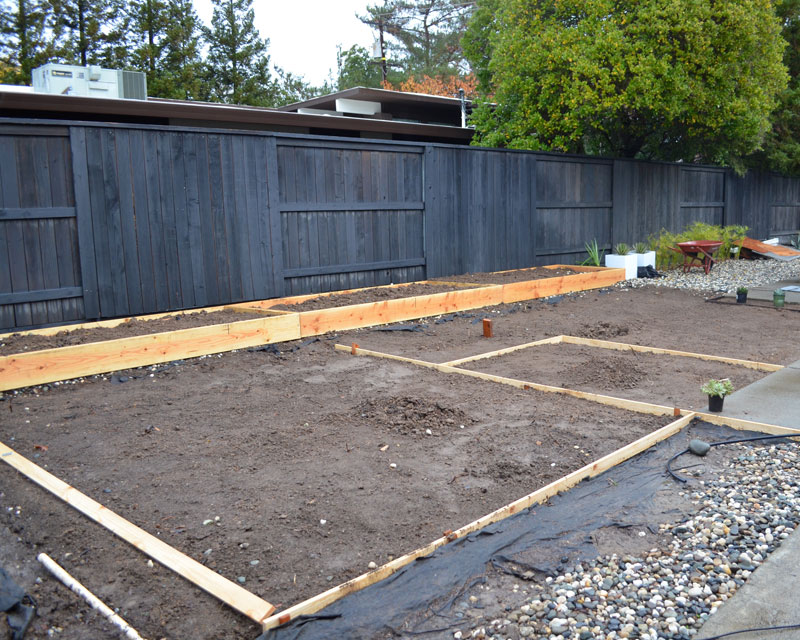
Our reflecting pool obviously has to go deeper, so we had a lot more digging to do…or Tommy did. Incredible how much earth this generates –we ended up leveling the rear planter. That’s fine, as we’d be cladding it a few inches higher (material TBD) then topping-off with more rock.
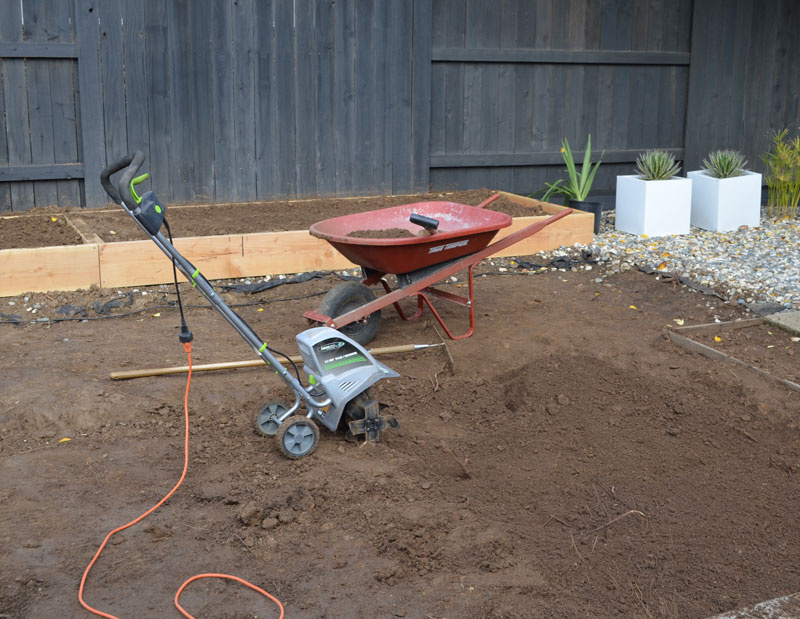
The pool will be 9.5 x 6 ft, with a 1 ft rock border. Depth will be 8 inches, with sides protruding 2 inches above ground. We’ll be using a pool liner, which we’ve already bought. Can’t quite believe we’re DIY-ing this bit, but hopefully it’ll turn out okay. What’s the worst that could happen? Don’t answer that.
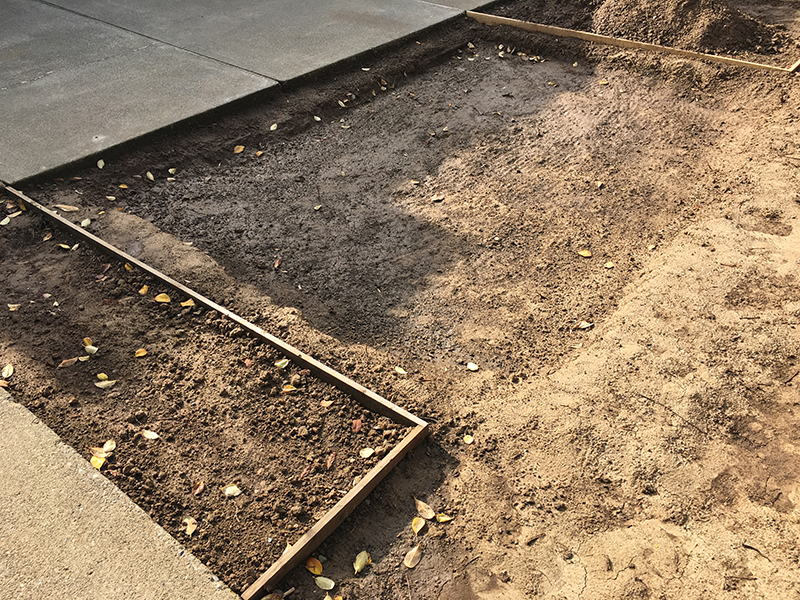
Progress was halted by heavy rain, providing a bonus muddy pool preview. On the left, we added “Mountain Table” rock –black when wet, gray when dry. With more rain coming, we chose to leave it there. We need to plant before adding more rock or cladding the planter, and no point planting ’til spring.
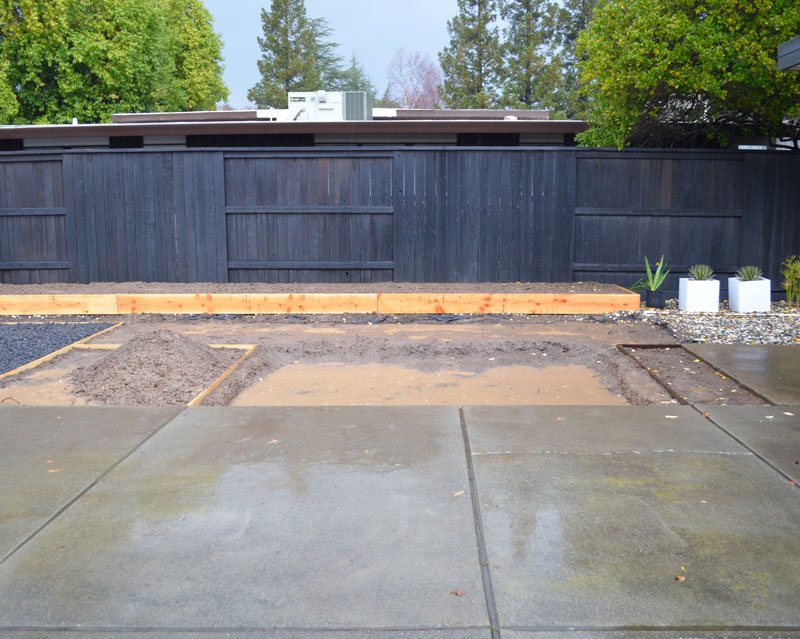
So, messy and unfinished as it is, we wait. In the meantime, we’d welcome your thoughts on what should go in the rear planter. A wall of green would be nice, though we only need to screen that AC unit. We’re considering clumping bamboo (but worry about water-need and leaf mess) or maybe three queen palms (though trunks would dominate eye-level view, eventually). Any better ideas?

Brooke
Really nice start to the yard. I know you guys aren’t huge on colour but here are a few of my favourite landscaping. I have no idea what most of these plants are but your local means you could probably grown anything,
The plants in the first image look so great against the black wood which is similar to your fence: http://tinyurl.com/ndr7f97
And this MCM front yard is nice with all greens: http://tinyurl.com/q6zf7m7
And I’ve always liked this group of plants together: http://tinyurl.com/omq2pke <– the red kangaroo paws plants in this one as really nice.
Probably too much colour 🙂 but inspiration anyway
Brooke
I should say that in the first and second photos there are yellow kangaroo paws plants…I’m probably drawn to them since I’d never be able to grown them here in Canada 🙂
fogmodern
Thanks for your helpful input, Brooke! You’re right, we aren’t big on color, but I often think we should force ourselves to add some. For the rear planter, we need something tall, but there are plenty of other places we’ll be planting. We also need to figure out our front yard. I’ve added your pics to our “landscaping” folder. Thanks again!
Beth
Looking great — what software did you use to plan your yard? We’re getting estimates from folks who want $1000 just to draw plans, and aren’t really hearing what I want. So, I’m figuring it’s time to do it myself!
fogmodern
Thanks Beth! Karen drew this in Adobe Illustrator –she’s a graphic designer, so is very familiar with it. I’ve seen some online tools for landscape design. I just Googled and found this list, which may help: http://tinyurl.com/haemyx5
$1000 seems a lot just for a plan, but I understand why people charge that (and I’ve heard of people charging much more) –they want to ensure they get a decent amount of money, even if you use someone else for the project.
If you know what you want, it may be worth sketching out ideas, and discussing them with a contractor. That said, landscape designers are pros, paid to think of everything –good ones can pay for themselves, in the long run.
Beth
Thank you!
*rnm
on the price // imagine what a design professional should/would/could make in a year, then figure their hourly rate (which included offices costs, insurance, staff, etc.), then factor in measuring, spec-ing, as well as drafting. after the meetings, phone calls, etc, it’d be easy to have 10 hours in something like this (with no opportunity to leverage mark-up costs later as andy mentioned)… (x) by that hourly rate (=) …
tony
How on earth can you get all this done in such a short time, while doing your ‘day Job’ and the work inside your home? Do you never sleep? Ah yes, I have it – are you a prototype robot? Only joking, but continue to be amazed at where all your energy comes from.
Looking ahead, it is going to be brilliant. I love your plan. I am not really qualified to suggest what you could plant and I don’t know much about what would suit your climate. However, we do have some bamboo at home in out fairly wet climate and it does well. Not sure if it is appropriate for CA.
You are doing a great job – can’t wait to see it progress.
fogmodern
Well, we are slowly killing ourselves in the process…now I’m joking (kind of). Glad you like it so far. A long way to go, obviously, but we feel confident it will work out well –at least it should be better than the dead lawn we had. As mentioned, we won’t be restarting until the spring, but we’ll get cracking once the temps/rain return to California norms –thanks again for your input.
*rnm
“Can’t quite believe we’re DIY-ing this bit, but hopefully it’ll turn out okay. What’s the worst that could happen? Don’t answer that.”… if you hit a snag, LMK. i know a guy.
looking good!
fogmodern
Thank you, Hunter -always good to have a backup plan!
Lisa and Kyle
You both are so talented and energetic…! Lovely! 🙂
fogmodern
Aww, that’s sweet –thank you! We don’t feel too energetic right now. I pulled my back a few days ago and am still hobbling around!
Pingback: fountains and flamingos | fogmodern
Rob Keil
I’m planning to replace my front lawn with rocks just like you guys have in the backyard. Did you put weed fabric down first, or use impermeable black plastic sheeting? Weed fabric has not worked well for me in the past without rocks on top of it, but I’m hesitant to use impermeable plastic sheeting for fear of there being no drainage which creates too much runoff. Maybe 2 layers of weed fabric and 4 inches of rocks would do it? As always I’m Interested in your experience/opinion. Thanks!
Andy
Hi Rob. We used weed fabric where we have plants, and cardboard/black plastic in the seating area. We were concerned about drainage too, so punctured the plastic in a few places –seems counter-intuitive, but helps. All areas have been relatively weed-free, but the biggest reason for that (I believe) is prep. We tilled the whole area thoroughly to begin with. In our actual backyard (this is technically the side) we didn’t prep much and the weeds are more of an issue. Sounds like your layered approach could work.