kitchen chaos
My mother keeps telling me a kitchen post is way overdue…and she has a point. First, a warning: this post is LONG, so you may want a swig of coffee first. Despite that, I won’t actually be revealing the whole kitchen yet. Sorry mum.
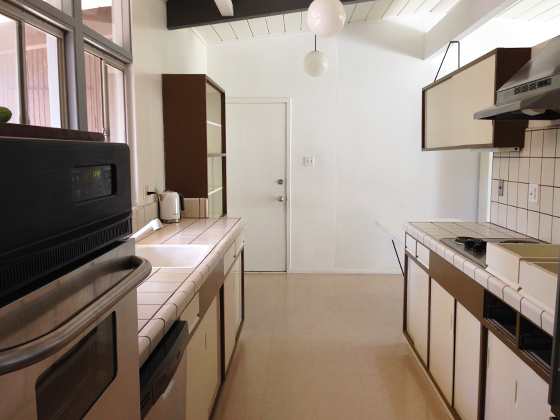
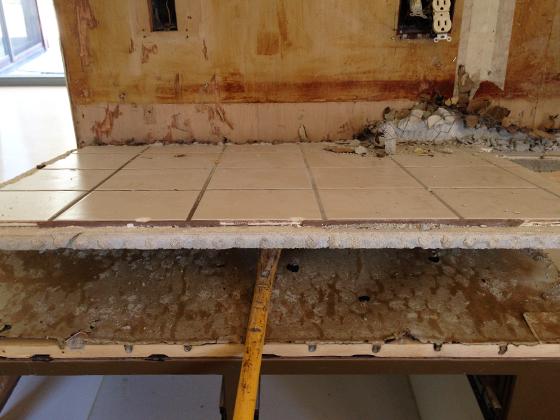
If you read our kitchen plan, you’ll know we’re keeping most of what you see here. The cabinets, doors, drawers and appliances all stay. But some things had to go. Starting with this ugly (to us) cream tile…
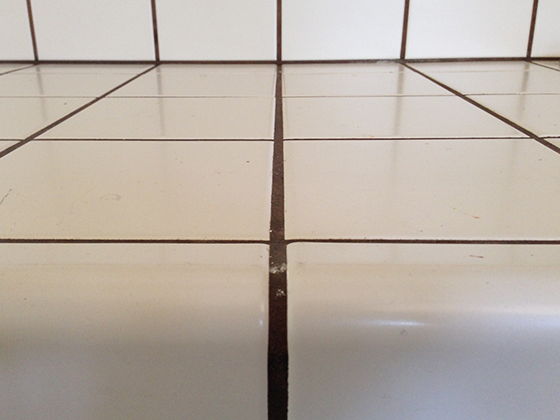
…complete with brown grout –a great choice for concealing dirt. Nice. We’ve been itching to remove this since we got here. The time had come, but we both had the feeling it wouldn’t go quietly. And we were right.
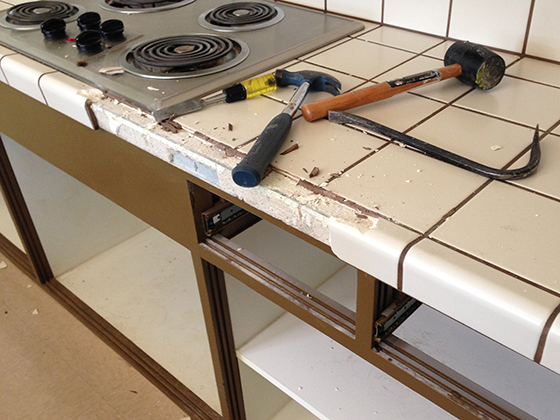
We started chipping away at the counter edges first, and quickly wondered what we’d gotten into. Meanwhile, our tool haul was growing fast –hammer, chisel, pliers, crow-bar– anything to help shift this stubborn tile.

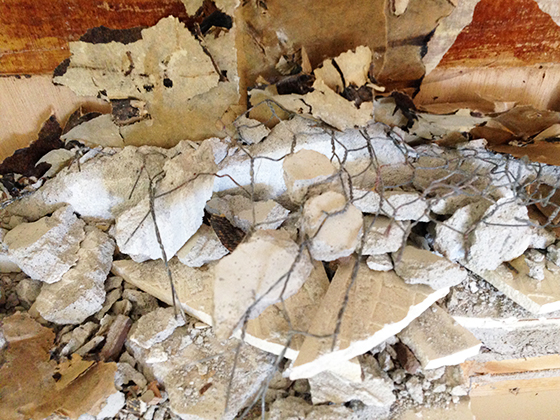
Someone really liked this stuff, safeguarding its future with a robust chicken wire/cement combo. I cut myself a couple times ripping tiles out, before concluding that I should be wearing gloves. And perhaps flip-flops weren’t the best footwear choice.
It was slow-going, mainly for the backsplash sections, but we persevered. And we did manage to lever-off some satisfyingly large slabs, like this one. Fast-forward a couple of hours, and all the tile was gone. Phew!
But we were far from finished. Something else had been bugging us from the day we moved in –this large vent hood. I do most all of the cooking, so I’m often face-to-face with this bulky beast. Not a pretty sight.
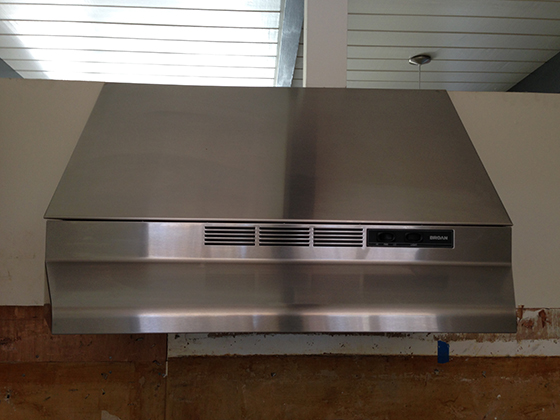
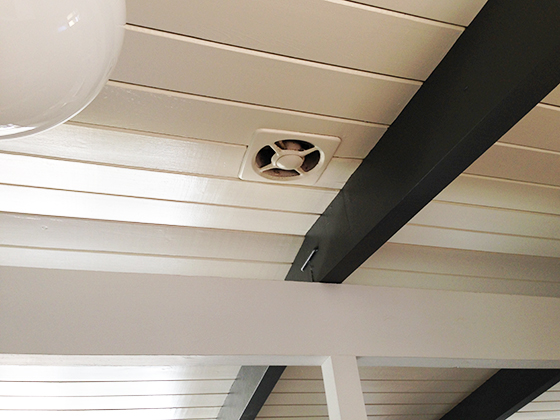
No practical consideration here –we’d prefer no ventilation to looking at this thing. And we still have the original overhead vent, though it’s in need of repair/replacement. Don’t get too close –it’s (embarrassingly) filthy inside.
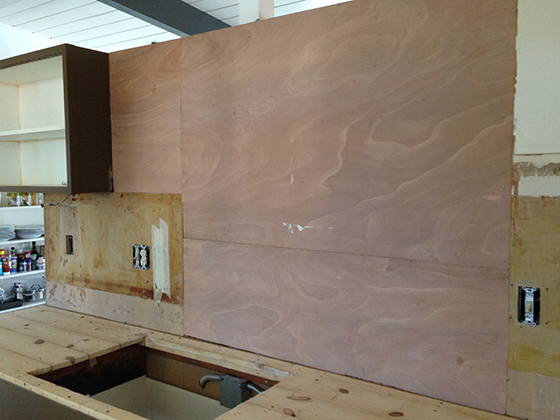
With the hood gone, the space opened up a little –and we need every inch in our compact kitchen. Unfortunately, the wall behind was a mess, with some holes and exposed electrical. The lower portion wasn’t a problem, as we’d be covering that with backsplash.
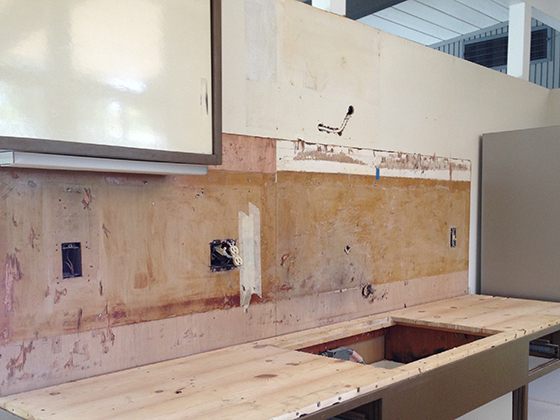
But we planned on just painting the top, so that did need addressing. We removed the problem panels, took the opportunity to add insulation, then patched it with some luan offcuts we had. This made for a much smoother surface.
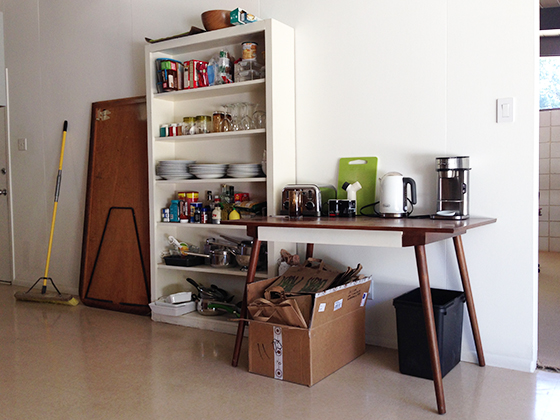
Our kitchen would be out of action for a while, so we packed most stuff into boxes, and set up a temporary ‘kitchen’ in the living room, just feet away (I knew that bookcase we removed would come in handy). Central to this, a kettle –tea is Karen’s lifeblood.
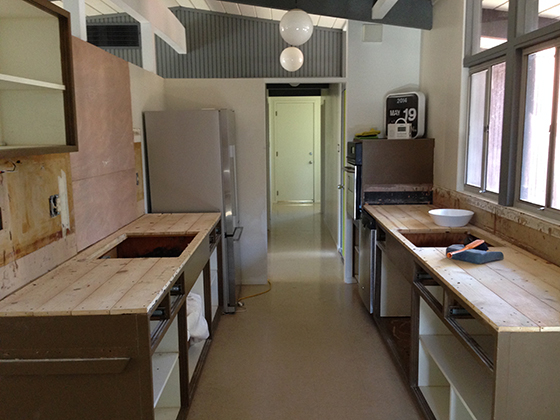
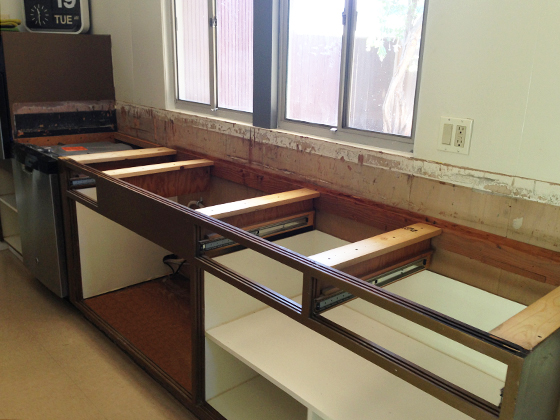
Back in the real kitchen, things were looking barren. And we were liking it more already. Our next job was to remove the wooden support frame, as our new counters had no overhang (like the tile) and would sit directly on the cabinets.
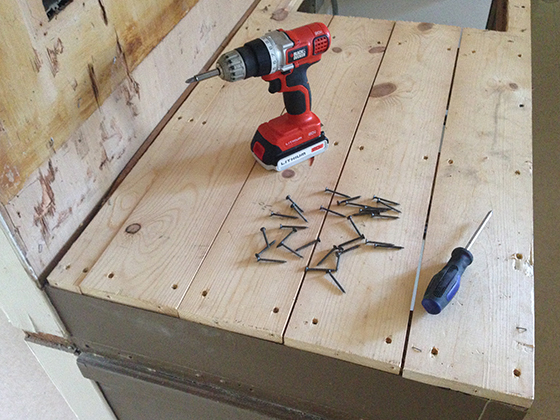
Each of these wooden planks was secured with at least six screws. These were fairly stubborn (we need a more powerful electric screwdriver) so took some time to remove. Guess it could have been worse –at least they weren’t nailed into place.
Once these were off, the kitchen looked really bare. It would have made sense to paint next, but we had other ideas. With no water or cooktop, our priority was making the kitchen functional again. So, onto the countertops.
We had planned to install white solid surface, before deciding Formica would be more in-keeping. Then we had an opportunity we couldn’t refuse –some heavily discounted IKEA white laminate counters. Close to what we had in mind, so we went with it.
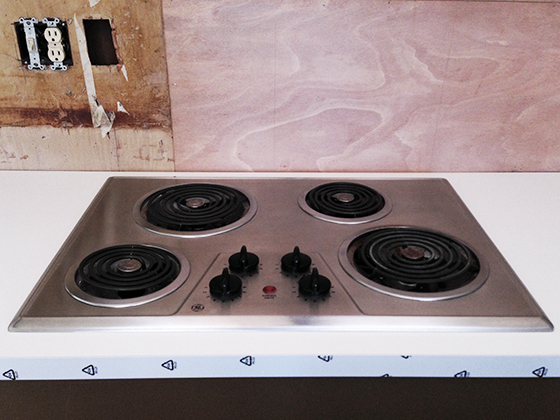
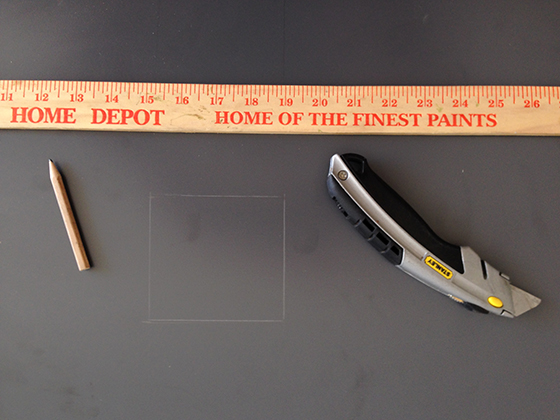
We have one ten-foot run, plus an eight-foot run, requiring cutouts for the sink and cooktop, respectively. We’re keeping this inherited GE cooktop for now –it’s almost new, works well, and looks just fine, fitting the style pretty well.
The sink side was a head-scratcher, as I’ll explain later. First, let me skip to another big job; painting. Unsurprisingly, we picked a gray for the cabinets –Sherwin Williams’ Cityscape. It doesn’t get more exciting than this action shot.
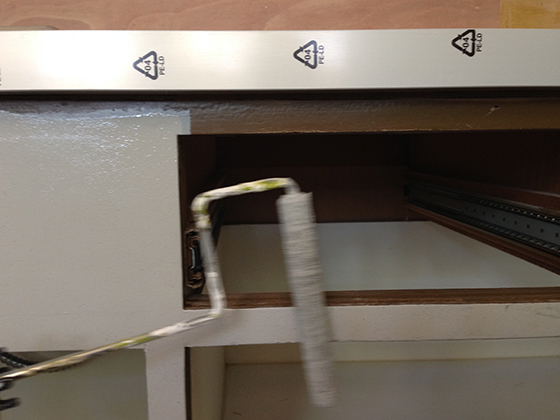
Meanwhile, we moved the drawers to a shady patio spot, ready for painting. Originally these fronts matched the cabinets, but at some point ours were painted white. We’d be using the same gray, which will blend, restoring the kitchen’s intended cleaner lines.
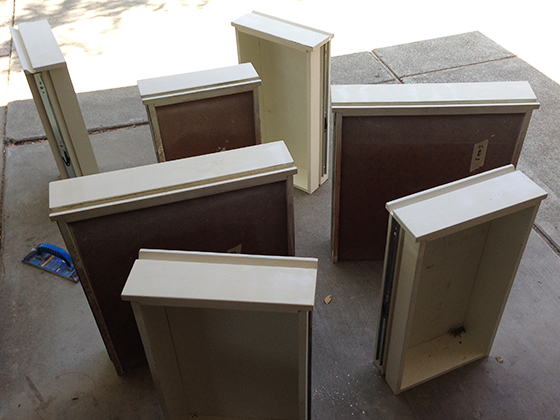
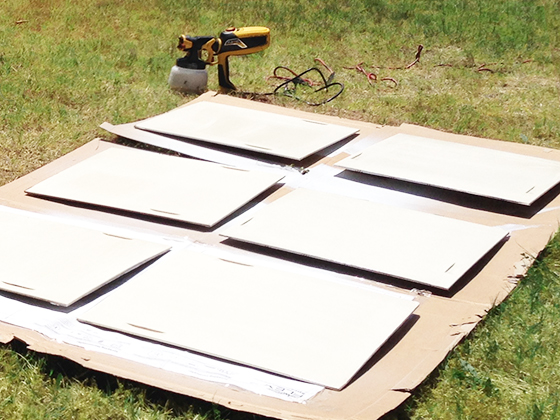
Also outside, the cabinet doors (19 in total). The plan was to spray these white, for a nice contrast, but this (my project) didn’t go well. The finish was too textured, so we decided to use a roller instead. FYI: I have since mastered the paint sprayer.
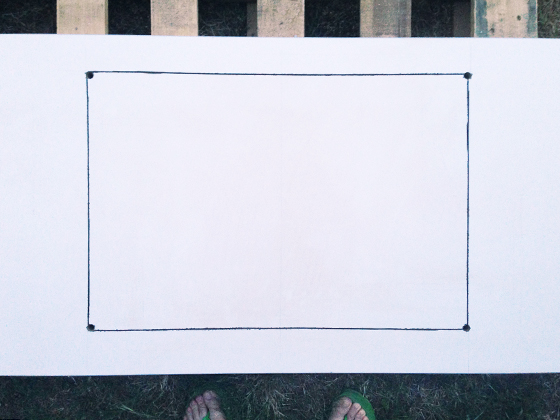
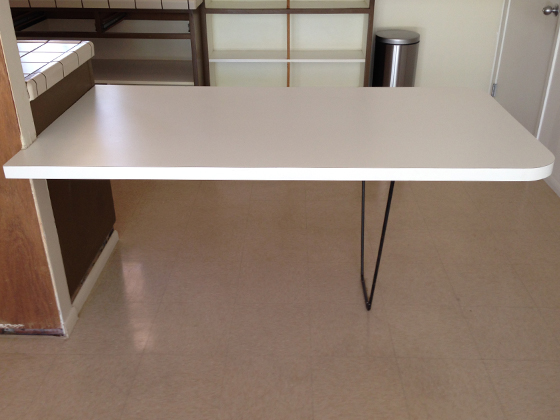
I diverted my attention elsewhere (something I excel at) to our hairpin table, shown below, before demo. We love this original feature, but it needed some tweaking. This side-project became pretty involved, so I’m devoting a separate post to it.
While all this was going on, we’d been trying to decide on a backsplash color. At first, we wanted a ‘pop’ to contrast with the gray/white, but nothing we found worked. Then we considered matching the counters. We ordered masses of Formica samples.
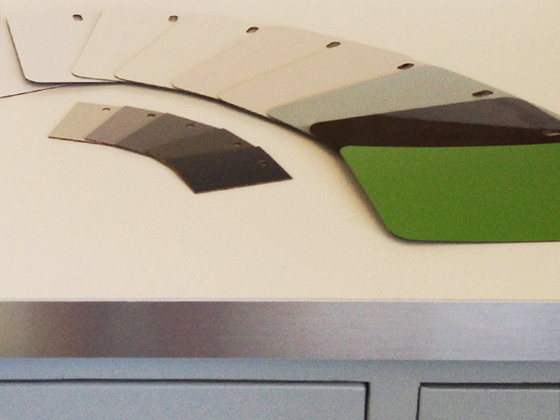
We even asked for people’s advice. In the end, we picked this dark gray. Despite this looking like a Home Depot ad, we ordered the Formica from Lowes. When we picked it up, we expected a large sheet, but it came in a roll. This confused us…which is not difficult.
Honestly, it’s not the perfect gray (tricky to judge from a small sample) but it works. We color matched the backsplash at Home Depot, so we could paint the wall to match. It blends nicely, and makes a nice backdrop for accent colors.
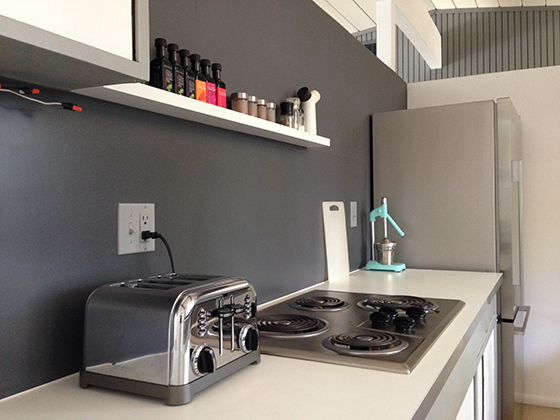
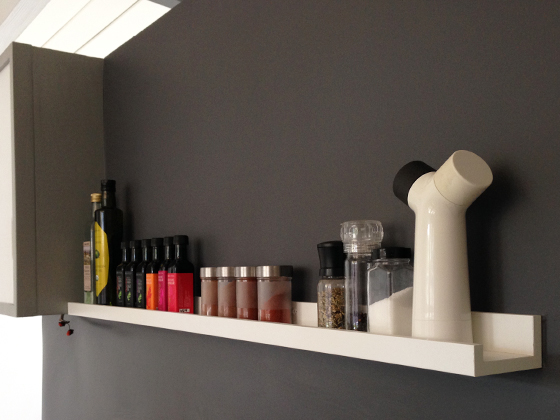
We added a shelf, to accentuate the line of the flying coffin, and provide some useful easy-access storage. You can also see we left the electrical, under the cabinet. We plan to add a strip light at some point –some decent options at IKEA.
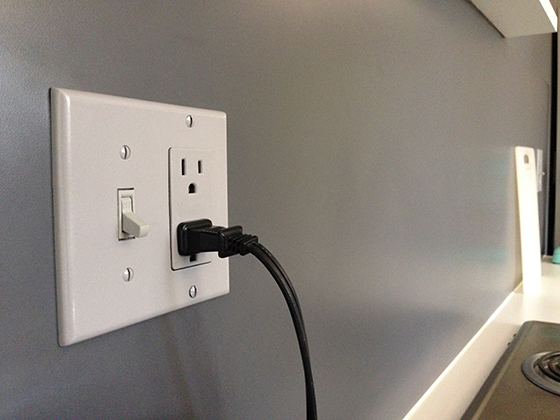
We also matched (kind of) the outlet covers/switch plates on this side, following the color scheme I told you about. The gray is obviously lighter, but it looks way better than white. And at least it looks like we made an effort.
Another small but worthwhile touch was adding drawer liners –in gray, appropriately. This stuff comes in rolls, easily cut to size. Like most stuff at IKEA, this is super-cheap, but really doesn’t look it. At least we hope not.
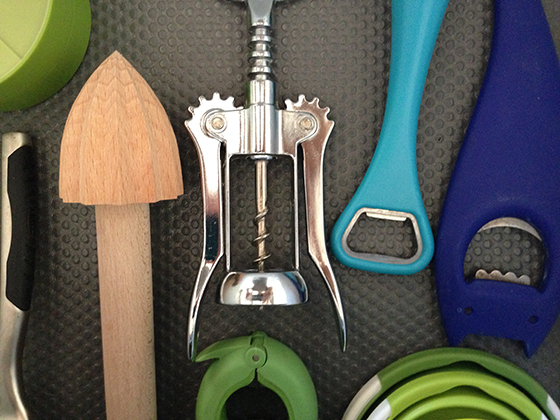
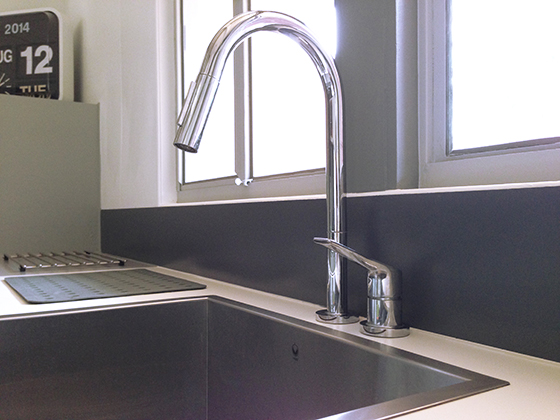
We made bigger changes on the sink side. We removed the old heavily chipped and painted sink. We did consider restoring it, but couldn’t agree on that one. And the plastic faucet had to go. We both love these stainless steel replacements.
Now to the headache I mentioned. This stretch is ten-feet, but our slabs were only eight. We hate transition strips, so made the change more deliberate, using the gray counter reverse (leftover from our bathroom project) and adding a cooling rack.
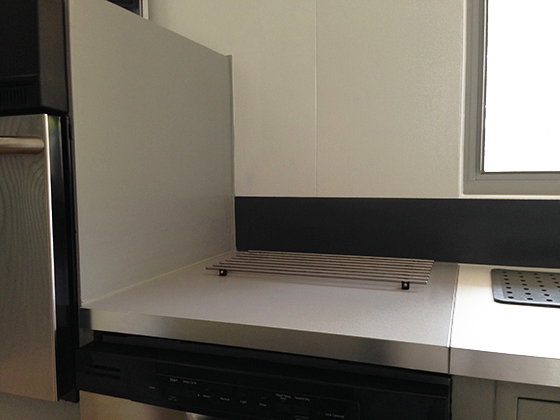
This spot is next to the oven, so it’s appropriate, and something we genuinely need. If you read this far (and you’re not my mother) congratulations. That’s all I’m sharing for now. Next, I need to tell you about our hairpin table, before showing you the big picture.
*rnm
very nice work.
if you ever wanted to re-approach the gray drop in, remember that eichlers — as original — often had built-in butcher block insets. not that the gray is bad, but if you wanted to channel your inner purist, a butcher block inlay could also be nice… and ikea has one conveniently the same thickness as the numerar countertop in a few different woods (oak, beech, etc.)…
fogmodern
Thanks for the feedback/info Hunter. We did consider adding a butcher block instead, and it would make more visual sense for sure. In our model, it was on the opposite side, next to the cooktop. That’s where I chop, so it would work there…but that wouldn’t help us solve the counter issue. For now, this what we went with, but we may tweak it later.
Lisa and Kyle
Beautifully done! So nice that you got rid of that silly vent hood! 🙂 Looks amazing! 🙂
fogmodern
Thanks Lisa! Yeah, that vent hood was SO ugly! We’ve taken things a stage further now, as you may have seen: http://fogmodern.com/kitchen-refresh/ –we also plan on finishing the flooring in there soon, and making a couple more tweaks. It’s one of our favorite spaces now, which is a big change from when we arrived!