hairpin table
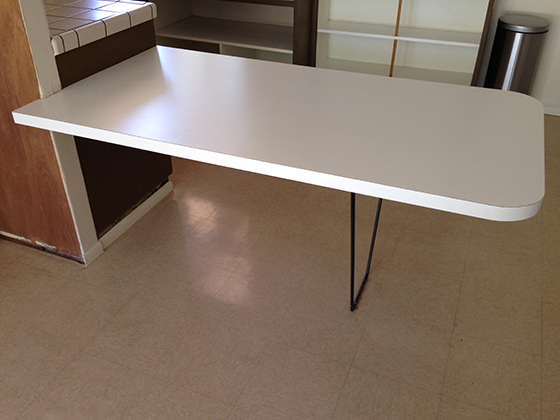
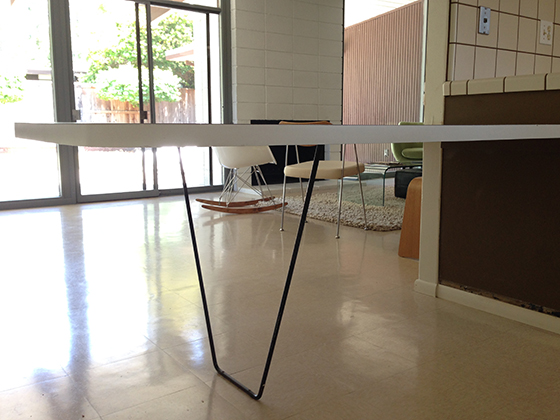
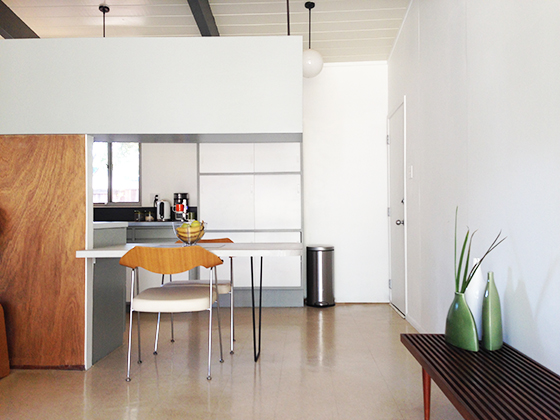
So, to my kitchen ‘side-project’ –our hairpin table. We’re glad to have one, as they’re rare to find, although ours isn’t quite as intended. It’s covered in white laminate, not the original Formica. The previous owners either recovered or replaced it.
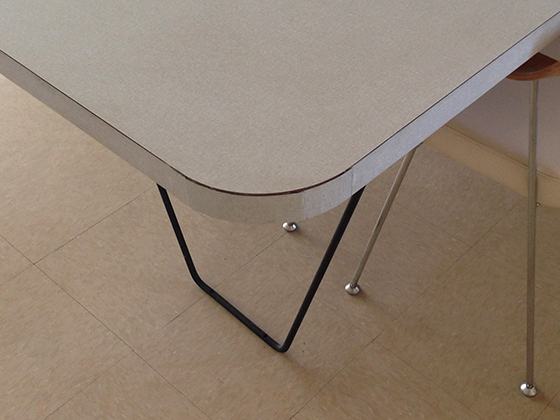
And the corners are curved at one end, whereas the original table was square. Doubtful this was a design decision; more likely a measure to reduce pain from hip-banging, while negotiating the narrow gap between table and wall.
Or perhaps it’s not original at all. Either way, we could justify some tweaking. We planned to cut about ten inches off, to line the table up with the ‘flying coffin’ (above) and pantry cabinet, while increasing walkway width. I measured (twice) and made the cut.
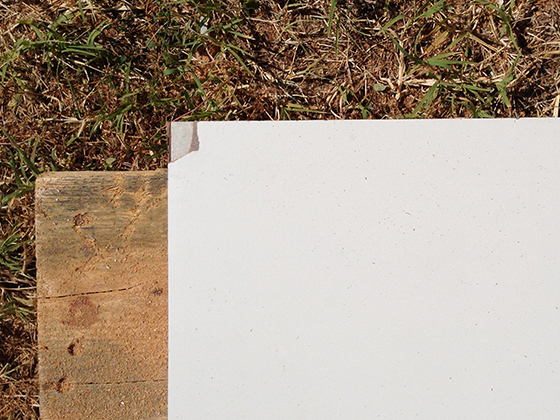
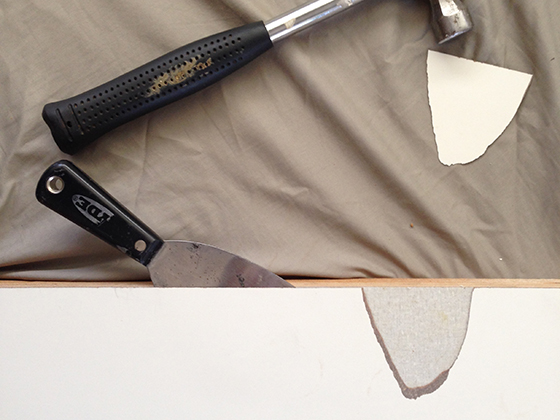
I accidentally chipped away a tiny part of white laminate, and got a surprise. Underneath was Formica –so this is the original table. But I figured the Formica must have been in bad shape if they’d covered it, right? I couldn’t resist finding out.
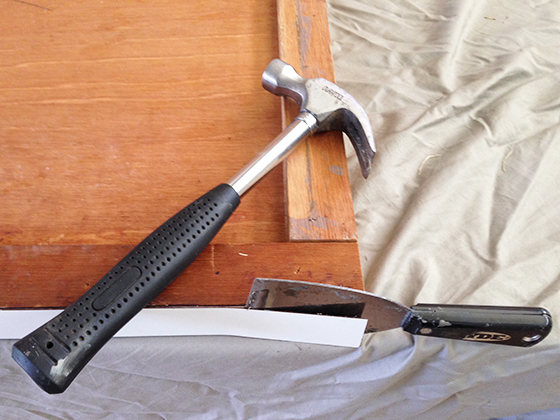
I used a hammer and flexible scraper to chip away the surface laminate, and used the same method for the edges. It was quick and easy to reveal all the original Formica. The table top looked to be in great shape, which was a big relief.
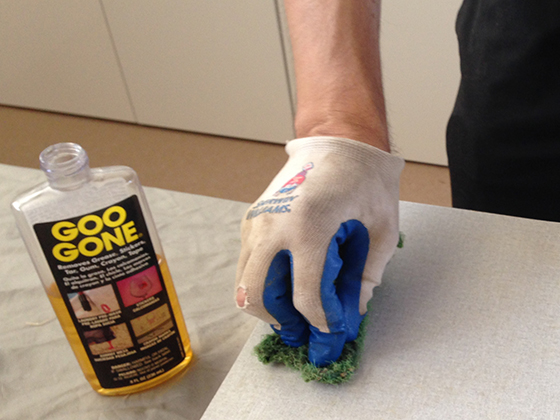
But it was covered in a sticky residue, presumably contact adhesive. We used multiple cleaning products and methods to remove this, and eventually got somewhere. Now it was looking much better, and the pattern was fully revealed.
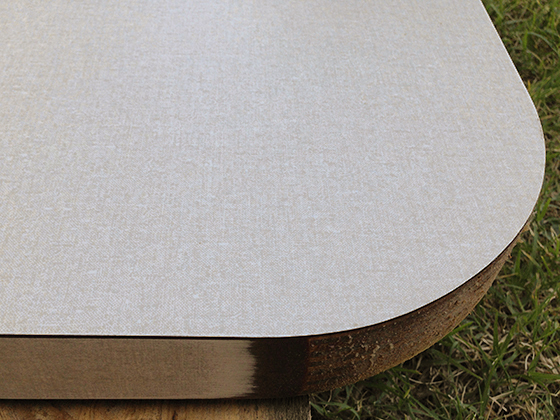
Our next (much bigger) problem was the edges. When the previous owners curved the table, they removed a portion of Formica edging strip. This was no problem to them, as they were covering with white laminate. But it is for us, as you can see.
I kicked myself for not stripping the laminate before cutting. I could have squared-off the table, then patched a straight edge –way easier than bending brittle Formica around the curves. But I was up for trying. And with my new-found boiling smarts what could go wrong?
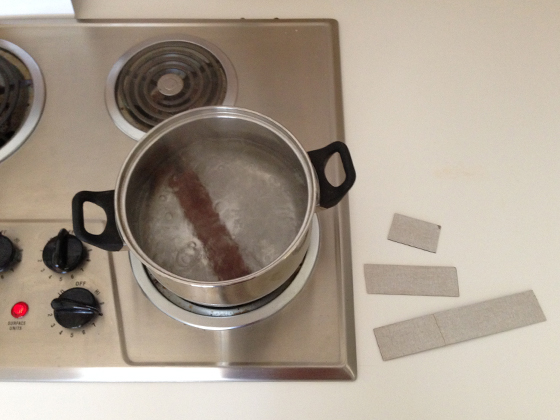
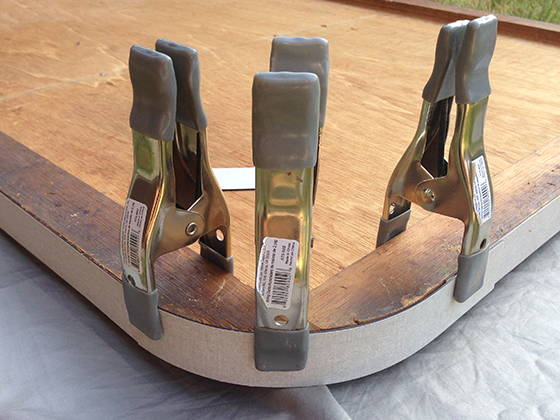
I removed all the edging strip from the portion of table we’d cut off, then heated these sections until they felt pliable –okay, perhaps boiling isn’t the best method, but I’m working with what we have. I applied contact adhesive, bent the strip into place, then clamped.
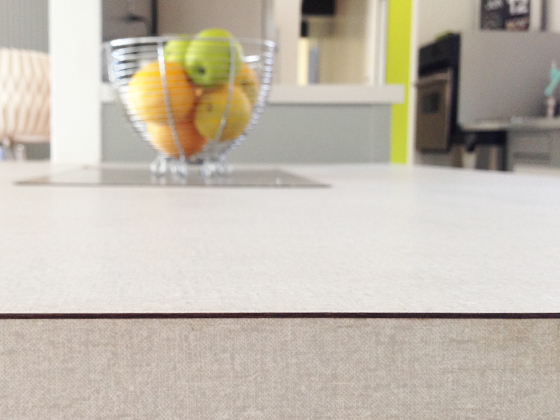
In my head, this worked perfectly. The reality was several frustrating hours of steam, sticking, clamping and cursing (while Karen was doing real work in the kitchen). I covered the curve, but the Formica kept splitting, and the end result is patchy. It honestly looks worse in the flesh.
I contacted Formica dealers, but had no luck tracking down the pattern. I’d love to patch this properly, or even rebuild the table. For now though, we’re happy. It fits the space way better, lines up with the cabinets, and allows plenty of room to walk by.
And this subtle gray crosshatch pattern is so darn cool –it would have been amazing to have this Formica throughout the kitchen. As it is, this perfectly complements our gray and white scheme, so we really can’t complain.
It’s great to have made this table a little more authentic (on balance) while adding some visual interest to the kitchen. It was a little more hassle than expected, but we love how it turned out. We just don’t look too closely at the corners.
We’re rounding-off a few projects this weekend, so I’ll tell you about those soon soon. In the meantime, you can keep up with the latest on Instagram and Facebook.


Jon
SCHWING!!
fogmodern
Haha! I’ll take that as a compliment Jon!
Pingback: kitchen chaos « fogmodern
Pingback: feature rich « fogmodern
Jim Palmer
Hi There!
We are about to paint our kitchen cabinets and are struggling with the final color palette. I was wondering if you could send some info/photos on the colors you used… ?
PS – Thanks again for the helpful info on the VCT tile a few months back. We finally finished our floor project and I’d be happy to share photos if you want to see. We’re super happy with how our new floors turned out. One unexpected bonus: at night the VCT looks exactly like the exterior concrete hardscape in our yard so it has the appearance of one surface indoor and out. Asbestos removal was expensive (and a major inconvenience) but we did it just to be safe.
-JP
fogmodern
Hi Jim! I need to look up the color references, but won’t get time for a day or two. Please shoot me an email: andy@fogmodern.com and I’ll get back to you. Would love to see some pics too!