back side
Last summer, we painted most of our exterior, leaving just the back, and a small adjoining side section. And that’s how it stayed, until this summer –we spent much of that back here, taming our mess of a yard (still in progess). When DIY-scaping became too much, we took ‘a break’, to paint.
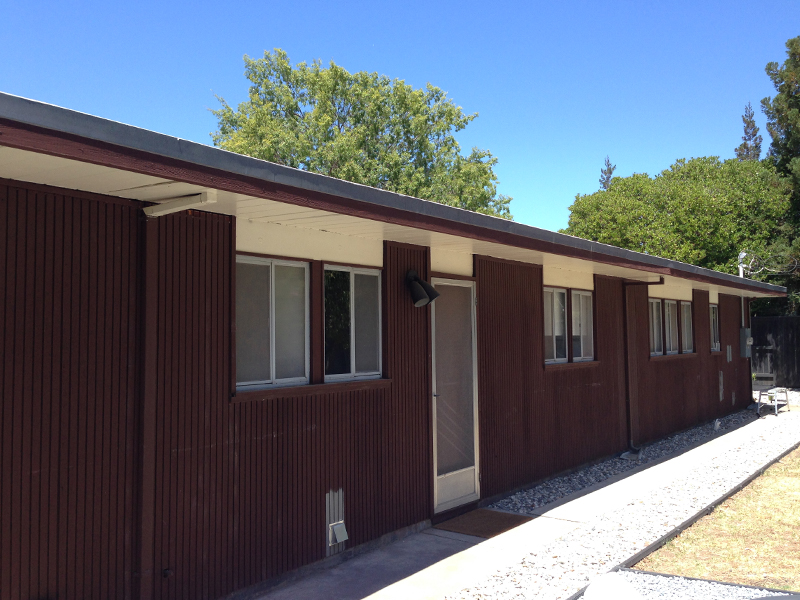
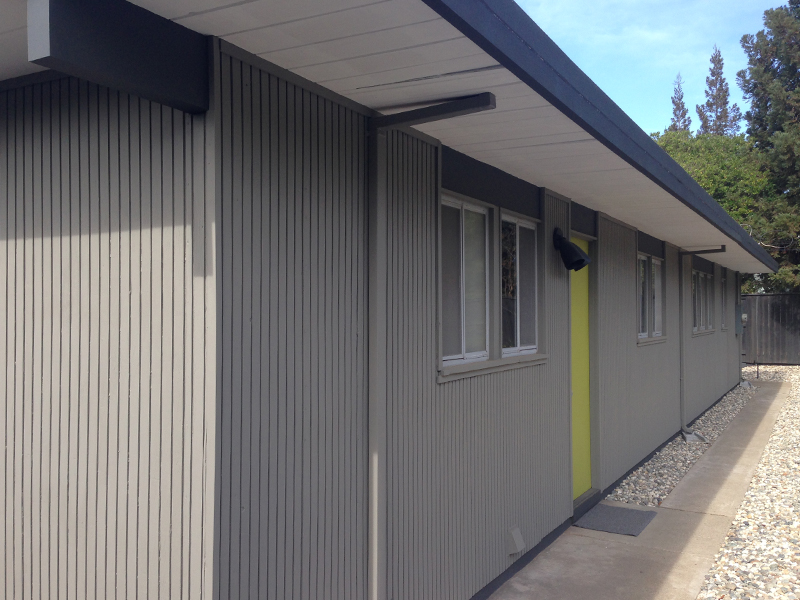
At around 60 feet, this is our longest continuous stretch, spanning the bedroom wing. All we’ve previously done here is remove a large bush, and test out gray paint samples. Nothing much to see –just siding, small windows and a slab door. Not the most attractive side of our house.
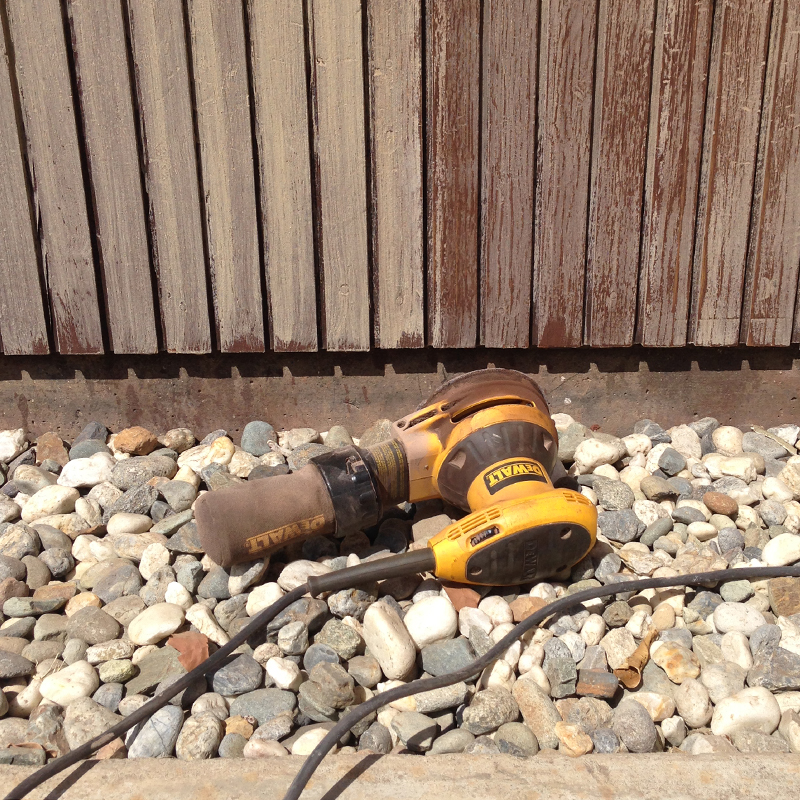
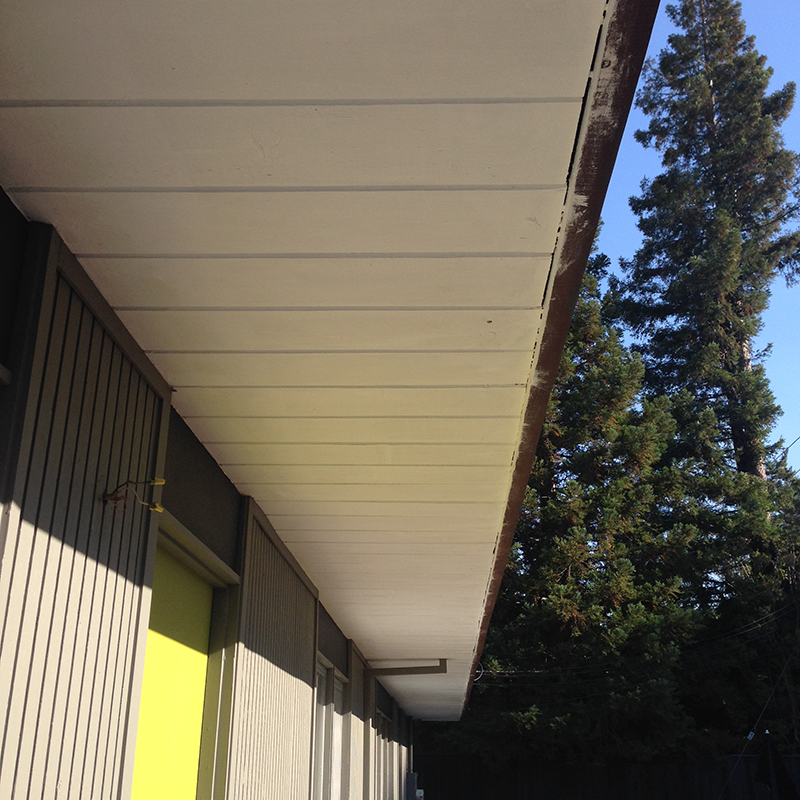
This area has south-east exposure, so staying cool (during 100º+ days) was challenging. The overhang gives some afternoon shade, plus we had our trusty parasol. We clicked into our routine and started prep –sanding, filling, more sanding…
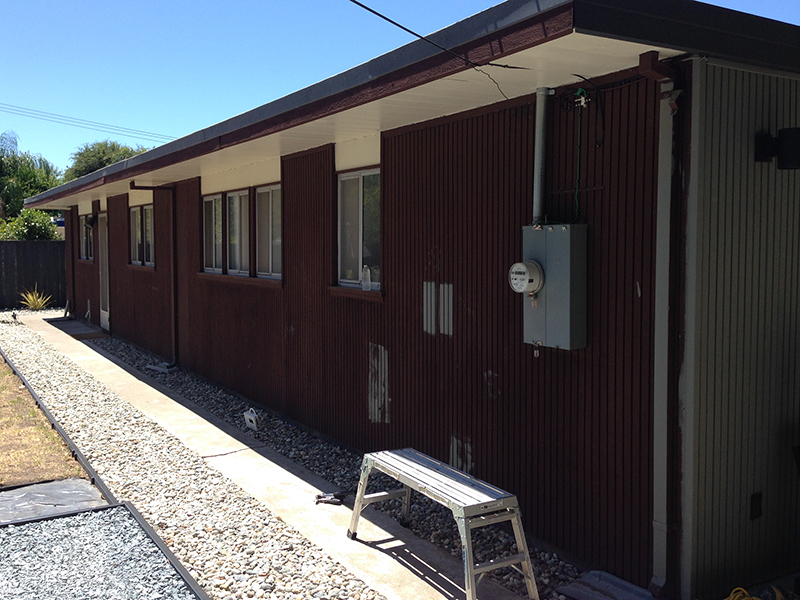
…and finally (of course) painting –Karen began doing what she was born to do (that’s painting, just so we’re clear) and the brown began to magically disappear. I wish that ugly roof protrusion would also disappear, but (sadly) our electricity would go with it.
Meanwhile, I attacked this messy caulk, between trim and siding (below it) and ceiling (above it).
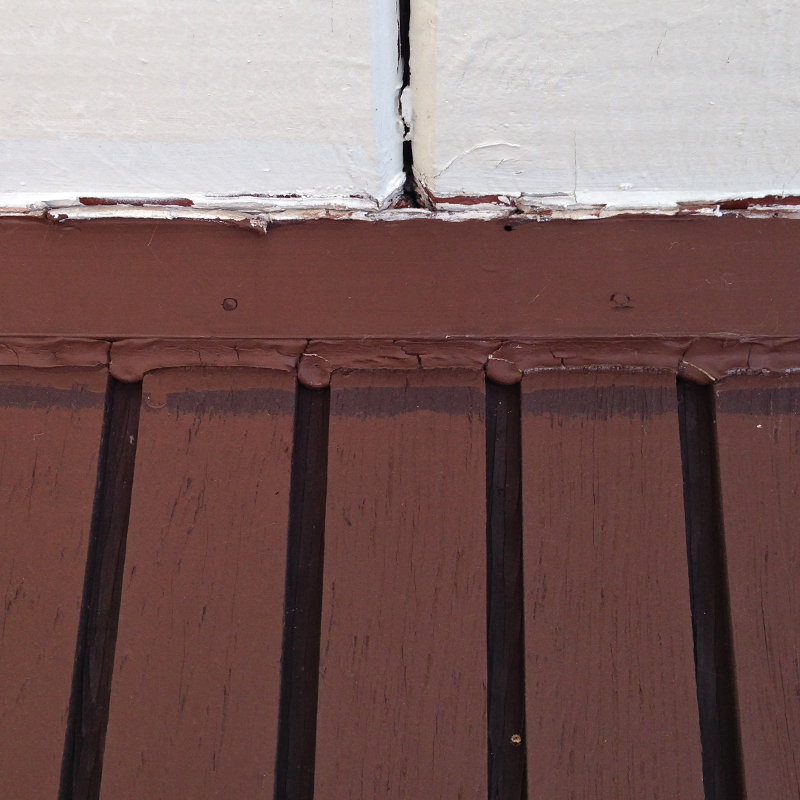
I removed the trim, chipped away the caulk, sanded the siding and painted the ceiling edge white. Notice the contrast between the new ultra-white and old cream paint.
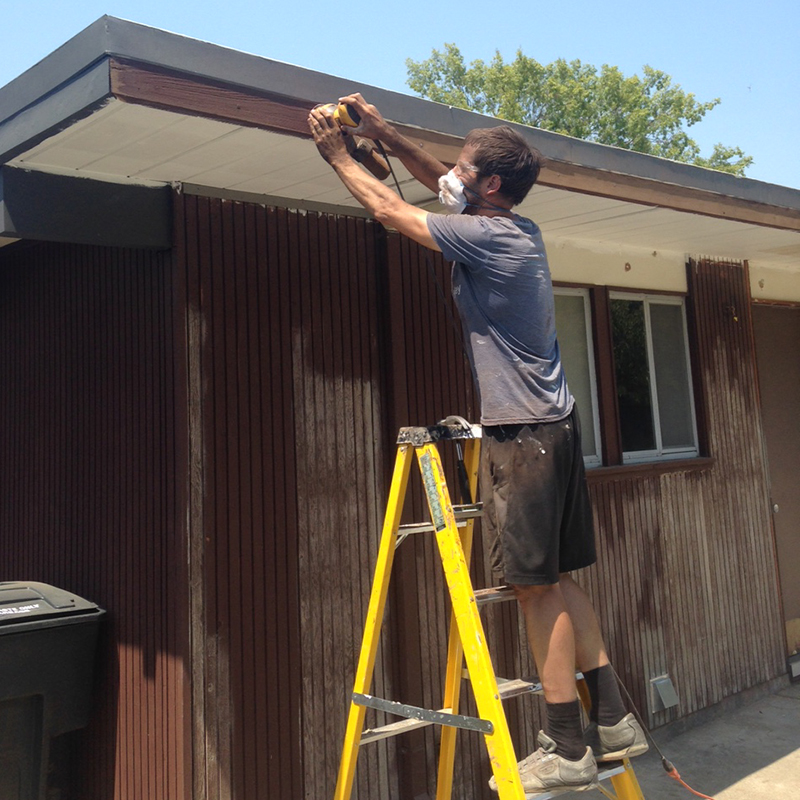
Up above, I sanded back the fascia board and knocked a few nails in. Here’s a rare sighting of the lesser-known Sandy Andy. Our neighbor visited about now and mocked my dustiness –thanks for the support, Kelly.
As usual, Karen was making swift painting progress. Always amazes me how well this 60-year-old siding comes up with some prep. We didn’t do much on the sills and trim though –we’ll replace these windows down the line, so just not worth the effort.
Eventually, we’ll add a slider in the master, where there’s currently a small window on this side (last on the right, above) to allow better access/connection to the back yard. For now though, this door is it. And it’s no looker.
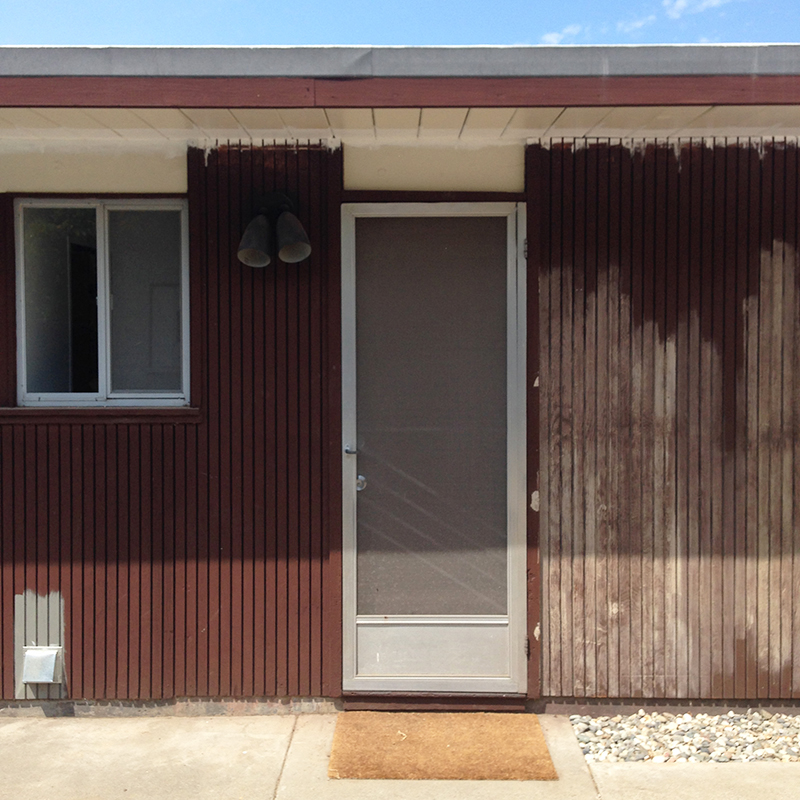
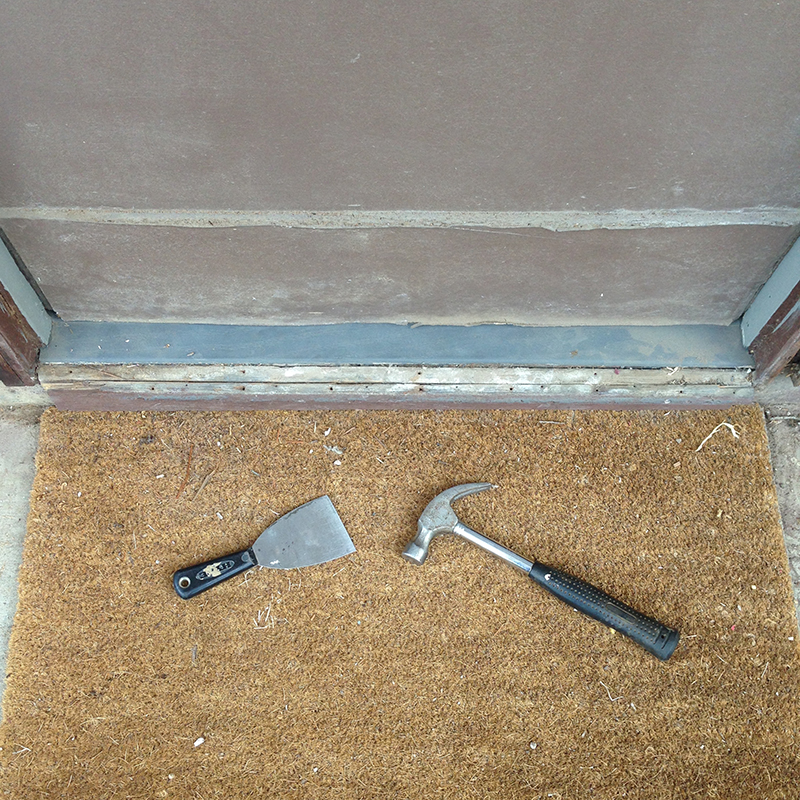
Both the bug screen and door itself were pretty beaten-up. As was the doorstep, trim…everything really. We got to work, removing the door and anything that looked dead.
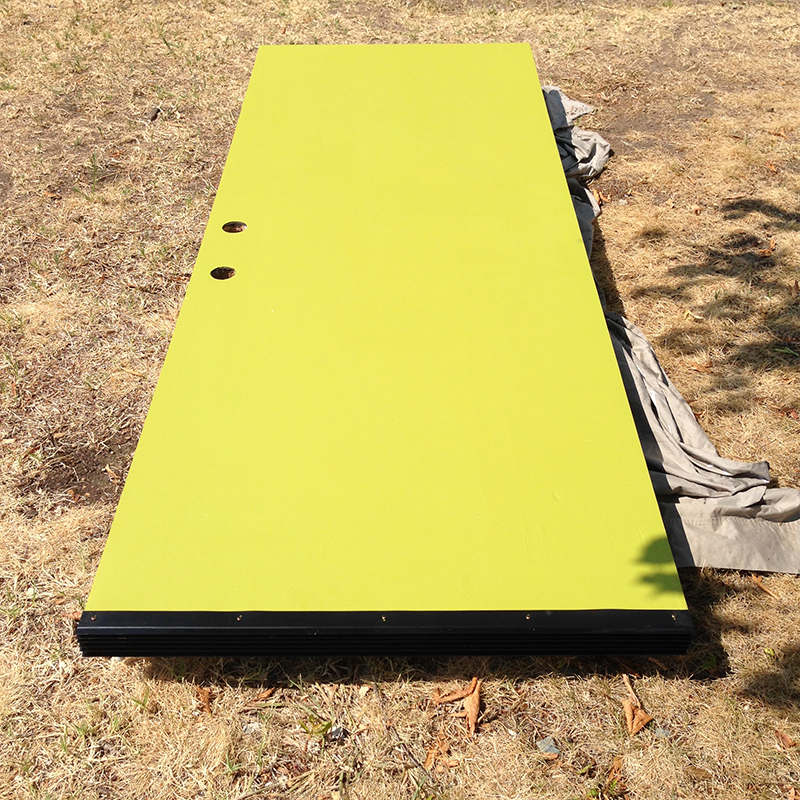
We will likely replace this door in a few years, but just sanded and painted for now –lime green to match our front door. It came up way better than we expected. And way greener than our joke of a lawn. We painted the bottom plate black initially (as here) then changed to green, to blend in.
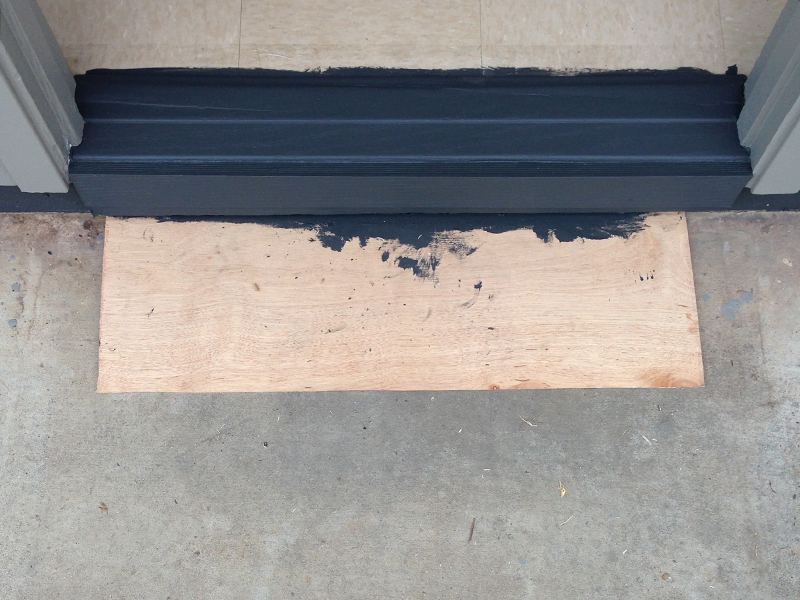
With the door off, we replaced the trim and added an aluminum step plate, painting that our dark gray beam color. There’s tape at the top, where it meets the floor –we’re not that messy at painting. You’ll notice the siding had also been painted by this point.
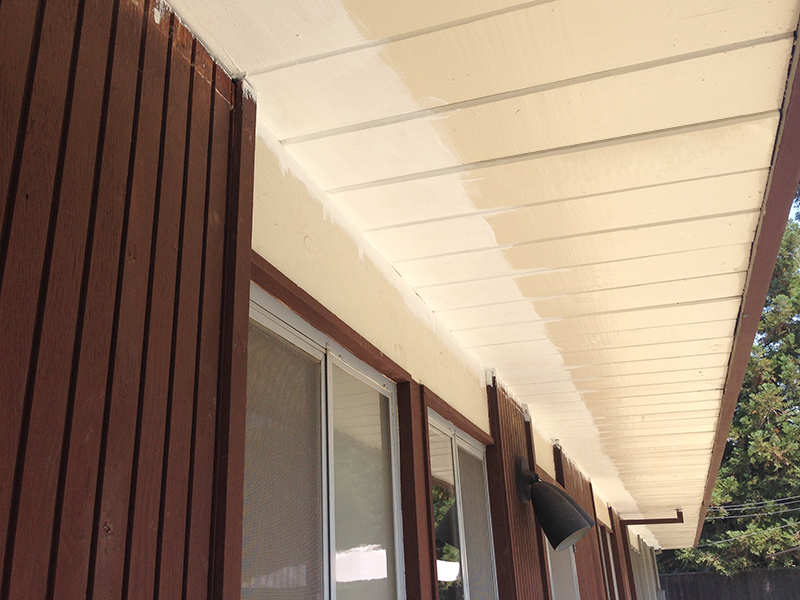
The ceilings were getting there too. The white was on the last coat here, with just the fascia underside (to be painted gray) after that. And, as you can see, the door was now up. We also removed the light, just to the left of it, to repaint.
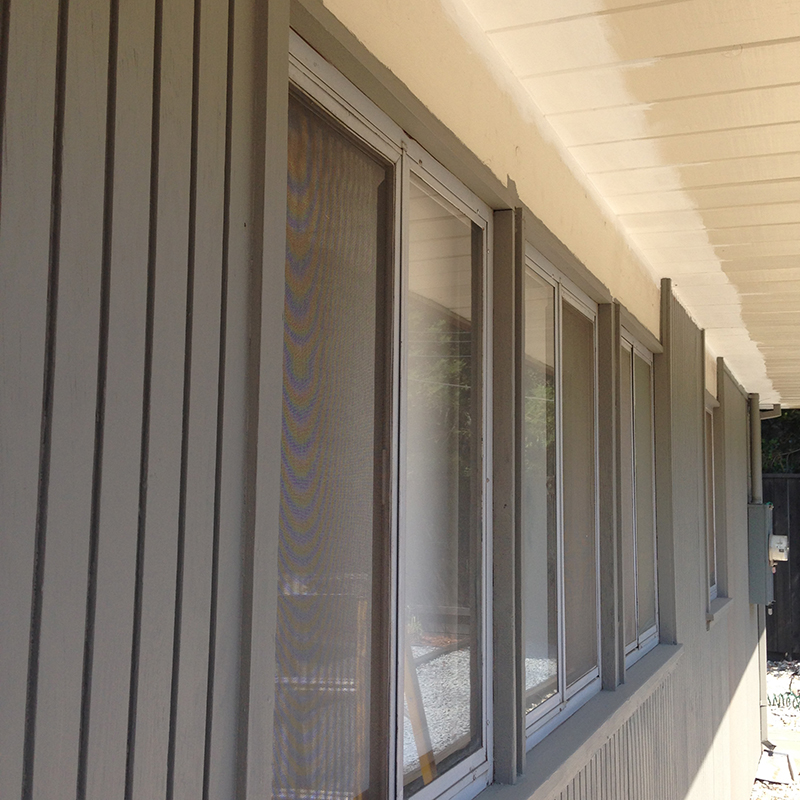
Here’s a better look. We decided not to re-install the (non-original) bug screen –though useful, it’s battered and ill-fitting, and doesn’t add anything, aesthetically. Love how the colors work together here –you’ll notice the cross beams (above windows and door) are now dark gray.
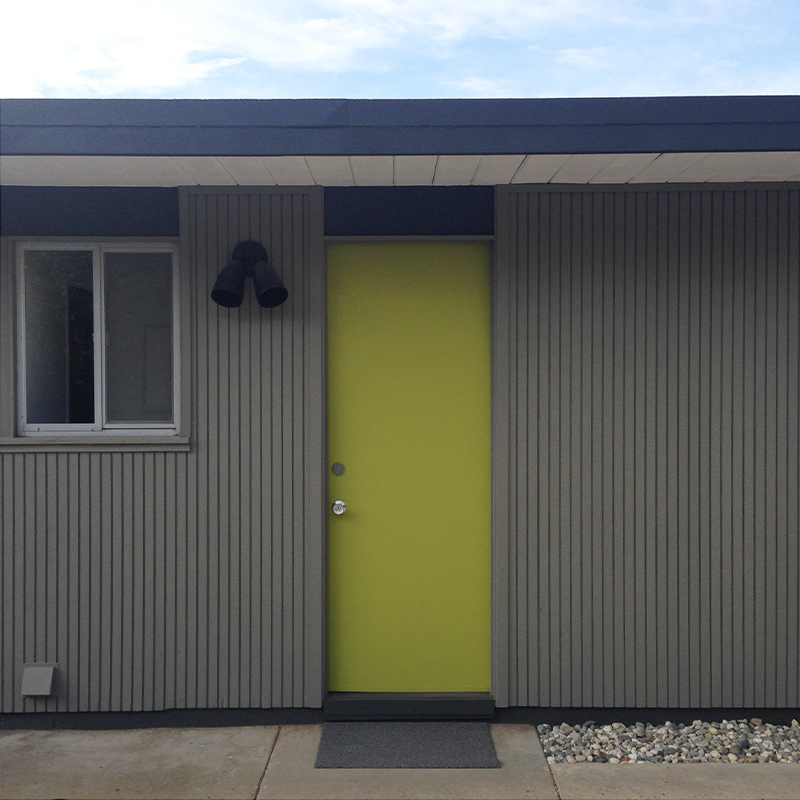
As is the fascia (top) and concrete (bottom), to punctuate the siding. This always makes it feel way more finished –and it was. We reinstalled our bullet lights, and switched-out the brown doormat for gray. And that was that.
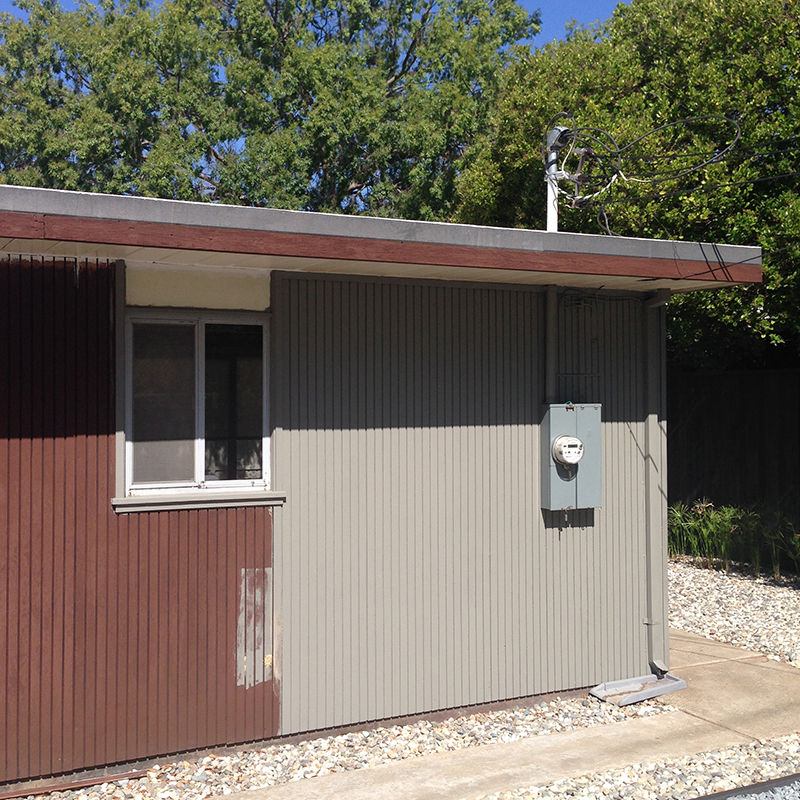
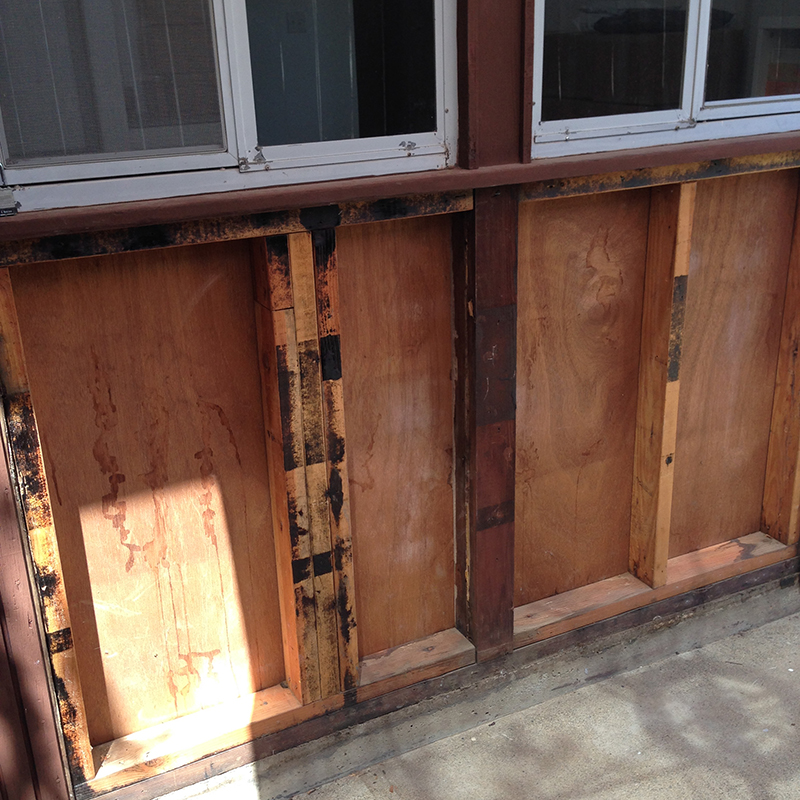
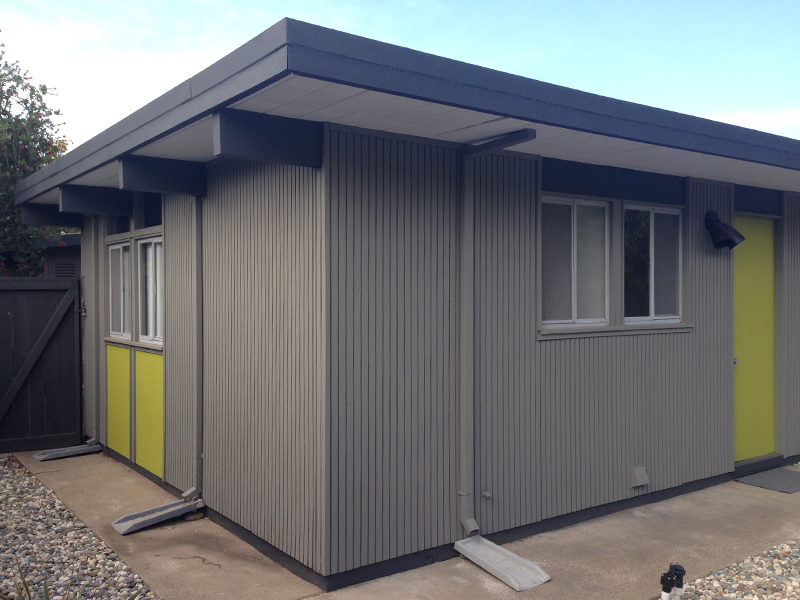
Almost. We still had this side to do. There should be opaque mistlite glass panels beneath these windows. You may recall we investigated a while back, hoping to find them under the replacement T1-11 style siding. Sadly, as per most homes here, ours were long gone.
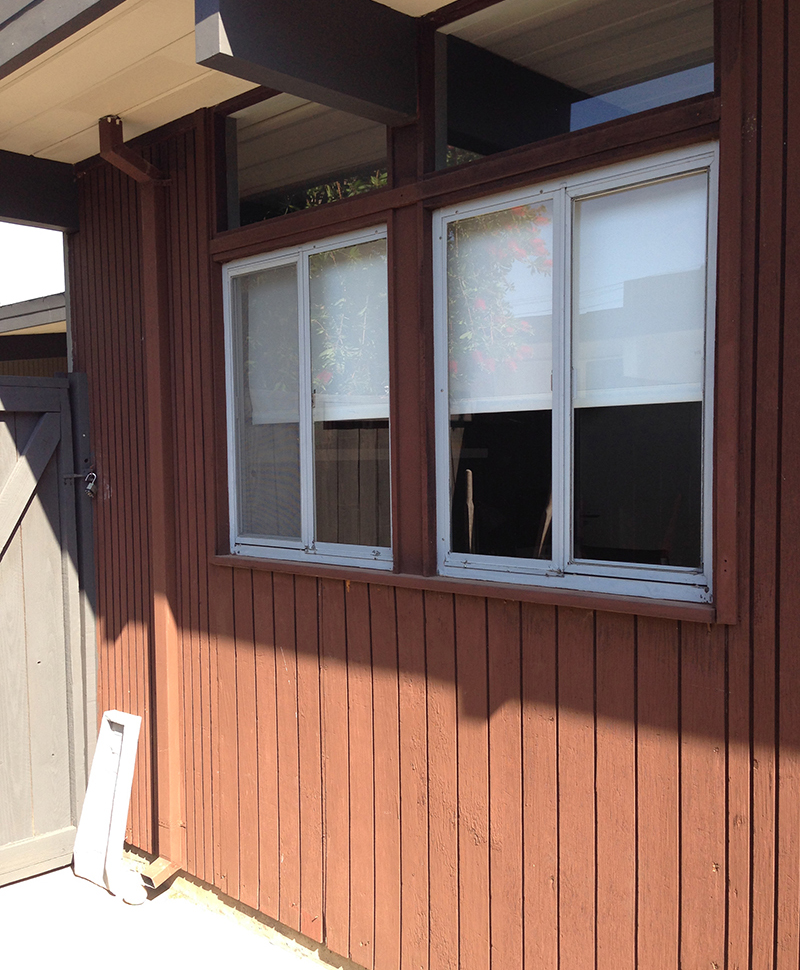
We considered reinstating glass but decided it was too much hassle, for not enough gain. Instead, we would replicate the solid colored panels, under our kitchen window. We removed the old siding, plus tons of nails, then measured-up and took the opportunity to insulate.
We had wood panels cut to size at Home Depot, painted as per our other panels (and doors) and fixed them in place. Then we constructed the center trim, to mirror the top section, and added trim under the sills and beside the panels/window.
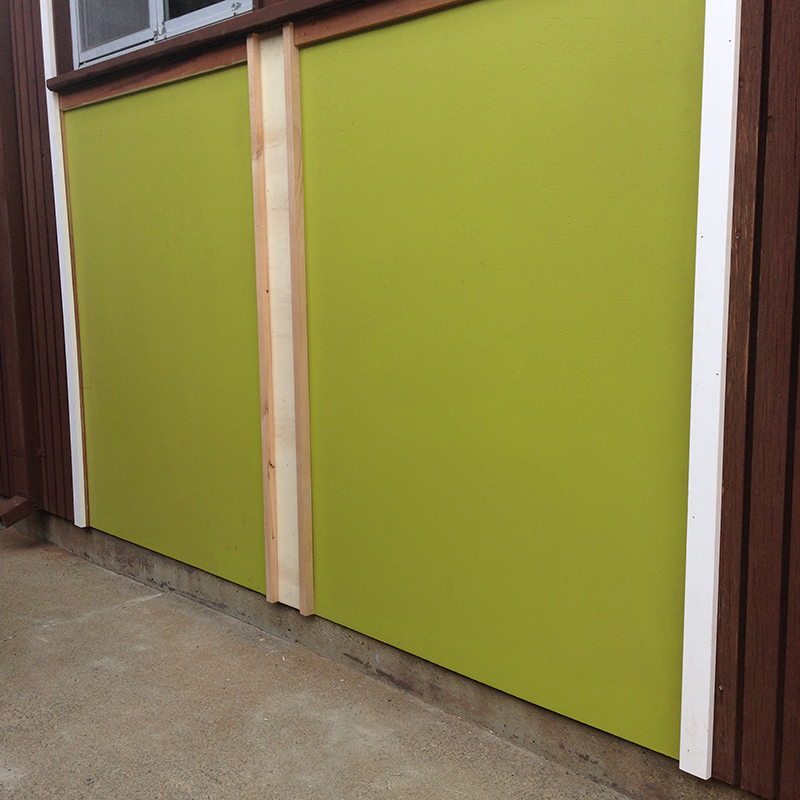
Finally, we caulked and painted everything. Many neighbors have made the same glass-to-solid panel replacement –none we’ve seen look 100% faithful to the original structure, and ours doesn’t either –without re-framing, it’s not possible. That said, this looks plenty good enough for us.
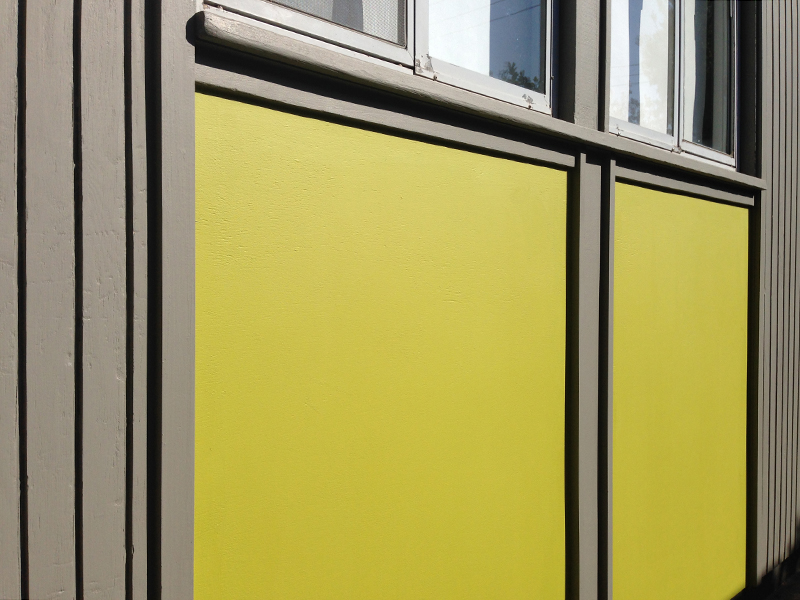
Clearly, we did our stuff on the siding, beams, fascia and ceiling too, but no need for the details. We are very happy how this side turned out. We hope people assume these panels have been here from the start –that’s always our goal, when ‘faking’ original Eichler details such as this.
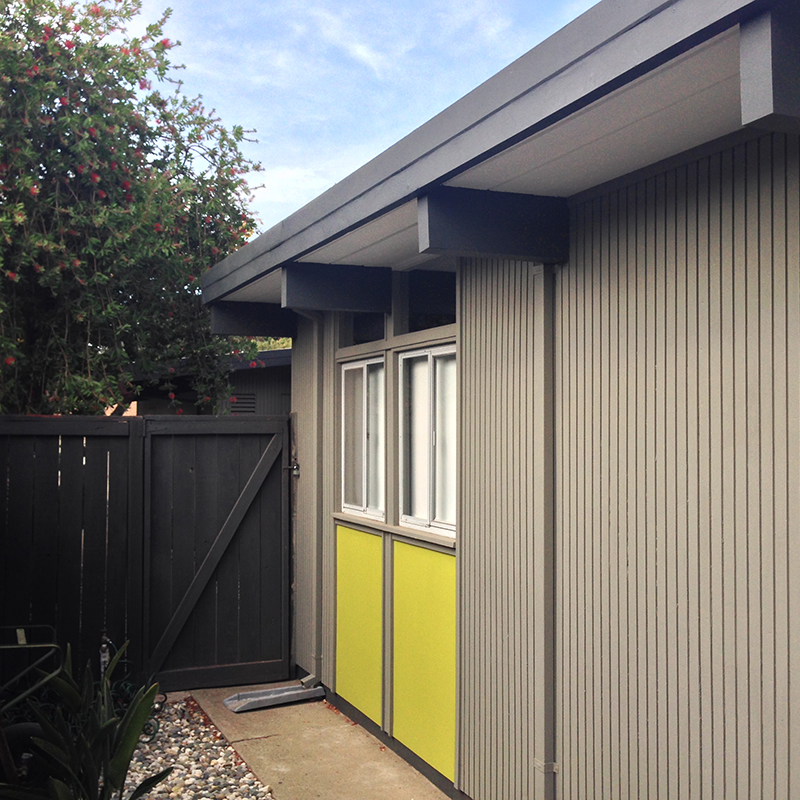
And that really was that. I like this angle, as you can see both pops of lime green. As a side note, there has been some talk of changing our accent color, which we’re sure to revisit at some point. For now, we’re enjoying the lack of brown…and our (aptly named) “back side” no longer feels neglected.
Truthfully, we finished this section a while back –since then, we’ve been busy on multiple projects. I’ll do my best to catch you up here soon. In the meantime, check out Instagram for the latest.
tony
Wow Andy. When do you two ever rest? You do these large projects in no time at all and they are all planned to perfection. I think you should be on one of those TV design programmes or home improvement shows. You would be a real knock out. Keep up the good work.
fogmodern
Hi Tony –you are too kind. This was a while back, so we’ve had a little rest since then! If it looks planned to perfection, it’s an illusion. We usually start with a general idea, then wing-it. We’ve become quite good at adapting though. As for the TV, we prefer being this side of the screen!
John
Looks great! Do you leave the splashblocks because of possible staining the concrete? The walk looks like it slopes.
I used some slate at the end of my splashblock to make sure the runoff is carried far away from the house and it matches the black mulch.
fogmodern
Thanks John! The splashblocks are needed to divert water –there isn’t actually much slope and we even have to elevate them. We plan to get more attractive concrete splashblocks, and even considered downspout extensions, maybe just for the winter. Glad you found a solution that works for you.
John
The hardware stores sell 2 inch high rectangular plastic extensions, you could cut the concrete and slip it under the walk.
fogmodern
Thanks again, John –yeah, we’ve also thought about that type of solution (here and elsewhere) in the long term.
Lisa and Kyle
Awesome-sauce!
fogmodern
Thanks! This was a long time coming. And the adjoining yard still isn’t finished!